Introduction
Welcome back! In the last module, we successfully designed, launched, and optimized your personal website—your future hub for selling digital products. You learned how to audit site performance with Google Lighthouse and implement critical optimizations, ensuring your site is not just aesthetically pleasing but also technically robust and fast.
Now that your "digital storefront" is ready, it's time to start creating the products to stock its shelves. This lesson kicks off Module 6: Product Design I: Wallpapers & Posters. We'll begin with one of the most popular and approachable digital products: wallpapers.
Your learning outcome for today is to design a geometric desktop wallpaper using shape tools, grids, and alignment features in Figma.
This is a perfect starting point because it leverages a systematic, rule-based approach to design that aligns with your preference for structured frameworks. You'll see how complex and beautiful patterns can emerge from simple rules and basic shapes, reinforcing the idea that creativity is often a process of problem-solving, not just spontaneous inspiration. We'll build directly on the Figma skills you developed while designing your website.
1. Setting Up the Canvas
Before we start designing, we need to set up our workspace correctly. For a wallpaper, the most important property is its dimensions. While there are many screen resolutions, a good standard to start with is a 16:9 aspect ratio, which is the most common for desktop monitors.
- Create a New File: Open Figma and create a new design file. You can name it "Digital Products".
- Create a Frame: Press
Fto select the Frame tool. In the right sidebar, you'll see presets. You can select Desktop → Desktop (1920x1080). For a higher resolution version, you can create a custom frame of 3840 x 2160 (4K), which will scale down nicely. - Rename your Frame: Give it a descriptive name, like "Geometric Wallpaper - V1".
Establishing a Structural Grid
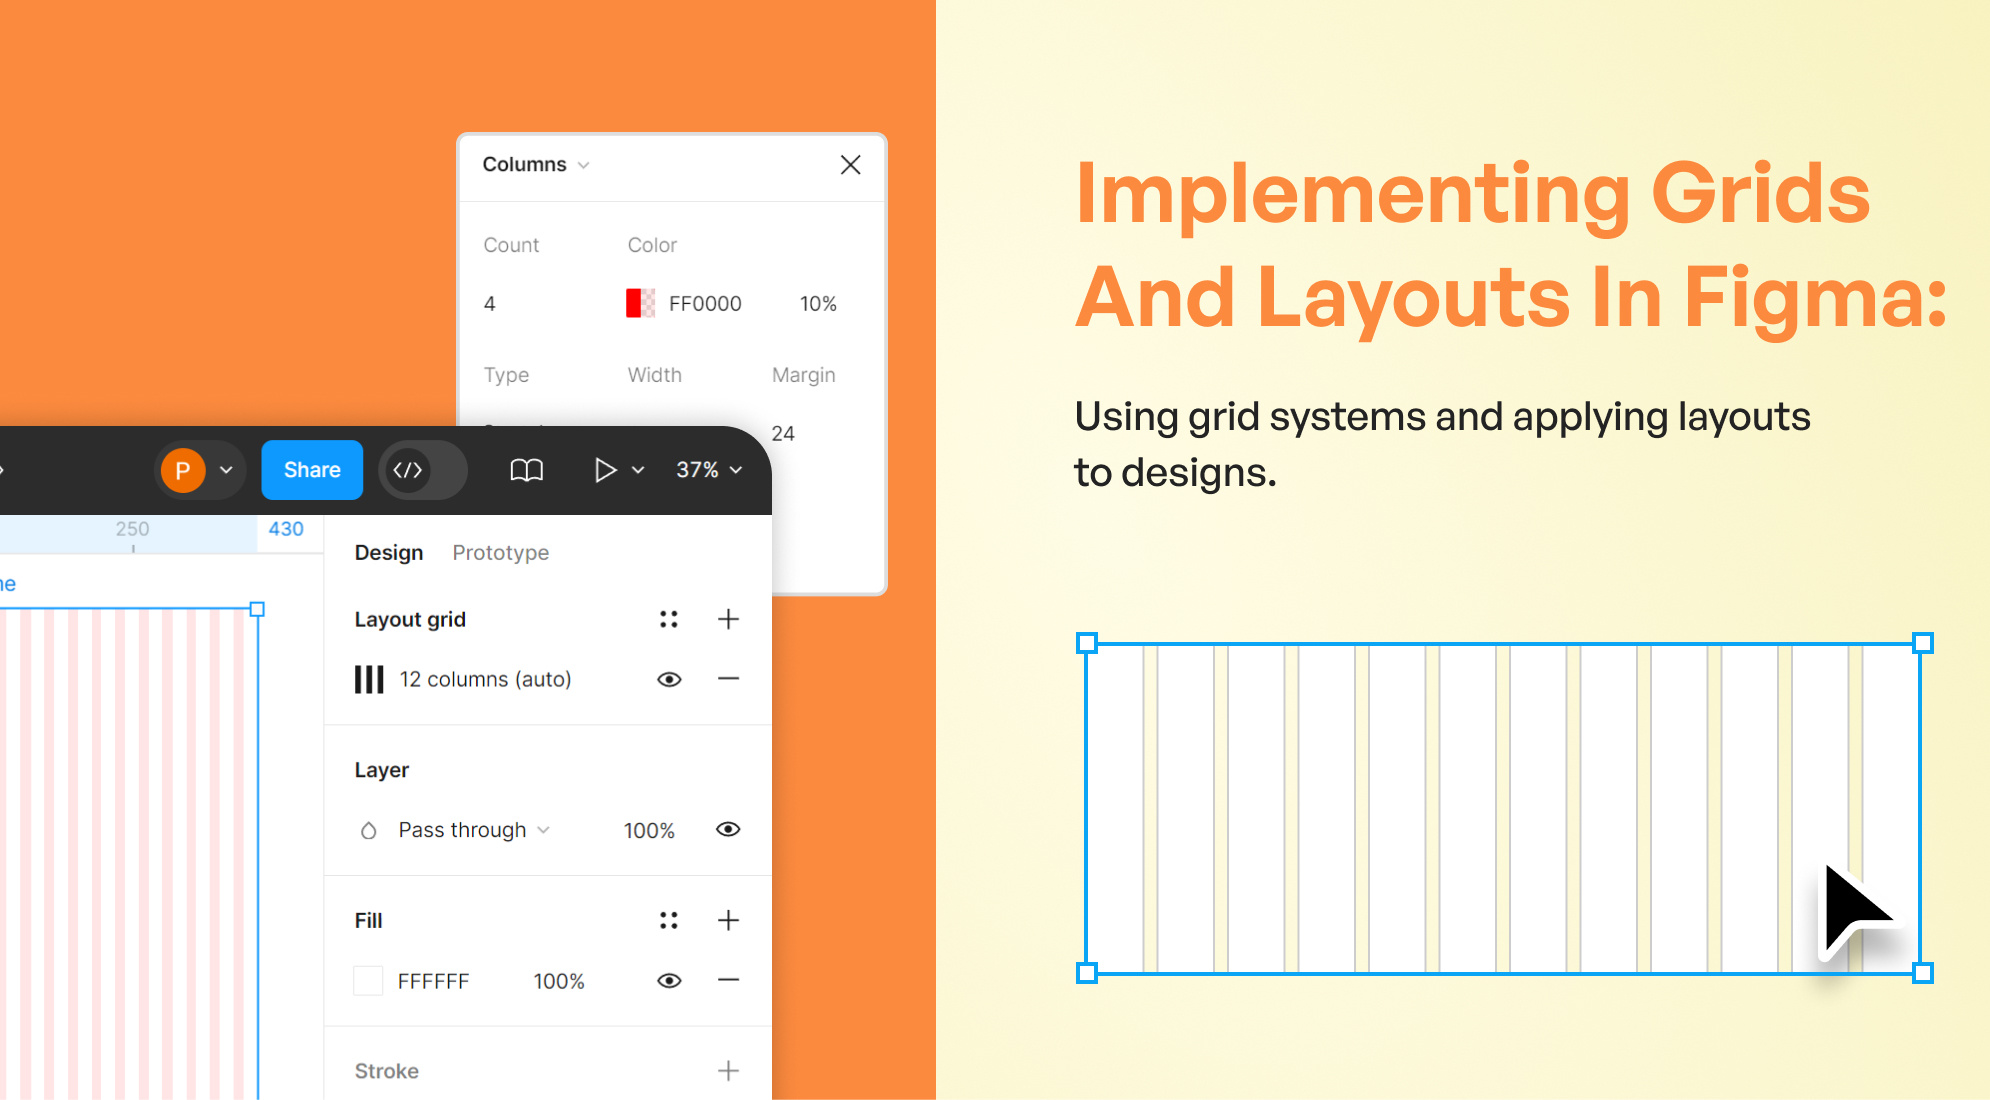
The key to a clean, intentional geometric design is a grid. A grid provides the underlying structure that guides the placement of your shapes, ensuring consistency and visual harmony.
In our website design lessons, you were introduced to layout grids for structuring page content. Here, we'll use them to create a pattern. Let's get a quick refresher on how they work in Figma.
This official tutorial from the Figma channel, 'Figma Tutorial: Layout Grids', quickly covers the essentials of creating and customizing grids.
Watch from the beginning to 01:19. Focus on how to add a grid to a frame, change it from the default pixel grid to a column or row grid, and adjust properties like count, gutter, and margin.
For a geometric pattern, you have two great options:
- Uniform Grid: A simple grid of squares. Select your frame, click the
+next to Layout grid, and in the settings, changeGridtoSizeand set it to a value like50or100. This gives you a graph-paper-like canvas. - Column & Row Grid: You can combine column and row grids to divide your canvas into larger sections.
For today's exercise, a uniform grid is a great place to start.
2. Composing with Shapes and Alignment
With our grid in place, we can start creating the pattern. The beauty of geometric design is that it starts with the most basic elements.
How to make background patterns for your next design project
This article from the Figma blog, 'How a designer makes background patterns,' showcases a professional's systematic process. It's a perfect example of how simple shapes and a grid can lead to stunning results.
Read the sections titled 'Make a grid' and 'Play around with shapes.' Notice how the designer starts with simple circles and rectangles and then rotates, shifts, and repeats them to build a complex pattern.
Mastering Alignment Tools
As you start duplicating and arranging shapes, manually aligning them to the grid can be tedious. This is where Figma's alignment and distribution tools become essential. You've used these for UI design, and they are just as powerful for pattern making.
Let's watch a detailed guide on how these tools work, including some powerful shortcuts.
Figma Alignment UIUX Tutorial for Beginners
This 'Figma Alignment UIUX Tutorial for Beginners' from Aliena Cai is an excellent and engaging guide to Figma's alignment capabilities.
Watch the following two segments: 00:13 - 02:17: Focus on the main alignment tools (left, center, right, top, middle, bottom) and the keyboard shortcuts (Option/Alt + WASD, H, V). This will dramatically speed up your workflow. 02:51 - 04:03: Pay close attention to the 'Tidy up' feature. This is incredibly powerful for creating evenly spaced grids of elements, which is perfect for pattern design. After watching, take a moment to absorb the point made from 08:34 to 09:36. The idea that good alignment builds trust is a core design principle that applies to products just as much as it does to websites.
Key Alignment Shortcuts (Mac):
- Select object(s) and press:
- Option + A: Align Left
- Option + D: Align Right
- Option + W: Align Top
- Option + S: Align Bottom
- Option + H: Align Horizontal Center
- Option + V: Align Vertical Center
3. Activity: Design Your Geometric Wallpaper (25 minutes)
Now it's time to put these concepts into practice. Follow these steps to create your first wallpaper.
-
Set Up Your Canvas:
- Create a frame (e.g.,
1920x1080or3840x2160). - Add a Layout grid and set it to a uniform grid with a
Sizeof100. This will be your guide. - Set the background color of your frame using one of the colors from the brand palette you developed earlier.
- Create a frame (e.g.,
-
Create a Base Module:
- Using the shape tools (Rectangle
R, EllipseO), create a small composition of 2-4 simple shapes in one of the 100x100 grid squares. - Experiment with rotating them and changing their colors using your brand palette. This small group of shapes is your "module."
- Using the shape tools (Rectangle
-
Repeat the Pattern:
- Select all the shapes in your module and group them (
Cmd + G). - Duplicate the group (
Cmd + D). Move the duplicate to an adjacent grid square. - Now, press
Cmd + Drepeatedly to create a full row of your pattern. Figma will intelligently repeat the transformation. - Select the entire row, duplicate it (
Cmd + D), and move it down to the next row of the grid. PressCmd + Dagain to fill the entire frame.
- Select all the shapes in your module and group them (
-
Experiment and Refine:
- You now have a basic repeating pattern. Try breaking the monotony.
- Select random modules and rotate them by 90 or 180 degrees.
- Select random shapes within different modules and change their colors.
- Once you're happy with the design, select your frame and press
Shift + Cmd + Gto hide the layout grid.
-
Export Your Wallpaper:
- Select the Frame.
- In the right sidebar, go to the Export section at the bottom.
- Click the
+icon. - Choose PNG or JPG as the format.
- Click Export.

Conclusion
Excellent work! You've successfully designed your first digital product—a geometric wallpaper. More importantly, you've experienced a design workflow that is systematic, repeatable, and built on a foundation of rules and constraints.
Key Takeaways:
- Geometric design relies on a strong grid structure to ensure order and cohesion.
- Complex patterns are built from simple, repeated shape modules.
- Mastering Figma's alignment and distribution tools, especially
Tidy upand keyboard shortcuts, is essential for an efficient pattern-making workflow. - A single design can be multiplied into a full product pack by creating color variations.
Preview of the Next Lesson:
Now that you've tackled a vector-based geometric design in Figma, we'll explore a different aesthetic in the next lesson. You will learn to create a typographic wallpaper using layer effects and texture overlays in Photoshop or Photopea. This will introduce you to raster-based design techniques and add another valuable skill to your product creation toolkit.