Hello! Let's dive into your next lesson.
In our last session, we focused on organizing the theme editor by using section groups. You learned how to control where a merchant can place sections, creating a more intuitive and structured customization experience. This was a crucial step in building a professional-quality theme.
Today, we're taking the next logical step. Instead of controlling where a section goes, we'll control what happens inside it. The learning outcome for this lesson is to render section content conditionally based on user-configured settings. This is the essence of creating dynamic, flexible components that empower merchants to tailor their storefront without writing a single line of code. For a developer, mastering this means you can build highly valuable, reusable, and customizable themes.
1. The Core Mechanism: Schema Settings and Liquid Logic
Your experience as a developer will make this core concept feel very familiar. It's a classic two-step process:
- Define the Control: You add a setting to the section's
{% schema %}tag. This creates a user interface element in the theme editor—like a checkbox, a color picker, or a dropdown menu—that the merchant can interact with. - Implement the Logic: You use Liquid's control flow tags (e.g.,
{% if %}) in your section's HTML to check the value of the setting you just defined. Based on that value, you decide whether to render a piece of content, apply a specific style, or change the HTML structure.
This decouples the presentation (HTML/Liquid) from the configuration (Schema/JSON), which is a fundamental principle of good software architecture.
To solidify this high-level workflow, the following article provides a concise summary.
A beginner's guide to Shopify Themekit and Schema
This article, 'A beginner's guide to Shopify Themekit and Schema' by Ian Marshall, clearly outlines the two-step workflow for adding dynamic functionality.
First, read the section 'Pt 2 — Schemas and adding Functionality' to understand the high-level workflow. Then, skip to the last section of the article which starts with 'In a corresponding section you can add in the functionality...'. Focus on the {% if settings.my_setting %} pattern, as this is the core logic we will be using.
Let's illustrate this with the most common use case: a checkbox to show or hide an element.
Imagine you have a section and you want to give the merchant the option to display a title.
Step 1: Define the setting in the schema.
{% schema %}
  {
    "name": "Image with Text",
    "settings": [
      {
        "type": "checkbox",
        "id": "show_title",
        "label": "Show section title",
        "default": true
      },
      {
        "type": "text",
        "id": "title_text",
        "label": "Title",
        "default": "Your Section Title"
      }
    ]
  }
{% endschema %}
Step 2: Implement the logic in the Liquid markup.
{% if section.settings.show_title %}
  <h2>{{ section.settings.title_text }}</h2>
{% endif %}

<!-- ... rest of the section's content ... -->
Here, section.settings.show_title directly accesses the value of the checkbox with the id "show_title". If the merchant checks the box, the expression evaluates to true, and the <h2> tag is rendered. If they uncheck it, the expression is false, and the entire block is skipped by the server.
2. Practical Examples in Action
Let's move from theory to practical application. These examples show how this simple pattern can be used to create a wide range of customizable features.
Example 1: Conditional Styling with a Color Picker
A very common requirement is allowing a merchant to change colors to match their brand. This is also a form of conditional rendering, where the style of an element is conditional on a setting.
How to build custom Shopify sections (In-depth guide)
This clip from the 'Coding with Robby' channel shows how to connect a color picker setting to an inline CSS style. It's a simple but incredibly useful technique.
Watch from 14:14 to 15:06. Notice how the color setting is defined in the schema and then accessed within a style attribute using {{ section.settings.color }}.
The key takeaway is that you can inject setting values directly into HTML attributes like style or class to dynamically change the presentation.
Example 2: Complex Logic with Checkboxes and Product Data
Conditional logic becomes even more powerful when you combine section settings with Shopify's global objects, like product or collection.
SHOPIFY LIQUID: Theme Programming for Beginners [CRASH COURSE]
This next video from 'Code with Chris the Freelancer' demonstrates a more advanced use case: using a checkbox to conditionally hide sold-out products. It's an excellent example of combining a merchant setting with product data.
Watch from 32:56 to 40:43. Focus on these key steps: Adding the checkbox setting to the section schema. Using an unless tag combined with and to check both the setting's value and the product's availability. Observing how the logic plays out in the theme customizer.
This example shows how a simple checkbox can trigger more complex business logic within your theme, giving merchants powerful control over how their products are displayed.
Test your understanding!
You have a "Promotional Banner" section with a text setting for a "Call to Action" button (cta_text) and a URL setting for the button link (cta_link). Merchants have requested that the button should not appear at all if they leave the cta_link setting empty.
How would you wrap the button's HTML to implement this logic?
Show answer
You would use an if statement to check if the cta_link setting is not blank. The blank special value in Liquid checks for null or empty strings.
{% if section.settings.cta_link != blank %}
  <a href="{{ section.settings.cta_link }}" class="button">
    {{ section.settings.cta_text | escape }}
  </a>
{% endif %}
This ensures the button is only rendered when a valid link is provided, preventing "dead" buttons on the storefront. I've also added the escape filter to the text, which is a good practice to prevent cross-site scripting (XSS) issues if the input contains malicious HTML.
3. Advanced Conditional Patterns
With the basics covered, you can build much more sophisticated logic using other Liquid control flow tags. Since you're familiar with if/else and switch statements from JavaScript and other languages, these will be straightforward.
{% if ... %} ... {% elsif ... %} ... {% else ... %} ... {% endif %}: For multi-path logic.{% case ... %} {% when ... %} ... {% when ... %} ... {% else ... %} ... {% endcase %}: Excellent for when you have a single variable with multiple possible values, like aselectdropdown setting.
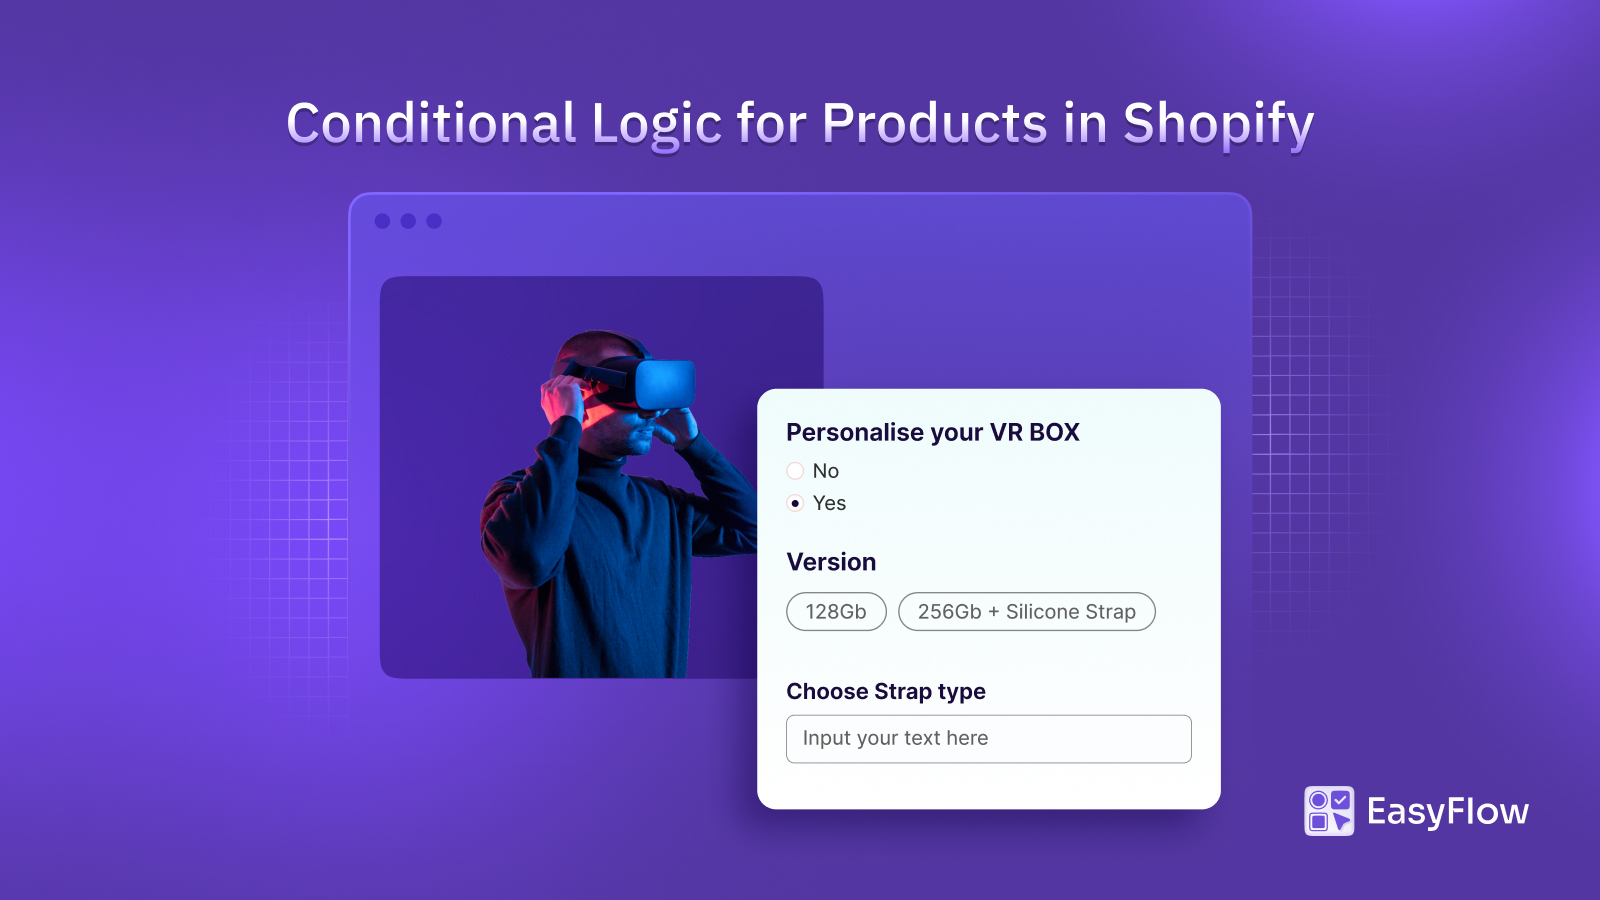
The following article provides excellent examples of these advanced patterns.
Use Conditional Sections in Shopify 2.0 Themes - Alinga
The article 'Use Conditional Sections in Shopify 2.0 Themes' from Alinga demonstrates how to build more complex conditional logic.
First, read the section 'Using Liquid for Conditional Sections'. Pay attention to the syntax for if/elsif/else and the examples of combining multiple conditions. Then, review 'Example Use Cases', especially the 'Product Page Variations' example which uses a case statement. This is a powerful pattern for handling multiple distinct scenarios based on a single variable like product.type.
The case statement, as shown in the article, is particularly useful. For instance, you could have a select setting with an id of image_position and options for "Left" and "Right". In your Liquid, you could then use a case statement to apply different CSS classes for a flexbox layout:
{%- comment -%} Wrapper with flexbox classes based on setting {%- endcomment -%}
<div class="image-with-text
  {%- case section.settings.image_position -%}
    {%- when 'left' -%}
      image-with-text--image-left
    {%- when 'right' -%}
      image-with-text--image-right
  {%- endcase -%}
">
  <div class="image-wrapper">...</div>
  <div class="text-wrapper">...</div>
</div>
This approach keeps your HTML structure clean and offloads the layout logic to your CSS, which is a common best practice.
Conclusion
You've now learned one of the most fundamental skills in theme development: giving merchants control over their store's appearance and content through conditional rendering. This bridges the gap between static templates and a truly dynamic, customizable user experience.
Key Takeaways:
- Conditional rendering is a two-step process: define a setting in the section's
{% schema %}and then use Liquid control flow tags (if,case) to check its value viasection.settings.your_setting_id. - This technique can be used to show/hide HTML, change CSS classes, apply inline styles, or even render completely different markup structures.
- You can create simple toggles with
checkboxsettings, or complex, multi-path logic usingselectsettings combined withif/elsif/elseorcasestatements. - Always check for
blankvalues when dealing with optional settings like links or images to avoid rendering broken or empty elements.
So far, all the logic we've implemented has been on the server side with Liquid. The server processes our conditions and sends a complete HTML page to the browser. This is powerful and efficient, but it always requires a page reload to reflect changes.
In our next lesson, we will shift our focus to the client side. We'll explore the purpose of the Ajax API for creating dynamic front-end experiences, which will allow us to do things like add products to the cart without leaving the page. This is the next level of creating an interactive and modern storefront.