Hello again! Welcome back to building our capstone project.
In our last session, we designed and laid out the merchant-facing UI for our Product Customizer App. Using Polaris and App Bridge, we created a professional interface where a merchant can define their customization options and assign them to products. However, when the merchant clicks "Save," nothing happens yet. Today, we're going to change that.
This lesson's goal is to use the Admin API to write the merchant's configuration to product metafields. We'll be working on the backend of our app—the Node.js/Express.js (or Remix) environment you've set up. Given your full-stack background, you're already familiar with the pattern of handling a form submission, processing data, and making an API call. We'll apply that knowledge here, focusing on the specifics of Shopify's API.
From Reading to Writing: GraphQL Mutations
So far, we've mostly thought about reading data from Shopify (e.g., fetching products). To change or create data, we need a different tool: GraphQL Mutations.
A mutation is an API call that alters data on the server. While a GraphQL query is for fetching data, a mutation is for creating, updating, or deleting it.
How to Use the Shopify API and Make GraphQL Requests
To understand the fundamental difference between queries and mutations, let's watch a short segment from 'How to Use the Shopify API and Make GraphQL Requests' by Coding with Jan.
Watch from 02:02 to 03:33. Pay close attention to the syntax difference: the mutation keyword, the mutation name (e.g., productUpdate), the input object that carries the data, and the selection set that defines the return value.
The key takeaway is that a mutation is an explicit declaration that you intend to modify data. For our app, when a merchant saves their configuration for a product, we will execute a productUpdate mutation.
Where Does the Configuration Go? Introducing Metafields
Now for a "first principles" question: a standard Shopify product has fields like title, price, and description, but no field for "customization options." So, where do we store the list of customizer options a merchant has enabled for a specific product?
The answer is metafields. Metafields are Shopify's mechanism for extending the platform's core data models. They allow you to attach custom key-value data to resources like products, orders, or customers. This is the cornerstone of building custom features.
Let's dive into the documentation to understand their structure.
The Shopify developer documentation page 'About metafields' is the definitive source for understanding this concept. We'll focus on the core components and ownership models.
Please read the sections 'What are metafields?' and 'Metafield ownership'. Focus on these key concepts: The three components: Understand the role of namespace, key, and value. Metafield definitions: Realize that you must first define the schema of a metafield before you can store a value. Ownership (App-owned vs. Merchant-owned): This is a critical distinction. App-owned data is controlled by your app, while merchant-owned data is managed by the merchant and accessible to all apps.
For our capstone project, the configuration linking a product to our customizer options is specific to our app's logic. Therefore, an app-owned metafield is the most appropriate choice. This keeps our data encapsulated and prevents other apps or even the merchant from accidentally modifying it in a way that would break our app.
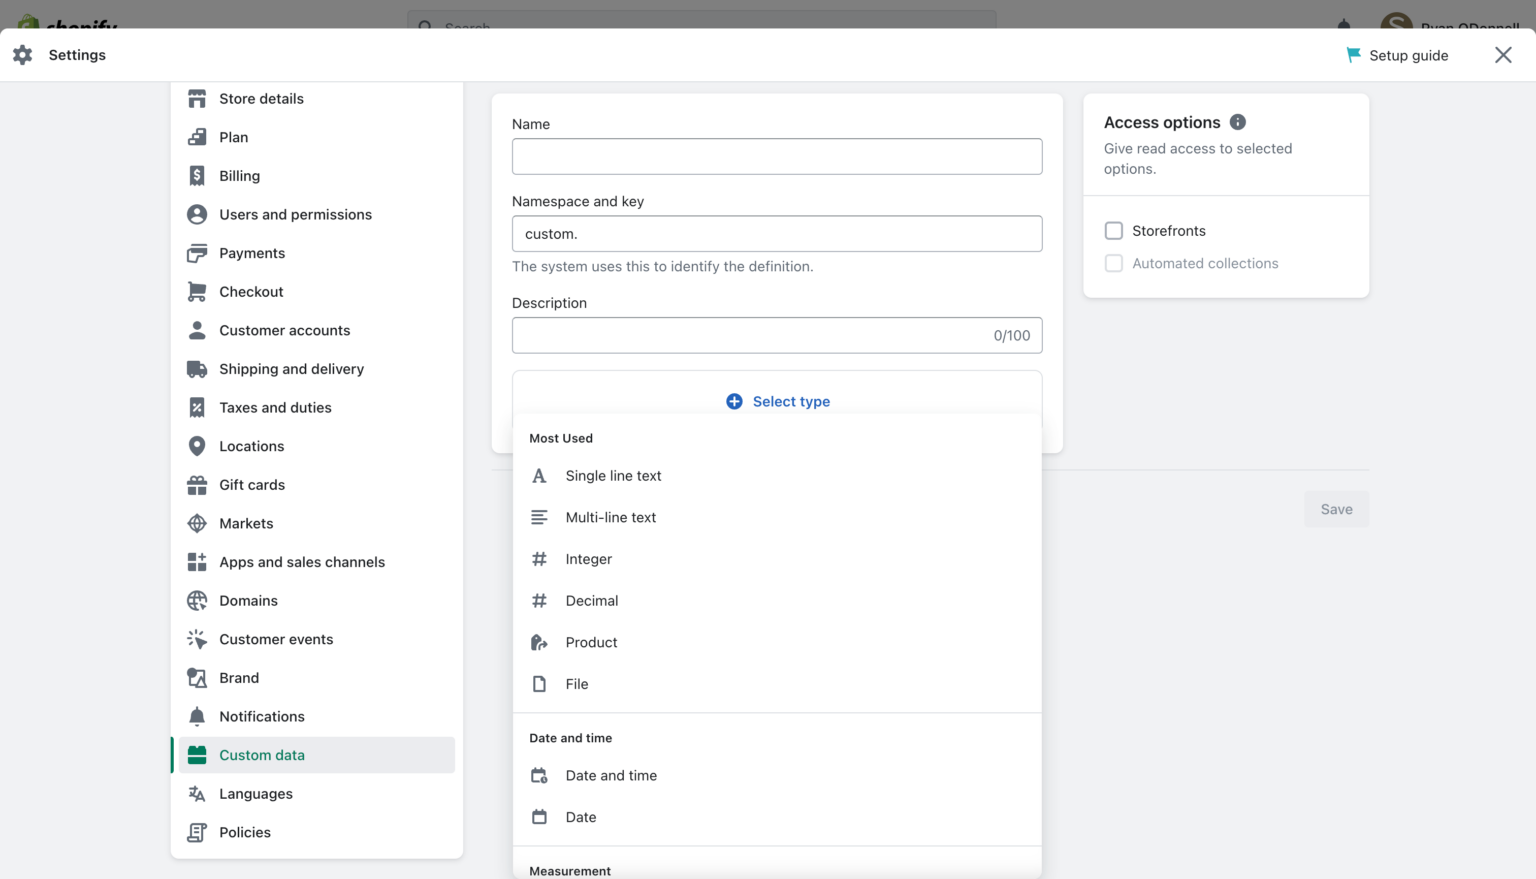
Step 1: Defining Our App-Owned Metafield
Before we can write a value, we must create a metafield definition. For app-owned metafields, this is conveniently done within your app's shopify.app.toml configuration file. When you deploy your app, Shopify reads this file and creates the definitions for you.
In our case, we need to store a list of the Customizer Option metaobjects that apply to a product. The best data type for this is list.metaobject_reference.
Open your shopify.app.toml file and add the following metafield definition. This TOML block tells Shopify to create a field on Products called customizer.options that can hold a list of references to our Customizer Option metaobjects.
# In shopify.app.toml

[[metafields]]
namespace = "customizer"
key = "options"
name = "Customizer Options"
description = "A list of customizer options available for a product."
type = "list.metaobject_reference"
owner_type = "PRODUCT"

# Add validation to ensure it only references OUR metaobject
[[metafields.validations]]
name = "metaobject_definition"
# IMPORTANT: Replace 'your_metaobject_definition_id' with the actual ID
# of the 'Customizer Option' metaobject definition you created.
# You can get this ID via an API call or by inspecting the URL
# in the Shopify Admin when viewing the metaobject definition.
value = "your_metaobject_definition_id"
Important: You must also ensure your app has the necessary permissions to write to products. In the same shopify.app.toml file, verify that your scopes include write_products.
# In shopify.app.toml
scopes = "write_products, read_products, write_metaobject_definitions, ..." # ensure write_products is present
After adding this and deploying your app (npm run deploy), this metafield definition will be ready to use.
Step 2: Constructing the productUpdate Mutation
Now for the main event. In your backend code—specifically in the Remix action or Express route that handles the form submission from the UI we built last lesson—you will receive the product's ID and a list of the selected Customizer Option metaobject IDs.
Your task is to use these to construct a productUpdate mutation.
The Shopify documentation page 'Manage values' provides excellent, practical examples of how to create and update metafield values. We'll focus on the update example.
Review the sections 'Creating metafields' and 'Updating metafields'. The 'Updating metafields' example is almost exactly what we need. Note how the productUpdate mutation takes an input object containing the id of the product and a metafields array.
Here is the GraphQL mutation we will use. Notice how it takes variables ($productId and $metafieldValue) to make it reusable. The $metafieldValue will be a JSON-stringified array of the Global IDs (GIDs) of the selected metaobjects.
mutation updateProductCustomizerOptions($productId: ID!, $metafieldValue: String!) {
  productUpdate(
    input: {
      id: $productId
      metafields: [
        {
          namespace: "customizer"
          key: "options"
          value: $metafieldValue
          # The type here is string, because we are passing a JSON string.
          # Shopify will parse and validate it against the definition's `list.metaobject_reference` type.
          type: "string"
        }
      ]
    }
  ) {
    product {
      id
      # We can query the metafield back to confirm it was saved
      metafield(namespace: "customizer", key: "options") {
        value
      }
    }
    userErrors {
      field
      message
    }
  }
}
Test your understanding!
In the productUpdate mutation above, why is the type specified as "string" even though our metafield definition in shopify.app.toml uses list.metaobject_reference?
Show answer
The GraphQL mutation itself is sending the list of metaobject GIDs as a single JSON-formatted string. Therefore, the type of the value being sent in this specific API call is a string. Shopify's backend receives this string, parses it, and then validates that its contents (the array of GIDs) match the list.metaobject_reference type defined for the customizer.options metafield.
Step 3: Executing the Mutation from your Backend
Now, let's put this into the context of your Node.js code. The Shopify CLI template for Remix provides a convenient admin.graphql() method that handles authentication for you.
Here's how you would implement the action function in your Remix route:
// In your app route file, e.g., app/routes/app.assign-options.jsx

import { json } from "@remix-run/node";
import { useFetcher } from "@remix-run/react";
import { Page, Card } from "@shopify/polaris";
import { authenticate } from "../shopify.server";

// This is the function that handles the form POST request
export const action = async ({ request }) => {
  const { admin } = await authenticate.admin(request);
  const formData = await request.formData();

  // Get the product ID and selected option GIDs from the form submission
  const productId = formData.get("productId");
  const selectedOptions = formData.getAll("selectedOptions[]"); // Assumes checkboxes with name="selectedOptions[]"

  const UPDATE_MUTATION = `
    mutation updateProductCustomizerOptions($productId: ID!, $metafieldValue: String!) {
      productUpdate(input: {
        id: $productId,
        metafields: [{
          namespace: "customizer",
          key: "options",
          value: $metafieldValue,
          type: "string"
        }]
      }) {
        product {
          id
        }
        userErrors {
          field
          message
        }
      }
    }`;

  const response = await admin.graphql(UPDATE_MUTATION, {
    variables: {
      productId: productId,
      // The list of GIDs must be stringified into a JSON array string
      metafieldValue: JSON.stringify(selectedOptions),
    },
  });

  const responseJson = await response.json();

  // Basic error handling
  if (responseJson.data.productUpdate.userErrors.length > 0) {
    console.error("GraphQL Errors:", responseJson.data.productUpdate.userErrors);
    return json({ errors: responseJson.data.productUpdate.userErrors }, { status: 400 });
  }

  return json({ success: true, product: responseJson.data.productUpdate.product });
};

// ... Your React component for the page goes here ...
This code does exactly what we planned: it receives the data from the merchant's form, constructs the productUpdate mutation, and sends it to the Shopify Admin API to permanently save the configuration.
Conclusion
Congratulations! You've just connected your app's front-end UI to the Shopify backend, completing a critical part of our capstone project. You now have a working "Save" button that writes a merchant's configuration directly onto a product using the Admin API.
Key Takeaways:
- GraphQL Mutations (like
productUpdate) are used to create or modify data in Shopify. - Metafields are essential for storing custom data that extends Shopify's native models. We used an app-owned metafield to store our app's configuration.
- The implementation flow is:
- Define the metafield schema in
shopify.app.toml. - In the backend, handle the form submission from the UI.
- Construct and execute a GraphQL mutation (
productUpdate) to save the data to the product's metafield. - Always include error handling by checking for
userErrorsin the API response.
- Define the metafield schema in
Next Steps
Our app can now save a product's customization configuration. But how does the customer see and use these options on the storefront?
In the next lesson, we will tackle exactly that. We'll learn about Theme App Extensions, which are the modern way to inject app functionality—like our customization form—directly into a store's theme. You will create an extension that reads the metafield we just saved and dynamically renders the appropriate input fields on the product page for the customer.