Hello and welcome back.
In our last lesson, we focused on headless commerce, where you learned to fetch a specific number of products using the Storefront API from a client-side JavaScript application. This is perfect for custom front-ends, but what about managing large amounts of content within a traditional Shopify theme? When a collection has hundreds of products or a blog has dozens of articles, loading them all on one page is impractical and slow.
Today, we'll solve that exact problem. This lesson's outcome is to implement pagination for large collections and blog posts. We'll explore Shopify's built-in mechanism for splitting large lists of items across multiple pages, a fundamental skill for building professional and user-friendly themes.
Let's begin by understanding why this is necessary.
1. The "Why": Shopify's Iteration Limit
Your experience with full-stack development has likely taught you that looping through large datasets requires careful handling to avoid performance bottlenecks. Shopify, as a multi-tenant SaaS platform, enforces specific limits to ensure stability for all merchants.
One of the most important limits in theme development is that a standard Liquid {% for %} loop can only iterate a maximum of 50 times on a single page. If you try to loop through collection.products where the collection has 51 items, the loop will stop after the 50th product, and the rest will simply not be displayed.
This is where the paginate tag becomes essential. It's Shopify's dedicated tool for breaking up large arrays into smaller, manageable chunks that respect this platform limit.
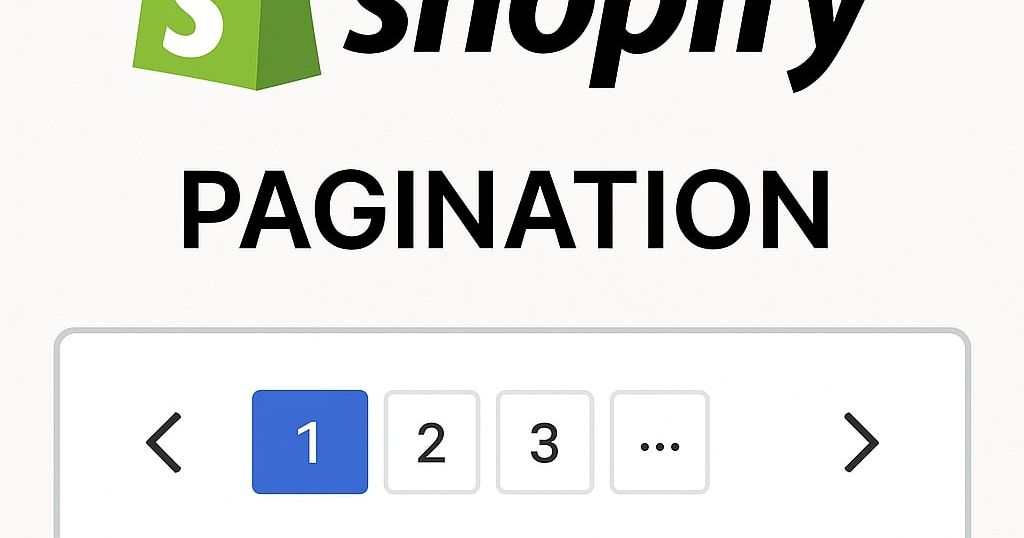
2. The "How": Using the paginate Tag
The paginate tag is a Liquid block that wraps around a for loop. Its job is to manage which subset of a larger array is available to the loop on any given page.
To get a foundational understanding of the tag's syntax and purpose, let's start with the official Shopify documentation.
The Shopify Developer documentation is the definitive source for Liquid tags. This page explains the core syntax of the paginate tag, the arrays it can be used on, and the helper tools it provides.
Read the introductory section to see the list of paginatable arrays. Then, focus on the 'Syntax' section to understand the basic structure: {% paginate array by page_size %}. Pay close attention to the code example that shows how the for loop is placed inside the paginate block and how {{ paginate | default_pagination }} is used to generate the page links.
As you saw in the documentation, the basic structure is:
{% paginate collection.products by 12 %}

  <p>Displaying products for this page:</p>
  <ul>
    {% for product in collection.products %}
      <li>{{ product.title }}</li>
    {% endfor %}
  </ul>

  <p>Pagination links:</p>
  {{ paginate | default_pagination }}

{% endpaginate %}
Let's break this down:
{% paginate collection.products by 12 %}: This opens the block. It tells Liquid we want to paginate thecollection.productsarray, showing12items per page. Thepage_sizecan be any number from 1 to 50.{% for product in collection.products %}: Inside thepaginateblock,collection.productsis no longer the full array. It's a temporary array containing only the 12 products for the current page.{{ paginate | default_pagination }}: This is the magic wand for generating the navigation links (e.g., "« Previous 1 2 3 Next »"). It uses the globalpaginateobject, which is only available inside thepaginateblock, and pipes it to a filter that generates the necessary HTML.{% endpaginate %}: This closes the block.
3. Practical Implementation
Now, let's apply this to your theme. For this exercise, make sure you have a collection in your development store with more products than the page_size you intend to use (e.g., at least 15 products if you plan to show 12 per page).
Step 1: Paginating a Collection Page
Your theme likely has a file responsible for rendering the grid of products on a collection page. This is often found in sections/main-collection-product-grid.liquid or a similar template file like templates/collection.liquid.
- Open this file in your local code editor.
- Locate the
forloop that iterates throughcollection.productsto display product cards. - Wrap this entire loop structure with the
paginatetag. - Add the
{{ paginate | default_pagination }}filter after your product grid/loop, but still inside thepaginateblock.
Here is a practical example. Your existing code might look something like this:
<div class="product-grid">
  {% for product in collection.products %}
    {% render 'product-card', product: product %}
  {% endfor %}
</div>
You will modify it to look like this:
{% paginate collection.products by 8 %}
  <div class="product-grid">
    {% for product in collection.products %}
      {% render 'product-card', product: product %}
    {% endfor %}
  </div>

  {% if paginate.pages > 1 %}
    <div class="pagination">
      {{ paginate | default_pagination }}
    </div>
  {% endif %}
{% endpaginate %}
Note: We've added an if condition, {% if paginate.pages > 1 %}, to ensure the pagination links only appear if there is more than one page of content. This is a common best practice.
Save the file and use Shopify CLI to push the changes to your store. Now, when you view your large collection, you should see only 8 products and a set of page navigation links below them.
Step 2: Paginating a Blog Page
The process for a blog is identical, demonstrating the reusable pattern of this tag. You'll typically find the blog loop in sections/main-blog.liquid or templates/blog.liquid.
Mastering Shopify Pagination for Streamlined E-commerce
This article from First Pier provides clear, focused code examples for paginating both product collections and blog articles, reinforcing the pattern you just learned.
Quickly read the section 'How to Set Up Pagination in Shopify'. Focus on the two code blocks provided: one for collection.products (which you've just done) and one for blog.articles. Notice how the structure is exactly the same, only the array name changes.
Following the example from the article, you would modify your blog template like so:
{% paginate blog.articles by 5 %}
  <div class="article-list">
    {% for article in blog.articles %}
      {% comment %} Your code to display article summary {% endcomment %}
      <h2><a href="{{ article.url }}">{{ article.title }}</a></h2>
      <p>{{ article.excerpt_or_content | strip_html | truncate: 150 }}</p>
    {% endfor %}
  </div>

  {% if paginate.pages > 1 %}
    <div class="pagination">
      {{ paginate | default_pagination }}
    </div>
  {% endif %}
{% endpaginate %}
This predictable pattern makes pagination one of the easier "advanced" Liquid features to master.
Test your understanding!
The default_pagination filter can look cluttered on sites with many pages. The paginate tag accepts an optional window_size parameter to control how many page links are shown around the current page.
Modify your collection page's paginate tag to show a maximum of 2 page links on either side of the current page. For example, if you're on page 5, it might show "... 3 4 5 6 7 ...".
Hint: The syntax is {% paginate array by page_size, window_size: number %}. You can find this in the Shopify Dev documentation you read earlier.
Show answer
You would update the opening paginate tag like this:
{% paginate collection.products by 8, window_size: 2 %}
  ...
{% endpaginate %}
This tells the default_pagination filter to render a "window" of up to 2 page links before and after the currently active page number.
4. Pagination and Performance
This module is also about performance optimization. It's crucial to understand that using paginate is more than just a way to work around the 50-item limit; it's a significant performance enhancement.
When you write {% for product in collection.products limit: 10 %}, Shopify might still fetch up to 50 products from the database behind the scenes before your Liquid code limits the loop to 10 iterations.
However, when you write {% paginate collection.products by 10 %}, you are sending a clear instruction to Shopify's backend to only query and retrieve the 10 products needed for that specific page. This reduces the data transfer and server processing time, leading to a faster page load—a critical factor for user experience and SEO.
Conclusion
You have now mastered a core technique for building scalable and performant Shopify themes. By understanding and implementing pagination, you can confidently build stores that handle large inventories and extensive content without compromising on performance or user experience.
Key Takeaways:
- The Problem: The
forloop in Liquid is limited to 50 iterations, making it unsuitable for large collections or blogs. - The Solution: The
{% paginate %}tag is Shopify's dedicated tool for breaking large arrays into smaller, paged results. - The Implementation: You wrap your
forloop within thepaginateblock and use{{ paginate | default_pagination }}to render the navigation links. - The Pattern: The same structure works for
collection.products,blog.articles, and other specific arrays. - The Performance Gain: Using
paginatereduces the amount of data queried from Shopify's database, resulting in faster page loads compared to just using alimiton aforloop.
In our next lesson, we'll continue exploring advanced Liquid. Now that you know how to manage large quantities of data across pages, we will focus on how to manipulate and transform arrays of data within a single page using powerful filters like map, where, and sort.