Hello! Welcome back to our project.
In the last lesson, we laid the groundwork for our first UI screen by creating a button and a placeholder for a user avatar. You should have a Figma file with a mobile frame that includes a gray circle at the top and a button at the bottom.
Today, we're going to bring that avatar to life. This lesson focuses on how to import and mask an image for a user profile picture. This is a fundamental skill you'll use constantly in UI design. Given your background in illustration, you can think of this as the digital equivalent of using a stencil or masking fluid—you're defining a shape to reveal only a specific part of an image. We'll explore two different ways to achieve this in Figma.
Part 1: The Quick Method using Image Fill
The simplest way to place an image inside a shape is by using an Image Fill. Instead of filling the circle with a solid color, we'll fill it with a photograph. This method is perfect when you just need to crop a single image into a basic shape.
Let's use the gray circle you created in the previous lesson.
-
Find a sample image: Before you start, find a profile picture you can use. You can use any photo from your computer. If you need one, websites like Unsplash or Pexels offer free-to-use portrait photos. Download one to your computer.
-
Apply the Image Fill:
- Select the gray circle on your canvas.
- On the right, in the Design panel, find the Fill section.
- Click on the color swatch (the gray box). A panel will pop up.
- At the top of this panel, click the dropdown that currently says "Solid" and change it to "Image".
- Click the "Choose image" button in the checkerboard area that appears and select the photo you downloaded.
Your circle should now contain the image.
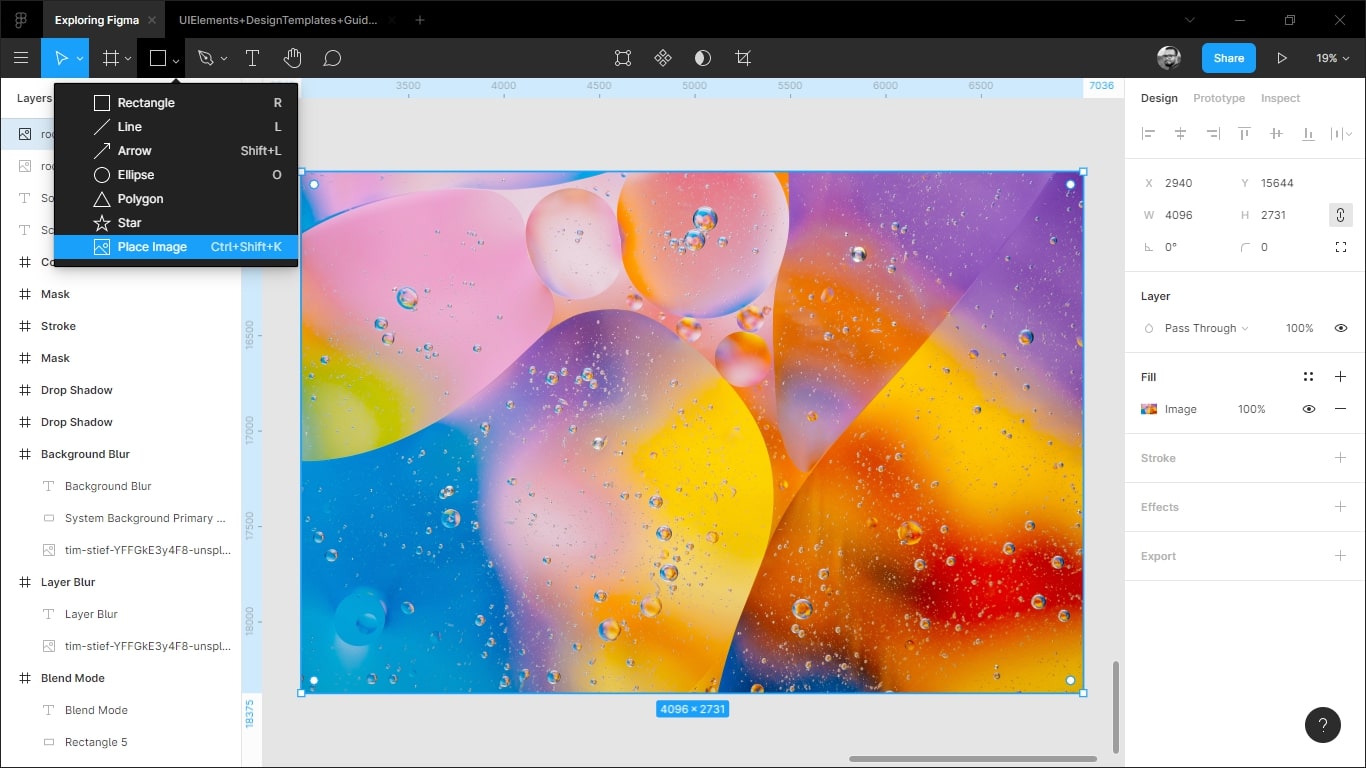
Now, how do you adjust the photo within the circle? The following video demonstrates this process clearly.
Masking in 4 Minutes (Figma Tutorial)
This short clip from Tim Gabe's 'Masking in 4 Minutes' tutorial shows how to use Image Fills and, crucially, how to adjust the image after placing it.
Watch from 00:14 to 01:26. Pay close attention to how you can select 'Crop' in the Fill settings to move and scale the image within the shape's boundaries.
Go ahead and try adjusting your image. Select your avatar, click the image thumbnail in the Fill section, change the mode to Crop, and drag the image around until you're happy with the composition.
Part 2: The Flexible Method using "Use as Mask"
Image Fills are fast, but the Mask feature is more powerful and versatile. A mask uses one layer (your shape) to control the visibility of other layers (your image). This method is essential when you want to mask multiple objects at once or use more complex custom shapes, which we'll explore later in the course.
Let's learn the concept and then walk through the steps.
This brief reading from a UXcel course explains the core concept of how masks work in Figma. It's a great conceptual overview before we put it into practice.
Read the section titled 'How masks work' to understand the 'stencil' analogy for masking.
Now let's build an avatar using a mask. We'll create a new one so the steps are clear.
- Place your image: Drag the image file from your computer directly onto the canvas, placing it somewhere near your frame.
- Draw the mask shape: Press
Oto select the Ellipse tool. HoldShiftand draw a circle on top of your image, framing the part you want to be visible. - Arrange the layers: This is the most important step. In the Layers panel on the left, drag the ellipse layer so it is underneath the image layer. The object you want to use as a mask must always be at the bottom of the layers you intend to mask.
- Apply the mask: Select both the image layer and the ellipse layer. You can do this by clicking one, holding
Shift, and clicking the other. - With both selected, click the "Use as Mask" icon in the toolbar at the top of the screen. It looks like a circle overlapping a square. Alternatively, you can right-click and choose "Use as Mask".

The image is now "clipped" by the circle. In your Layers panel, you'll see a "Mask group" has been created.
This next video provides a complete, practical walkthrough of the process we just followed. Watching someone else do it can help solidify the steps in your mind.
How to Crop Images into Shapes in Figma
The 'How to Crop Images into Shapes in Figma' video by Pixel & Bracket walks through the entire masking process, from creating the shape to adjusting the final result.
Watch from 00:31 to 01:51. Focus on the layer arrangement (sending the shape behind the image), selecting both objects, and how to adjust the image inside the mask after it's been created.
Test your understanding!
In the "Use as Mask" method, what happens if you forget to move the shape layer below the image layer before applying the mask?
Show answer
If the shape (your ellipse) is on top of the image in the layer stack, Figma will try to use the image to mask the shape. The result is that you'll see a piece of the image in the shape of the image itself, and the circle will seem to disappear. The layer order is critical: the "window" (mask) must be below the "scenery" (content).
Now that you have your masked avatar, replace the original gray circle with it in your design. Try double-clicking the mask group. This allows you to select the image and the ellipse independently to fine-tune the position and size of the photo within its circular frame.
Conclusion
Excellent work! You've just mastered one of the most common and essential techniques in UI design. That gray circle is now a proper user avatar, making our design feel much more real.
Here are the key takeaways from today's lesson:
- You can place an image inside a shape using either an Image Fill or the Use as Mask feature.
- Image Fill is fast and ideal for placing a single image into a simple shape. You can adjust the image using the "Crop" setting in the Fill panel.
- "Use as Mask" is more powerful, allowing you to crop multiple layers. For this method, the masking shape must be positioned below the content in the Layers panel.
- After creating a mask, you can double-click the mask group to independently move or resize the image and the mask shape.
You now have a profile picture and a button on your screen. In our next lesson, we'll learn how to use alignment tools and guides to position these elements precisely on the canvas, ensuring your layout is balanced and professional.