Hello! Welcome back to our final module.
In our last lesson, you successfully built your first Continuous Integration (CI) pipeline. You configured GitHub Actions to automatically run your Django project's tests on every code change, creating a crucial quality gate. This ensures that new code doesn't break existing functionality.
Today, we take the next logical step from Continuous Integration to Continuous Deployment (CD). The goal is to configure a CD step to automatically build a Docker image and push it to a container registry. While CI validates your code, this step packages your application into a standardized, portable artifact—a Docker image—making it ready for deployment. This process transforms your source code into a single, versioned unit that can run consistently on any machine.
This lesson will guide you through:
- Understanding the role of container registries in a CD pipeline.
- Using GitHub Actions to securely authenticate with a registry.
- Building a Docker image from your application code within the CI/CD pipeline.
- Pushing the built image to Docker Hub, a popular container registry.
- Integrating this new step into your existing CI workflow.
Let's begin by preparing our application for distribution.
1. The Role of a Container Registry
In the previous module, you learned how to build a Docker image locally. But for a CI/CD pipeline, you need a central, accessible location to store these images so your deployment servers can pull them. This is the role of a container registry.
Think of a container registry like PyPI for Python packages or npm for Node.js packages. It's a storage system for your container images, with features for versioning, access control, and distribution.
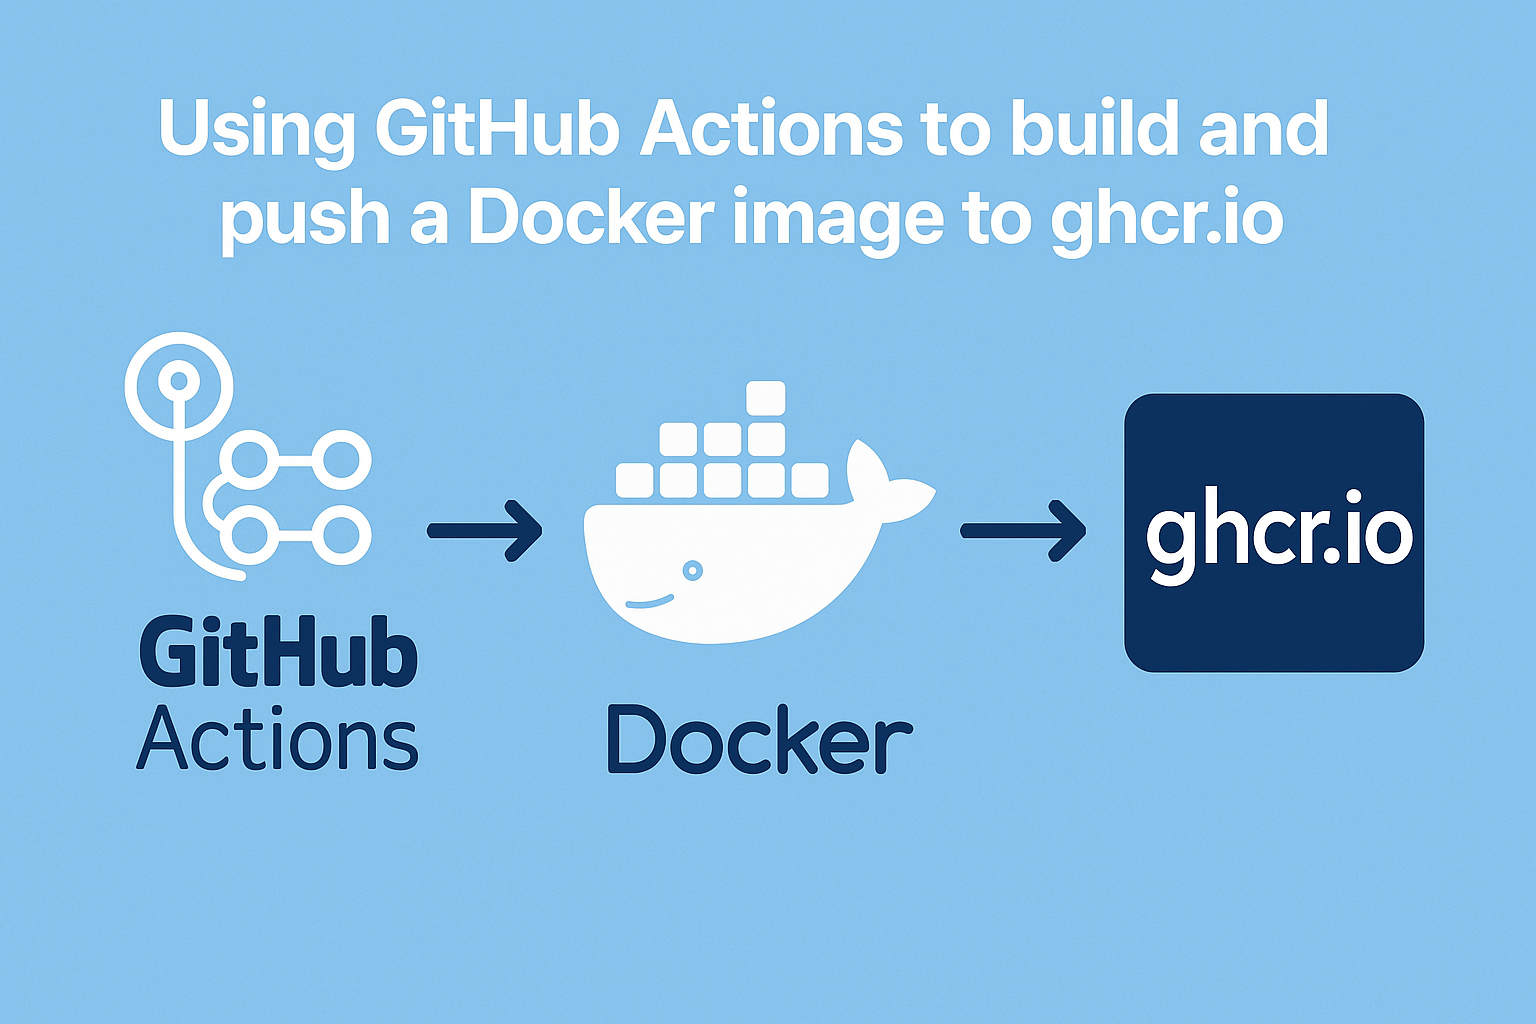
Popular registries include:
- Docker Hub: The default and most widely known public/private registry.
- GitHub Container Registry (GHCR): Tightly integrated with GitHub repositories and Actions.
- Cloud-specific registries: AWS ECR, Google Artifact Registry, Azure Container Registry.
For this lesson, we will use Docker Hub due to its widespread use. Before proceeding, make sure you have:
- A free account on Docker Hub.
- A public repository created on Docker Hub. A good naming convention is
<your-dockerhub-username>/<your-project-name>.
2. Automating the Build and Push Process
Our goal is to extend the ci.yml workflow from the last lesson. After the tests pass, we want to build our Django application's Docker image and push it to Docker Hub.
To do this, our workflow needs to perform three main tasks:
- Check out the repository code.
- Log in to Docker Hub.
- Build the Docker image and push it.
The login step presents a security challenge: how do we provide credentials to our workflow without hardcoding them in the YAML file? The answer is GitHub Secrets.
The following video provides a practical walkthrough of this entire process. It first demonstrates the "manual" command-line approach, which is excellent for understanding the mechanics, and then shows how to troubleshoot the inevitable authentication failure.
Build and Push Docker Images with GitHub Actions
Watch this video from 'Rishab in Cloud' to see a step-by-step demonstration of building and pushing a Docker image using GitHub Actions. Pay close attention to how he resolves the authentication error by using a Docker Hub access token and GitHub Secrets.
Watch the section from 05:50 to 09:42. This part covers creating a Docker Hub access token, storing it as a GitHub secret, and using it to log in and push the image from the workflow.
3. Implementing the CD Step with Pre-built Actions
While you can use raw docker login, docker build, and docker push commands, the community has created reusable Actions that simplify this process, making workflows cleaner and more maintainable. We will use two official actions from Docker:
docker/login-actiondocker/build-push-action
Let's walk through the implementation using a fantastic article that is tailored for a Django project.
🐳 Step 3: Building and Pushing Docker Images
This article by Jinal Lathiya provides a concise, step-by-step guide to containerizing a Django app and automating the image push with GitHub Actions. We will focus on the parts related to Docker Hub setup and the workflow configuration.
Read through 'Step 3.3 — Set Up Docker Hub / GHCR' and 'Step 3.4 — Automate Build and Push with GitHub Actions'. These sections explain how to create the necessary secrets and provide the exact YAML code for the workflow job.
Now, let's synthesize this information into a concrete workflow job.
Step 1: Store Credentials as GitHub Secrets
As shown in both the video and the article, you must first store your Docker Hub credentials securely.
-
Generate a Docker Hub Access Token:
- Go to your Docker Hub account settings.
- Navigate to Security > New Access Token.
- Give it a description (e.g., "GitHub Actions Token") and set its permissions to Read, Write, Delete.
- Click Generate and copy the token immediately. You will not be able to see it again.
-
Add Secrets to Your GitHub Repository:
- In your GitHub repository, go to Settings > Secrets and variables > Actions.
- Click New repository secret.
- Create a secret named
DOCKERHUB_USERNAMEwith your Docker Hub username as the value. - Create another secret named
DOCKERHUB_TOKENwith the access token you just generated as the value.
Your workflow can now securely access these credentials using the secrets context (e.g., ${{ secrets.DOCKERHUB_USERNAME }}).
Step 2: Create the build_and_push Job
Now, let's add a new job to our existing .github/workflows/ci.yml file. This job will handle building and pushing the image.
Here is what the new job, build_and_push, will look like:
# In .github/workflows/ci.yml

# ... (keep the 'name' and 'on' sections from the previous lesson)

jobs:
  # ... (keep the 'test' job from the previous lesson)

  build_and_push:
    runs-on: ubuntu-latest
    steps:
      - name: Check out the code
        uses: actions/checkout@v4

      - name: Log in to Docker Hub
        uses: docker/login-action@v3
        with:
          username: ${{ secrets.DOCKERHUB_USERNAME }}
          password: ${{ secrets.DOCKERHUB_TOKEN }}

      - name: Build and push Docker image
        uses: docker/build-push-action@v5
        with:
          context: .
          push: true
          tags: your_dockerhub_username/your_repo_name:latest # IMPORTANT: Change this!
Breakdown of the build_and_push job:
steps:: This job has three steps.actions/checkout@v4: As before, this downloads your source code, including yourDockerfile, to the runner.docker/login-action@v3: This action handles authentication. Thewithblock passes your secrets asusernameandpasswordparameters.docker/build-push-action@v5: This is the powerhouse. It finds yourDockerfile, builds the image, and pushes it to the registry.context: .: Tells the action that the build context (where the Dockerfile is) is the root of the repository.push: true: Instructs the action to push the image after a successful build.tags:: Specifies the name and tag for the image. You must replaceyour_dockerhub_username/your_repo_namewith your actual Docker Hub details. The:latesttag indicates this is the most recent version.
4. Creating a Full CI/CD Pipeline
Right now, you have two separate jobs: test and build_and_push. They will run in parallel by default. This is not what we want. We should only build and push the image if the tests pass. Furthermore, we should probably only push a new image when we merge code into our main branch, not on every single push during development.
We can orchestrate this using two key features: needs and if conditions.
Here is the complete, production-ready ci.yml file that combines CI and CD:
# .github/workflows/ci.yml

name: Django CI/CD

on:
  push:
    branches: [ "main" ]
  pull_request:
    branches: [ "main" ]

jobs:
  test:
    runs-on: ubuntu-latest
    steps:
      - name: Check out the code
        uses: actions/checkout@v4
      - name: Set up Python
        uses: actions/setup-python@v5
        with:
          python-version: "3.11"
      - name: Install dependencies
        run: |
          python -m pip install --upgrade pip
          pip install -r requirements.txt
      - name: Run Django Tests
        run: python manage.py test

  build_and_push:
    # This job depends on the 'test' job completing successfully
    needs: test
    # This job only runs when code is pushed to the 'main' branch
    if: github.event_name == 'push' && github.ref == 'refs/heads/main'
    runs-on: ubuntu-latest
    steps:
      - name: Check out the code
        uses: actions/checkout@v4

      - name: Log in to Docker Hub
        uses: docker/login-action@v3
        with:
          username: ${{ secrets.DOCKERHUB_USERNAME }}
          password: ${{ secrets.DOCKERHUB_TOKEN }}

      - name: Build and push Docker image
        uses: docker/build-push-action@v5
        with:
          context: .
          push: true
          tags: your_dockerhub_username/your_repo_name:latest # Change this!
Key changes:
needs: test: This line in thebuild_and_pushjob tells GitHub Actions to wait until thetestjob has finished successfully before starting. Iftestfails,build_and_pushwill be skipped.if: github.event_name == 'push' && github.ref == 'refs/heads/main': This conditional statement ensures thebuild_and_pushjob only runs forpushevents to themainbranch. It will not run for pull requests or pushes to other branches, which saves time and avoids polluting your registry with development images.
Now, when you create a pull request, only the test job will run. Once you merge that PR into main, both the test job and the build_and_push job will run in sequence.
Test your understanding!
Using latest as a tag is convenient, but it can be problematic because it's mutable. A better practice is to use immutable tags, like the unique Git commit SHA.
The build-push-action can access GitHub context variables. The commit SHA is available at github.sha. How would you modify the tags parameter to tag the image with both latest and the short commit SHA? (Hint: tags can be a multi-line string).
Show answer
You would modify the tags section like this:
      - name: Build and push Docker image
        uses: docker/build-push-action@v5
        with:
          context: .
          push: true
          tags: |
            your_dockerhub_username/your_repo_name:latest
            your_dockerhub_username/your_repo_name:${{ github.sha }}
This will create two tags for the same image, giving you both a stable reference to the latest build and a precise, unique identifier tied to the exact version of the code.
Conclusion
You have now successfully configured the first major stage of a Continuous Deployment pipeline. Your system can now automatically test your code and, upon success, package it into a versioned, portable Docker image stored in a central registry. This is a massive step forward in creating a reliable and automated path from development to production.
Key Takeaways:
- Container Registries (like Docker Hub) are essential for storing and distributing Docker images.
- GitHub Secrets are the standard for securely managing credentials like API tokens in your workflows.
- The
docker/login-actionanddocker/build-push-actionare powerful, reusable Actions that simplify the process of publishing images. - The
needskeyword creates dependencies between jobs, allowing you to build sequential pipelines (e.g., test first, then build). - The
ifconditional allows you to control exactly when a job should run, enabling strategies like "only push to the registry on a merge to main".
Preview of the Next Lesson:
Our application is now automatically tested and packaged. The next logical step would be to deploy it. However, before we discuss deployment architectures, we need to understand a fundamental concept that drives them: scalability. In our next lesson, we will explore the difference between vertical and horizontal scaling and discuss why modern web applications are designed to scale horizontally—a principle that is deeply connected to the stateless, containerized approach we are building.