Hello! Welcome back to our course on building and selling Notion templates.
In the previous lesson, you took a massive step by structuring your project manager into a shareable master template. You now have a clean, duplicatable link that works perfectly. However, a customer opening that link today would find a powerful but empty and potentially intimidating system.
This is where your skills in design and content creation truly come into play. A great template isn't just a tool; it's a guided experience. This lesson is all about embedding that guidance directly into your template by writing clear, helpful documentation. This single step transforms a template from a confusing skeleton into a valuable, user-friendly product that people are happy to pay for.
Today, you will learn how to:
- Identify the most important information to include in your instructions.
- Use Notion's blocks like callouts and toggles to present documentation effectively.
- Structure your instructions to guide users from their first look to daily use.
1. Why Great Instructions Are Non-Negotiable
Before we get into the "how," let's establish the "why." For someone aiming to sell templates, documentation isn't a nice-to-have; it's a core feature of the product.
- It Reduces Customer Support: Clear instructions answer questions before they're asked, saving you countless hours of support emails.
- It Increases Perceived Value: A template with built-in guidance feels more polished, professional, and comprehensive, justifying a higher price.
- It Builds User Confidence: Good documentation empowers beginners, turning potential confusion into a feeling of control and competence. This leads to happier customers and better reviews.
- It Showcases the Template's Power: Instructions can highlight clever features or workflows that a user might otherwise miss.
Essentially, you are selling a solution, not just a set of databases. The instructions are a key part of that solution.
2. The Anatomy of Great Template Documentation
So, what should you actually write about? Think of guiding a new user through four key stages:
- Onboarding ("Start Here"): A welcome message and the first one or two steps a user should take.
- Core Feature Explanation: What are the main databases? What do the key properties mean? How do the views work?
- Workflow Guidance: How is the template intended to be used? For our project manager, this might be: "1. Create a Project. 2. Add Tasks to that Project. 3. Update task status on the board."
- Customization & FAQs: How can users adapt the template to their needs? What are common sticking points?
Now, let's look at the Notion tools you'll use to build this documentation.
3. Techniques for Embedding Instructions
Your goal is to provide comprehensive help without cluttering the workspace. You want the instructions to be visible when needed and hidden when not. Notion provides the perfect tools for this.
Callouts and Toggles: Your Primary Tools
Callout blocks are perfect for short, high-visibility tips or warnings. They draw the user's eye and are great for in-context advice.
Toggle blocks are the workhorse of template documentation. They allow you to nest detailed instructions, FAQs, or even video tutorials under a single heading, keeping your main dashboard clean and uncluttered.
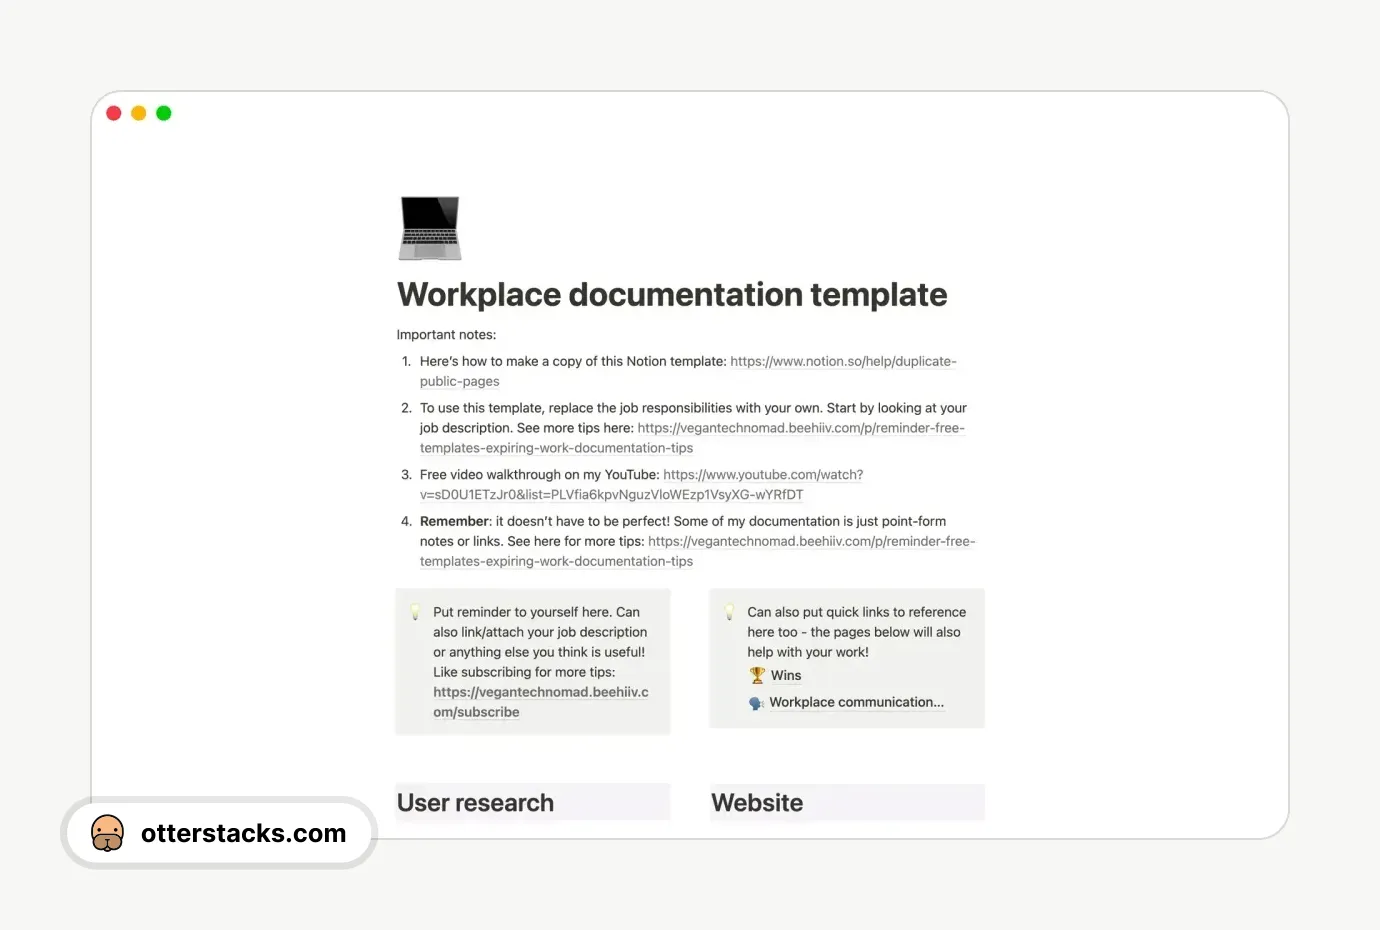
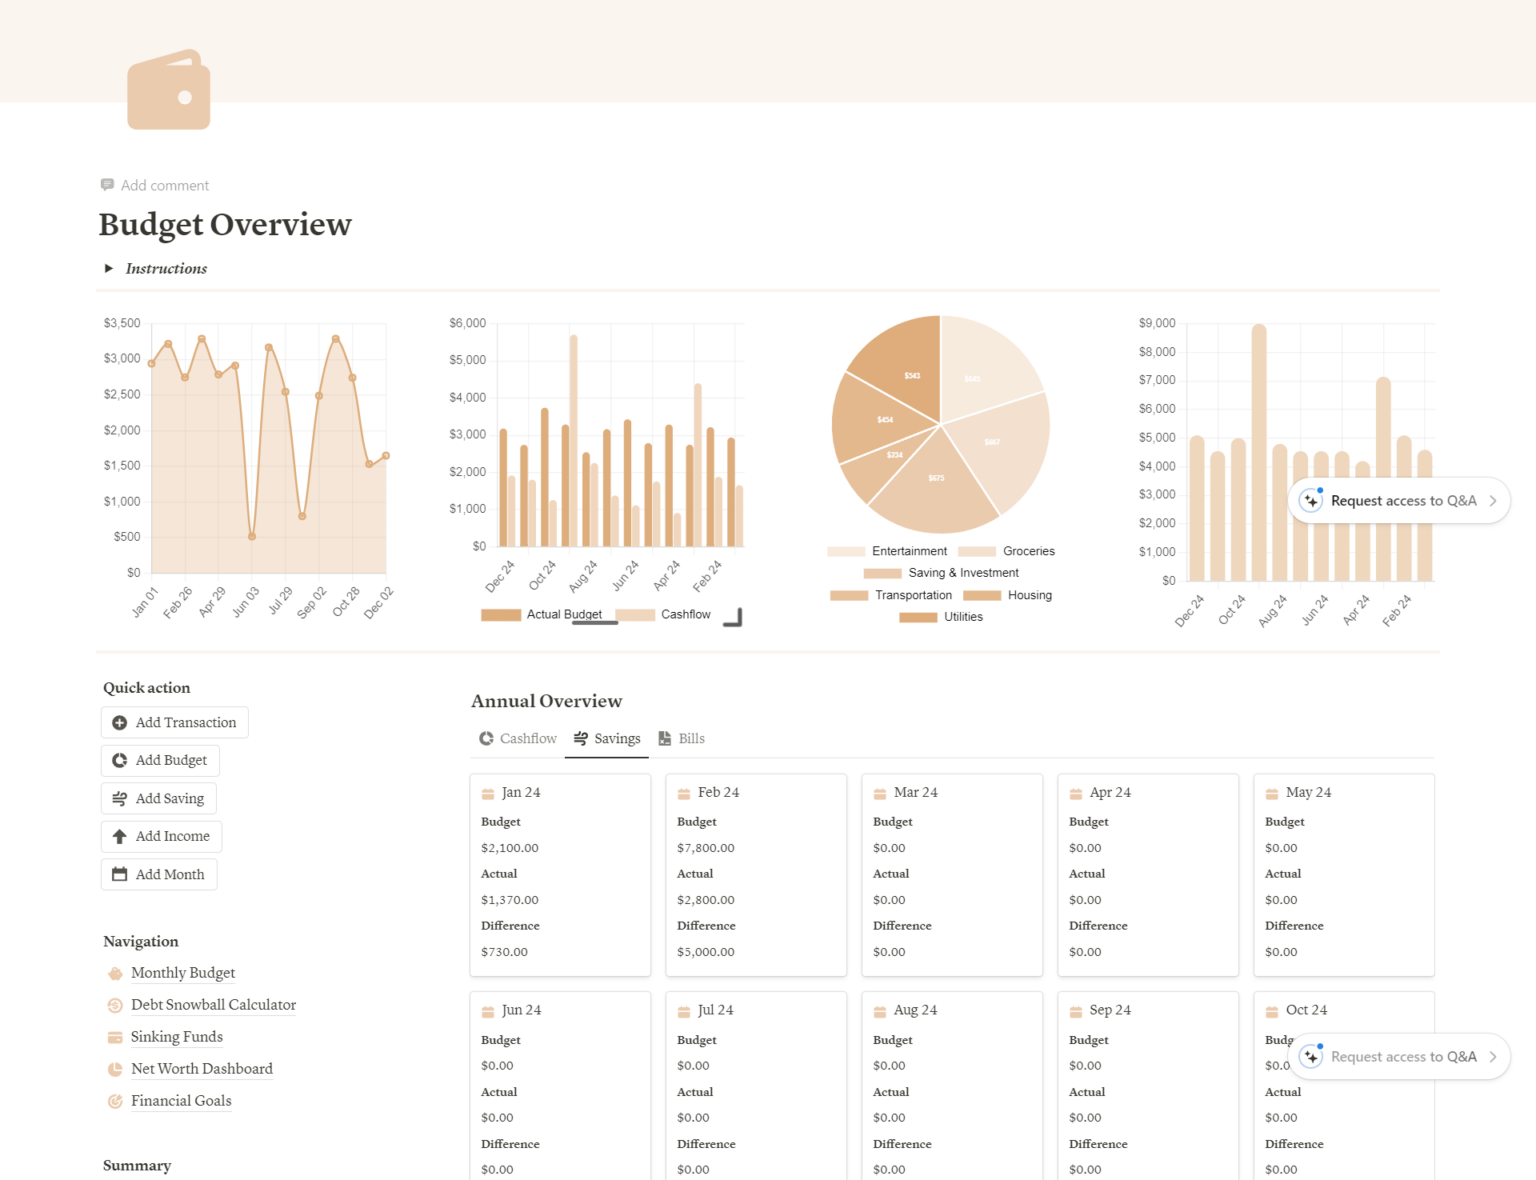
Let's read a short article that explicitly covers this.
How To Make A Notion Template: Step-By-Step Guide
The article 'How To Make A Notion Template' has a fantastic, straight-to-the-point section on this topic. It will reinforce the importance of this step and give you practical ideas.
Please read the section titled 'Provide Clear Instructions'. Pay close attention to the 'How to Do It' bullet points and the example provided.
Structuring Documentation for Readability
How you format your instructions is as important as what you write. Think like a content creator: make your text skimmable and easy to digest.
The article "7 Best Practices for Creating Effective SOPs in Notion" provides excellent formatting advice that applies perfectly to template documentation. Key takeaways from this resource include:
- Use Headers (H1, H2, H3): Structure your instructions into logical sections.
- Use Lists: Use numbered lists for sequential steps and bullet points for unordered tips.
- Use Bold Text: Highlight critical actions or key terms.
- Keep it Concise: Use clear, simple language. Avoid jargon.
Putting It All Together: Building an SOP
Let's watch a video from Notion's official channel. While it's about creating a "Standard Operating Procedure" (SOP) document, the process and blocks used are exactly what you'll use to create your template's "How-to" guide.
How to build a standard operating procedure doc
In this video, 'How to build a standard operating procedure doc,' you'll see how to combine headings, text, and toggles to create a well-structured instructional document within Notion.
Watch from 01:39 to 02:52. Observe how they use H1/H2/H3 headings for structure, add a simple table for clarity, and then create a toggle to hold additional references. This is a perfect model for your template's documentation.
Test your understanding!
You've designed a complex content calendar template. You want to include a detailed, 5-step guide on how to use the 'Content Pipeline' board view, but you're worried it will make the main dashboard look too busy. What is the best Notion block to use for this guide, and where should you probably place it?
Show answer
The best block to use is a Toggle block. You could label it "How to Use the Content Pipeline" and place it directly above the board view itself. This keeps the detailed instructions hidden by default but makes them easily accessible right where the user needs them.
✍️ Exercise: Add Documentation to Your Project Manager
It's time to apply these principles to the "Project & Task Manager [MASTER]" page you created in the last lesson.
Your Task:
-
1. Create a Master "How to Use" Toggle:
- At the very top of your master template page (above the dashboards and databases), create a Toggle block.
- Title it: "👋 Welcome! How to Use This Template".
-
2. Structure the Instructions:
- Inside the main toggle, create three H2 Headings:
## 🚀 Getting Started## 🗃️ Understanding the Databases## workflow Daily Workflow
- Under
## 🚀 Getting Started, write a short, numbered list of the first 2-3 things a user should do (e.g., "1. Explore the example projects and tasks below. 2. Once you're comfortable, you can delete the examples. 3. Add your first real project in the 'Projects' database."). - Under
## 🗃️ Understanding the Databases, add two bullet points briefly explaining the 'Projects' database and the 'Tasks' database and how they relate to each other.
- Inside the main toggle, create three H2 Headings:
-
3. Add In-Context Tips:
- Next to the title of your "Projects" linked database on the main dashboard, add a Callout block.
- Use the 💡 icon and write a tip, like: "💡 To create a new project, click the
+ Newbutton at the top right of this database." - Do the same for your "Tasks" database.
-
4. Create an FAQ Section:
- At the bottom of your main "How to Use" toggle, create another Toggle block.
- Title it: "❓ Frequently Asked Questions".
- Inside this nested toggle, add a sample question, like: "How do I see all tasks for just one project?" Make the question bold.
- Below the question, write the answer: "Go to the main 'Projects' database, open a project page, and you'll see all of its related tasks listed inside!"
-
5. Review Your Work:
- Collapse the main toggle. Your dashboard should look clean again.
- Expand it to see your organized, comprehensive instructions. Check for clarity and typos.
Conclusion
You have now transformed your template from a mere tool into a guided solution. By embedding clear, well-structured documentation, you have significantly increased its value and created a much better experience for your future customers. This proactive approach is a hallmark of a professional template creator.
Key Takeaways:
- Documentation is a core feature, not an afterthought. It builds trust and reduces your support workload.
- Use Toggle blocks to hide detailed instructions and keep your template's interface clean.
- Use Callout blocks for high-visibility, in-context tips and warnings.
- Structure your instructions logically with headings and lists, guiding the user from onboarding to advanced use.
Preview of the Next Lesson:
Your template is now structured correctly and has clear instructions. But an empty system, even with instructions, can be hard to grasp. In the next lesson, we will focus on adding placeholder content and examples to visually demonstrate how your template should be used, bringing your instructions to life.