Hello! Welcome back to your course on n8n.
In our last lesson, we explored the automation landscape and saw why n8n's flexibility and cost-effective model make it such a powerful tool for your goals. We concluded that the easiest and fastest way to get started is with the n8n Cloud version, which handles all the technical setup for you.
Today, we'll take the first practical step on our automation journey. This lesson will guide you through setting up your own free n8n Cloud account. This is a quick but essential step that gives you the workspace you'll need for the rest of the course.
Choosing Your Path: n8n Cloud vs. Self-Hosted
Before we create the account, let's briefly reinforce why we're choosing the cloud option. When you use n8n, you have two main choices for where your automation workflows will run:
- n8n Cloud: The n8n team manages the servers, security, and updates. You just sign up and start building.
- Self-Hosted: You install and run n8n on your own server. This gives you full control over your data but requires some technical comfort to set up and maintain.
Given your goal to get started quickly with a no-code approach, the cloud version is the perfect choice. To understand the pros and cons of each, please read the following short excerpt.
The Complete Beginner's Guide to n8n: Your First Workflow - Contabo
This article from Contabo, 'The Complete Beginner's Guide to n8n', clearly explains the difference between the two hosting options.
Please read the section titled 'n8n Cloud vs. Self-Hosted: Choosing Your Starting Environment'. This will give you a clear understanding of the benefits of our chosen path.
As the article confirms, n8n Cloud lets us focus on automation without worrying about server maintenance.
Creating Your n8n Cloud Account
Now, let's get you set up. The process is straightforward. We will use a special "quickstart" link from the official n8n documentation. This link not only guides you to the signup page but will also load a sample workflow into your account, which will be useful for us in later lessons.
Follow the instructions in the reading block below to create your account.
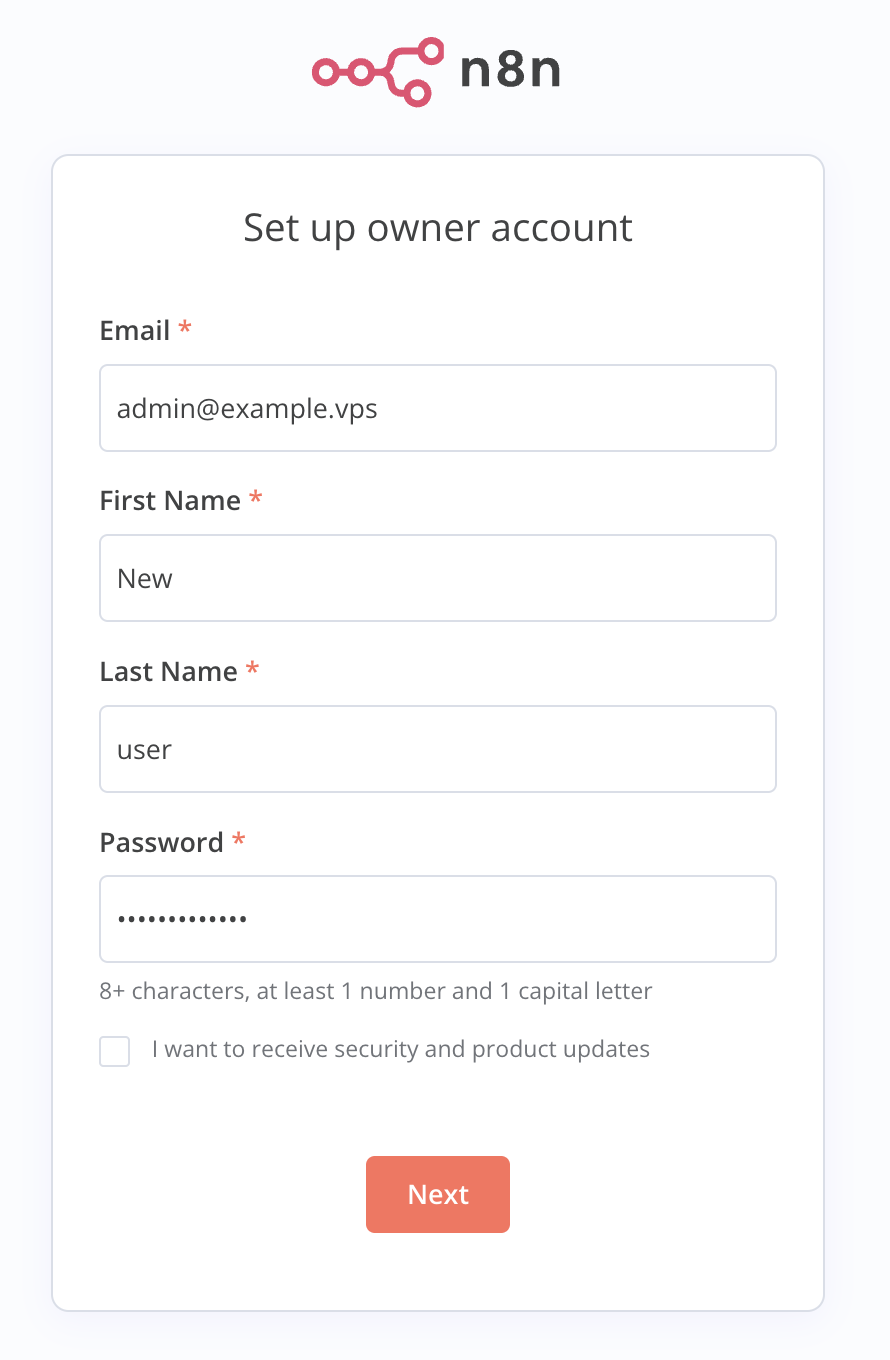
A very quick quickstart - n8n Docs
The official n8n documentation provides a 'very quick quickstart' guide that walks you through signing up for n8n Cloud. We will use this to create your account.
Please read and follow the instructions in the section 'Step one: Open a workflow template and sign up for n8n Cloud'. Click the 'Templates | Very quick quickstart' link, then select 'Use for free', and finally 'Get started free with n8n cloud' to begin the signup process.
Please go ahead and complete the signup process now. You may be asked a few questions about your role and what you plan to use n8n for; feel free to answer them. Once you have successfully created your account and can see the n8n interface, come back to this lesson.
Welcome back! You should now be logged into your new n8n account.
Conclusion
Congratulations on completing this important step! You now have your own personal automation workshop ready to go.
Key Takeaways:
- n8n offers both a convenient Cloud version and a powerful Self-Hosted option.
- For our purposes, the n8n Cloud is the ideal starting point because it requires no technical setup or maintenance.
- You have successfully created your own n8n Cloud account, which is where you will build and run all your workflows.
Preview of the Next Lesson:
Now that you have access, it's time to get familiar with your new environment. In the next lesson, we will take a guided tour of the n8n interface. You'll learn to identify the main areas: the canvas, the node panel, the execution log, and the sidebar. This will ensure you feel comfortable and know your way around before we start building our first automation.