Hello! Welcome back to our hands-on module for Google's Agent Development Kit.
In our last session, you successfully set up a complete ADK development environment integrated with Vertex AI. You used the adk CLI to scaffold a personal_assistant project and verified that you could run it using both the terminal and the adk web interface.
Today, we'll build on that foundation. Our goal is to construct a basic agent using Google ADK's core primitives. We will open up the agent.py file you generated and replace the placeholder code with a custom agent of our own. You will learn how to define an agent's persona, capabilities, and behavior using the fundamental LlmAgent class and its configuration parameters.
Understanding the LlmAgent
The core building block for an agent that can reason and converse in ADK is the LlmAgent. Think of it as the "brain" that uses a large language model to process information and decide what to do. In many examples, including the code we'll write, it is imported with the simpler alias Agent.

To understand the LlmAgent and how we configure it, let's turn to a comprehensive guide.
The Complete Guide to Google's Agent Development Kit ...
This guide provides an excellent breakdown of the different agent types in ADK and the parameters used to configure them. It will give you the conceptual underpinning for the code we're about to write.
Please read the section titled Building Agents: The Foundation. Focus on: The description of the LlmAgent. The explanations for the configuration parameters: model, instruction, and description. Pay close attention to the best practices for writing effective instructions, as this is the most critical part of guiding your agent's behavior.
As you read, the key takeaway is that an LlmAgent's behavior is primarily shaped by its instruction parameter. This is where you define its persona, its rules, and its purpose.
Hands-On: Building a Code Review Helper Agent
Let's apply these concepts. We'll modify the personal_assistant project you created in the last lesson to become a "Code Review Helper." This is a practical example that leverages your background as a software engineer.
The process involves two main steps:
- Defining the agent's instructions.
- Instantiating the
Agentclass with those instructions in youragent.pyfile.
The following video provides a fantastic, real-time demonstration of building a basic agent from scratch. We will follow its structure, paying close attention to how the code is organized and executed.
Building your first AI Agent - Google Agent Development Kit for Beginners (Part 1)
This video by Code with Ahsan walks through creating a marketing agent. We will adapt this process for our Code Review Helper. The video clearly shows how to define instructions, create an LlmAgent, and run it using the web UI.
Please watch from 00:09:33 to 00:14:02. The presenter demonstrates: Creating a separate instructions.py file to hold the agent's prompt. This is a great practice for code organization. Writing the code in agent.py to import the instructions and instantiate a basic LlmAgent. Defining the agent's name, model, instruction, and tools. Note: The video uses a simple Google AI setup with an API key. Since you configured a Vertex AI environment, you can ignore the parts about python-dotenv and the .env file for the API key. Your authentication is already handled by the gcloud CLI.
Now, let's put this into practice with our own agent.
Step 1: Create instructions.py
Following the best practice from the video, let's separate our prompt from our agent logic.
Inside your personal_assistant folder, create a new file named instructions.py. Paste the following code into it:
# personal_assistant/instructions.py

code_review_instruction = """
You are an expert code reviewer AI assistant. Your purpose is to provide constructive, concise, and helpful feedback on code snippets provided by the user.

Your primary functions are:
1.  **Identify Potential Bugs**: Look for common errors like null pointer exceptions, off-by-one errors, or race conditions.
2.  **Suggest Performance Improvements**: Point out inefficient algorithms, unnecessary computations, or opportunities for optimization.
3.  **Enforce Best Practices**: Check for adherence to language-specific conventions (e.g., PEP 8 for Python), proper naming, and code readability.
4.  **Enhance Security**: Identify potential security vulnerabilities such as SQL injection, cross-site scripting (XSS), or insecure handling of secrets.

When a user provides a code snippet, analyze it based on these four pillars and provide your feedback in a clear, bulleted list. Be polite and encouraging.
"""
Step 2: Modify agent.py to Use the Instruction
Now, open the agent.py file that was generated for you in the last lesson. Replace its entire contents with the following code:
# personal_assistant/agent.py

from google.adk.agents import Agent
from .instructions import code_review_instruction

# The 'root_agent' variable is mandatory. ADK looks for it as the entry point.
root_agent = Agent(
    name="code_reviewer",
    description="A helpful assistant that reviews code snippets for bugs, performance, and best practices.",
    instruction=code_review_instruction,
    # We leave 'tools' empty for now. We'll add them in the next lesson.
    tools=[],
)
Let's break this down:
- We import the
Agentclass from the ADK library. - We import our
code_review_instructionfrom the localinstructions.pyfile. - We define a variable named
root_agent. This specific name is required by the ADK framework to identify the main agent. - We instantiate the
Agentwith:- A
namethat has no spaces (a common source of errors). - A
descriptionthat summarizes its purpose. - The detailed
instructionwe just wrote.
- A
Test your understanding!
Imagine you wanted the agent to be much stricter and focus only on security vulnerabilities, ignoring all other aspects of code review. Which part of the project would you modify, and what might that change look like?
Show answer
You would modify the code_review_instruction string in the instructions.py file. You wouldn't need to change any of the agent.py logic.
The new instruction might look something like this:
code_review_instruction = """
You are a specialist security code auditor. Your ONLY function is to identify potential security vulnerabilities in code snippets. Ignore all other aspects like style, performance, or best practices unless they are directly tied to a security flaw. When you find a potential vulnerability, explain the risk and suggest a specific mitigation. If no security issues are found, state that clearly.
"""
This demonstrates how the instruction prompt is the primary control lever for an LlmAgent's behavior.
Step 3: Run and Interact with Your Agent
With the code saved, it's time to see your agent in action. The process is the same as in our last lesson, but the interaction will now be guided by your new instructions. The video you watched earlier also includes a great segment on running the agent and troubleshooting.
Building your first AI Agent - Google Agent Development Kit for Beginners (Part 1)
Let's watch the final part of the video to see how to run the agent with adk web and interpret the results. The presenter also runs into common errors and fixes them, which is extremely valuable practical knowledge.
Please watch from 00:15:24 to 00:19:46. Focus on: How the adk web command starts the user interface. The process of sending a query and seeing the agent's response. Troubleshooting: Notice how the presenter diagnoses errors from the terminal output (like an invalid agent name with spaces or an incorrect parameter instructions instead of instruction) and quickly fixes them. This is a core part of the development loop. Inspecting the agent's execution trace in the UI to see what happened behind the scenes.
Now, run your own agent. In your terminal (with the virtual environment activated), navigate to the root of your project (google-adk-agents) and run:
adk web
Open http://localhost:8000 in your browser. You should see your personal_assistant (which now contains the code reviewer) in the dropdown.
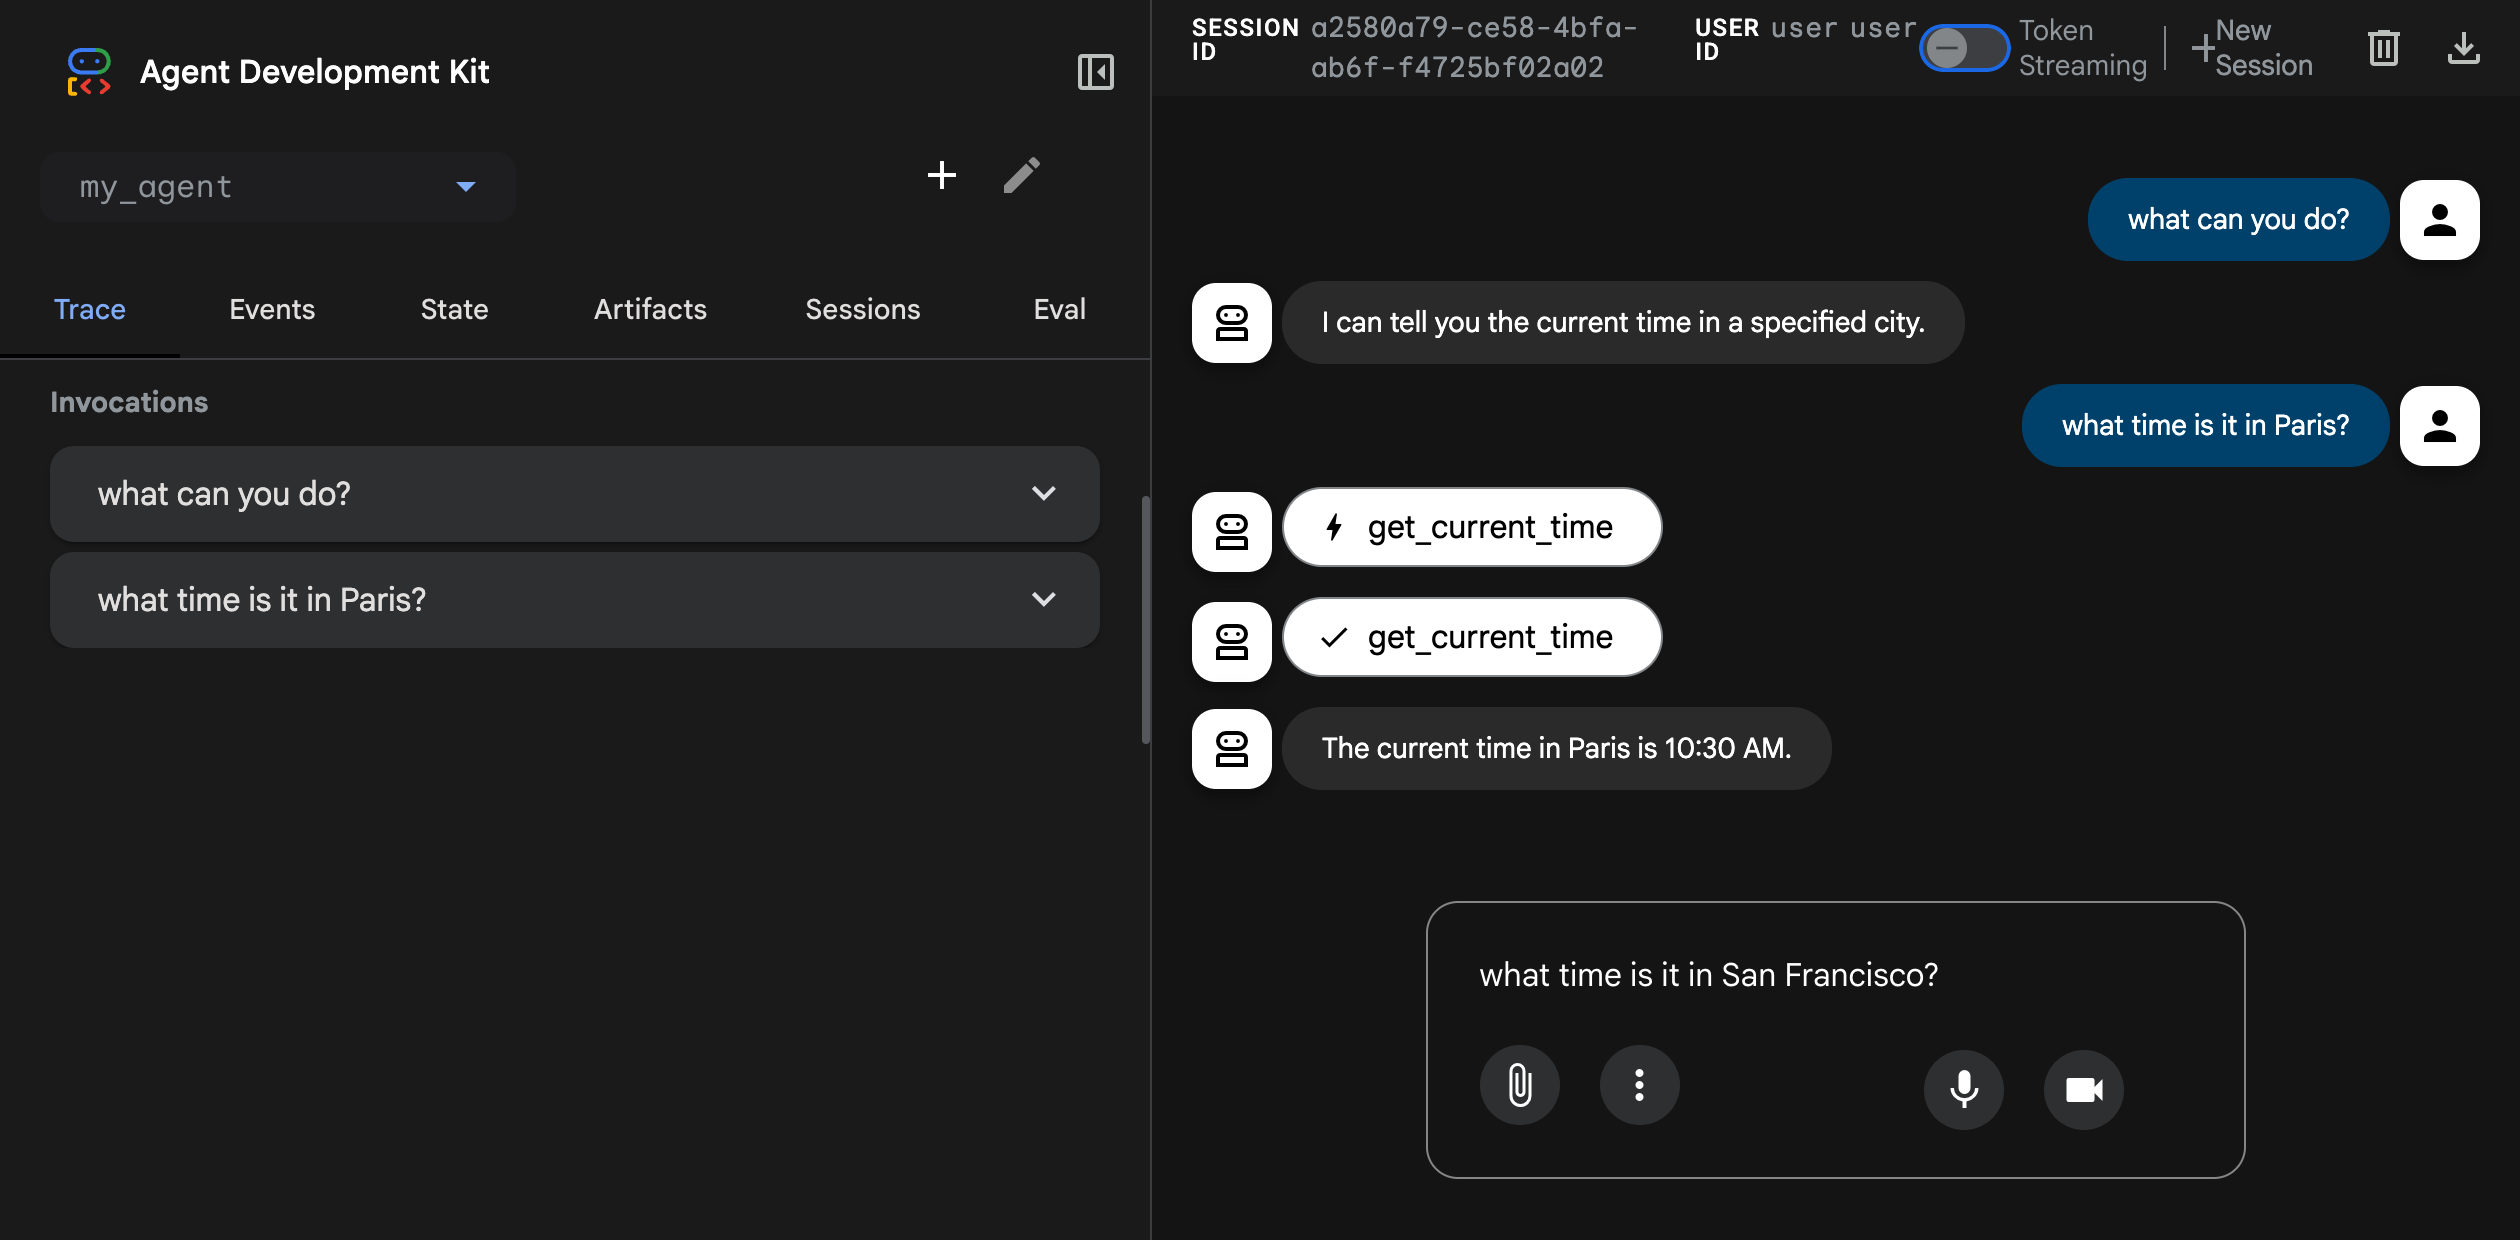
Try sending it a simple Python code snippet to review:
# A function to check for a user in a list
def find_user(username, user_list):
    for user in user_list:
        if user == username:
            return True
    return False
Your agent should analyze this and provide feedback based on the instructions you gave it. Experiment with different snippets!
Conclusion
Excellent work! You have successfully moved from setting up an environment to actively constructing an agent. You've learned how to define an agent's core logic and behavior using ADK's fundamental primitives.
Key Takeaways:
- The
LlmAgentis the Core: TheAgent(orLlmAgent) class is the primary primitive for creating reasoning agents in ADK. - Instruction is Everything: An agent's persona, rules, and goals are almost entirely defined by the
instructionstring you provide. Separating this into its own file is good practice. - Convention is Key: ADK relies on conventions, such as the
root_agentvariable name and a specific directory structure, to function correctly. - The
adk webUI is for Development: The web interface is your best friend for testing, interacting with, and debugging your agent's behavior during development.
So far, our agent can only think and talk. Its knowledge is limited to what the LLM was trained on. To make it truly powerful, we need to give it the ability to interact with the outside world.
In our next lesson, we will do just that by integrating an external API into our agent as a tool.