Introduction
In our previous lesson, we established a robust methodology for applying individual rhinestones, ensuring each crystal would remain securely bonded through high-impact choreography. We focused on point-based embellishments. Now, we turn our attention to a different but equally critical challenge: applying continuous lines of ornamentation, such as sequin trim, to the flexible edges of a garment.
A common failure in costume making is a beautifully embellished neckline that has lost all its stretch. When a performer tries to pull the garment on, the stitches pop, the fabric puckers, and the aesthetic is ruined before they even reach the stage. This lesson directly tackles that problem. You will learn the correct techniques to sew sequin trim to a stretch neckline, ensuring the final garment retains its essential elasticity for fit, comfort, and movement. We will analyze a case study of elasticity loss to understand the mechanics of this failure and engineer a solution that guarantees a durable, professional finish.
The Core Problem: Elasticity Mismatch
The fundamental issue arises from a mismatch between the properties of the fabric, the trim, and the sewing thread. A performance bra top is typically made from a fabric with a high degree of stretch, like lycra or powernet. If you sew an element with little or no stretch onto this fabric using a stitch that doesn't stretch, you effectively anchor the fabric, negating its core property.
This can happen in two primary ways:
- Using Non-Stretch Trim: Many decorative trims are based on a simple polyester ribbon, which has no inherent stretch. Sewing this onto a stretch fabric is like building a retaining wall on a rubber sheet.
- Using a Non-Stretch Stitch: Even if you use a trim with a stretch base, applying it with a standard straight lockstitch will kill the elasticity. A straight stitch is a series of locked threads forming a rigid line with almost zero elongation. When the fabric underneath tries to stretch, the thread, unable to extend, takes the full force and snaps.
For Bollywood dance costumes, where necklines must stretch over the head and then conform perfectly to the body through vigorous movement, preserving this elasticity is not just a matter of finish, but of fundamental function.
Preparation: The Principle of Pre-Stretching
Just as with applying rhinestones, the foundational step is to prepare the garment by stretching it. You must sew the trim to the neckline while it is stretched to the approximate dimensions it will have when worn. This ensures that the stitches are formed with enough thread in the seam to accommodate the fabric's full extension without stress.
Failing to pre-stretch is a guaranteed path to failure. When you sew on a relaxed fabric, you create a seam that is the "resting" length. The moment the fabric is stretched, the thread in that seam is pulled taut and immediately breaks.
Beading and Sequins on Spandex - Spandex Simplified
The article "Beading and Sequins on Spandex" from Spandex Simplified, which we've referenced before, reiterates the importance of this preparatory step for any kind of embellishment.
Please read the initial section, Stretching Your Garment, focusing on the "Durability" reason. The author notes that stitching onto an already stretched garment gives the thread the space it needs. Also, review the section on Beaded Rows. Pay close attention to the warning: "Please keep in mind that when sequins are NOT individually tied off, the threads in between them will affect the overall stretching capability of that area of the garment." This highlights how the sewing thread itself becomes a structural component that can limit stretch if not applied correctly.
The Technical Solution: Using a Stretch Stitch
With the garment correctly pre-stretched, the next step is to choose a stitch that can elongate with the fabric. The industry-standard solution is the zigzag stitch.
Unlike a straight stitch, which forms a rigid line, a zigzag stitch creates a series of diagonal lines. When the fabric is stretched, these diagonal threads can pivot and change their angle, allowing the seam to lengthen without putting stress on the thread itself. It's a simple, elegant mechanical solution to the problem of elasticity.
The following video provides a clear visual explanation of why a straight stitch fails on stretch fabric and demonstrates three solutions, starting with the essential zigzag stitch.
3 Ways on How to Hem Stretchy Fabric WITHOUT IT Getting Wavy (no serger) || SHANiA
This video, "3 Ways on How to Hem Stretchy Fabric," by Shanía O., is a perfect primer on the practicalities of sewing stretch materials on a standard home machine.
First, watch the introduction from the beginning, where she demonstrates the wavy, puckered result of using the wrong technique. Next, watch her demonstration of the first and most fundamental solution, the zigzag stitch. Note her specific recommendations for stitch length and width, and her crucial advice to guide the fabric, not push or pull it, to prevent distortion.
Case Study: The Ruined "Sangeet" Night Neckline
Let's review a classic scenario of elasticity loss to solidify our understanding.
-
The Scenario: A designer is creating a set of ten identical, vibrant halter tops for the backup dancers in a large-scale "Sangeet" (wedding music night) film sequence. The design features a stretch lycra body with a sparkling sequin trim along the V-neckline. Under pressure to meet a deadline, the sewing is outsourced to a workshop unfamiliar with performance wear. They use a standard straight stitch to apply the sequin trim to the unstretched tops.
-
The Failure: The costumes arrive on set. During the first fitting, the lead dancer tries to pull the top on. The neckline refuses to stretch over her head. With a little force, a series of audible pops are heard as the sewing thread along the entire neckline snaps. The sequin trim now hangs loosely, and the neckline edge is distorted and puckered. The entire set of ten tops is unusable.
-
Analysis of Failure:
- Improper Technique: The primary fault was using a straight stitch. It had zero ability to stretch with the lycra, leading to immediate thread breakage under minimal strain.
- Lack of Preparation: The garments were sewn in a relaxed state. Even if a stretch stitch had been used, the seam would not have had enough thread allowance to accommodate the full stretch required to pull the garment on.
- Potential Material Mismatch: It's also likely the workshop used an inexpensive trim with a non-stretch ribbon base, which would have compounded the problem by physically preventing the fabric edge from expanding.
-
The Engineering Solution:
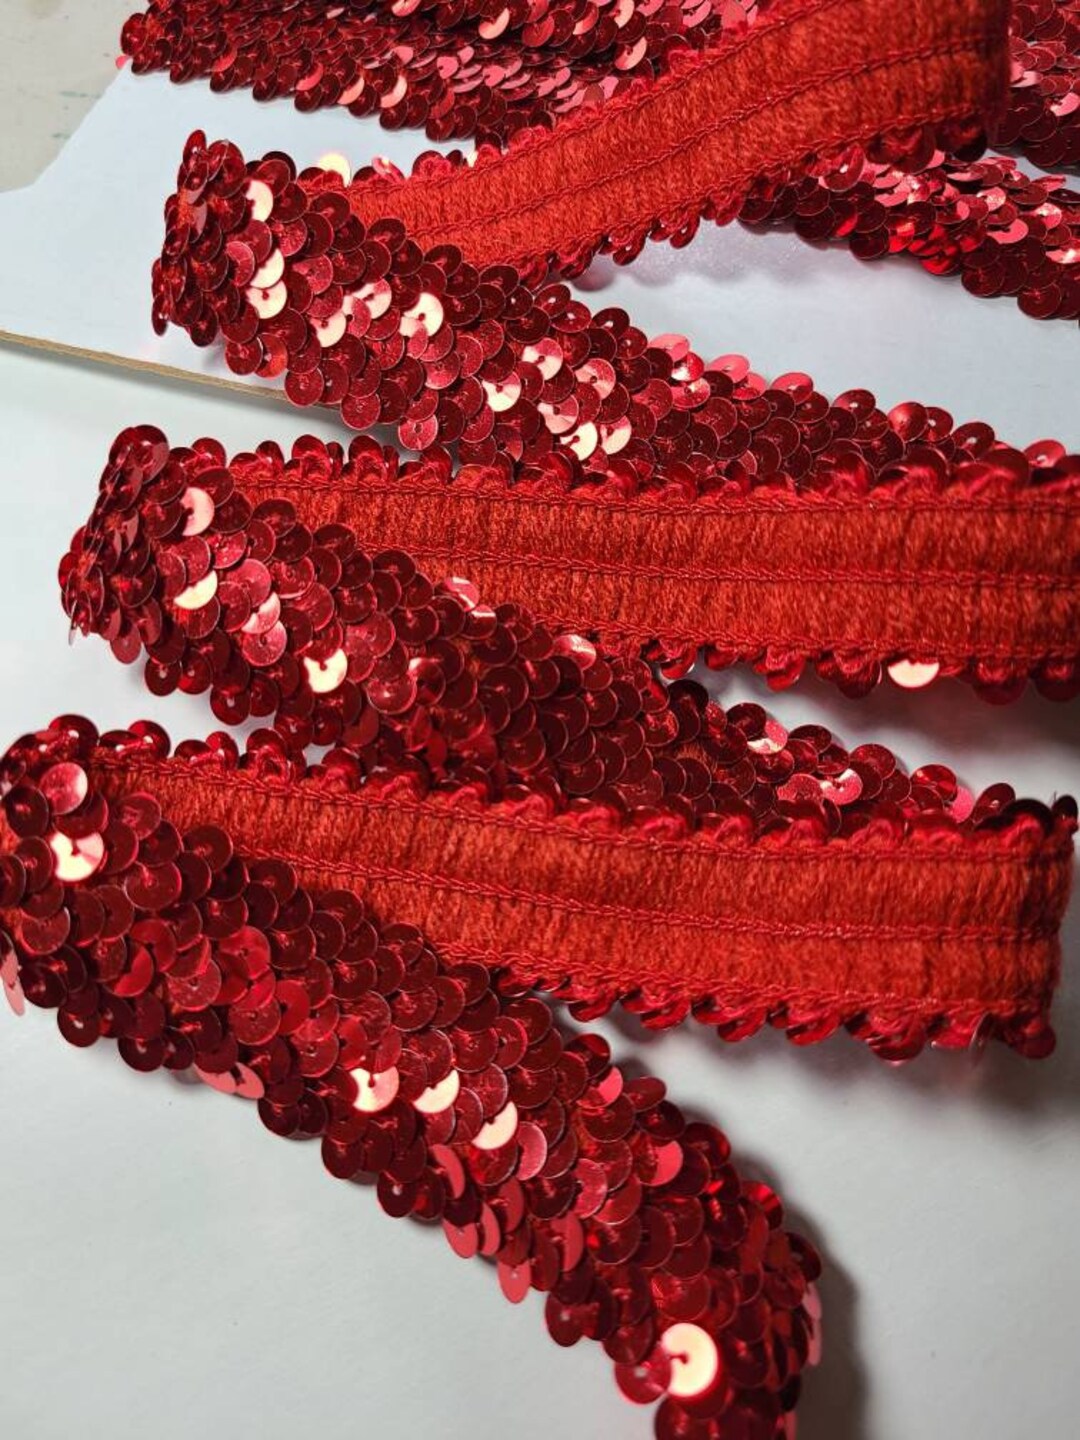
- Material Selection: Source a sequin trim built on an elastic core.
- Preparation: Stretch each top's neckline over a dress form or a cardboard cutout sized to the performer's measurements. Pin the elastic sequin trim along the stretched edge, applying slight tension to the trim so it sits flat.
- Execution: On the sewing machine, select a narrow zigzag stitch (e.g., 2.0 width, 2.5 length). Use a strong polyester thread. Carefully sew the trim down the center of its elastic base, allowing the machine's feed dogs to pull the fabric through naturally. Do not push or stretch the fabric further as you sew.
The result is a neckline that looks sharp and clean but stretches effortlessly, surviving countless high-energy takes.
Advanced Method: The Twin Needle Finish
For a finish that looks even more professional and ready-made, you can use a twin needle. This special needle creates two perfectly parallel rows of straight stitches on the top side of the fabric, while the bobbin thread forms a zigzag pattern on the underside. This combination provides a very clean aesthetic from the outside while retaining the necessary stretch from the zigzag on the back. This is the same technique used on the hems of most commercial t-shirts.
3 Ways on How to Hem Stretchy Fabric WITHOUT IT Getting Wavy (no serger) || SHANiA
Let's return to Shanía O.'s video to see how this is done.
Watch her detailed guide on setting up and using a twin needle. Pay attention to the threading process, especially the step that is skipped for the second thread to prevent tangling. Notice how the final result has two straight lines on top and a zigzag on the bottom. Finally, her bonus tip on ironing is also applicable here to give your finished neckline a crisp, flat appearance.
While the zigzag stitch is perfectly functional, the twin needle is an excellent technique to have in your arsenal for when the external appearance requires the clean look of two parallel stitch lines.
Conclusion
You have now moved from securing static points to managing dynamic lines. The ability to attach trim to a stretch edge without compromising elasticity is a hallmark of professional construction in performance wear. This skill separates durable, high-performance costumes from amateur attempts that fail at the first fitting.
Key Takeaways:
- Always use a stretch-base trim for stretch necklines and armholes.
- The principle of pre-stretching the garment to its "worn" size before sewing is non-negotiable for preserving elasticity.
- A narrow zigzag stitch is the standard, most reliable method for attaching trim while allowing the seam to stretch.
- A twin needle offers a more professional-looking alternative, creating two straight stitches on the surface while maintaining stretch via a zigzag on the reverse.
Next Lesson Preview
We have now covered how to attach individual crystals and continuous trim. However, many iconic Bollywood looks involve more complex, heavy, and articulated elements like draped body chains, metallic plates, or cascades of jewels. These require more than just sewing; they demand engineered attachment points that can bear significant weight and move with the performer. In our next lesson, we will design these structural attachment points, ensuring that even the heaviest non-fabric elements are integrated securely and safely into the garment.