Introduction
In our previous lesson, we delved into the rigorous process of interpreting stress test data for fabrics and seams, using your background in experimental design to translate statistical outputs into concrete material choices. We established how to ensure the foundational structure of a garment can withstand the physical demands of a performance. Now, we will apply that same empirical mindset to the garment's dazzling surface: the embellishments.
This lesson addresses a critical aspect of Bollywood costume design: durability under pressure. You will learn how to perform a 'shed test' on an embellished prototype to evaluate the security of its ornamentation. A bra dripping with 2kg of crystals is visually stunning, but if those crystals create a shower of debris during the first take of a dance number, it's a production disaster. We will frame the shed test not as simple trial and error, but as a structured experiment designed to simulate the specific stresses of a multi-take shoot, allowing you to quantify durability and diagnose failures with precision.
Part 1: Framing the 'Shed Test' as a Designed Experiment
Given your expertise in operations research and experimental design, you'll recognize that a truly effective 'shed test' is far more than just shaking a garment vigorously. To yield useful, replicable data, it must be structured as a formal experiment.
Our primary goal is to move beyond a simple "pass/fail" and generate data that informs design improvements.
- Objective: To quantify the rate of embellishment loss under simulated performance conditions and identify specific failure modes.
- Response Variable (The Output): We need a measurable outcome. Instead of just noting "some beads fell off," we can define a more rigorous metric like Shed Rate, which could be
Number of lost embellishments per test cycle. Other metrics could includePercentage of total embellishments lostorWeight of shed material. - Factors (The Inputs): What forces act on the embellishments during a performance? We can categorize these as our experimental factors:
- Movement Profile: The choreography is our primary source of stress. We can break it down into distinct stress vectors like high-frequency vibrations (e.g., shimmies, chest pops), large-amplitude impacts (jumps, floor work), and sustained abrasion (partner work, fabric-on-fabric friction).
- Environmental Conditions: A film set is not a sterile lab. Factors like heat from studio lights and moisture (simulating sweat) can degrade adhesives and threads.
- Duration: A single perfect take is rare. The test must simulate the cumulative stress of multiple takes. A "test cycle" will represent one take of a key choreographic sequence.
By defining the test in this way, you are not just checking for weakness; you are systematically stress-testing your construction methods to find their operational limits.
Part 2: A Protocol for a Simulated Multi-Take Shoot
Let's design a practical shed test protocol. Imagine our subject is a prototype bra, heavily embellished with sewn bugle beads and adhered rhinestones, intended for a high-energy "item number."
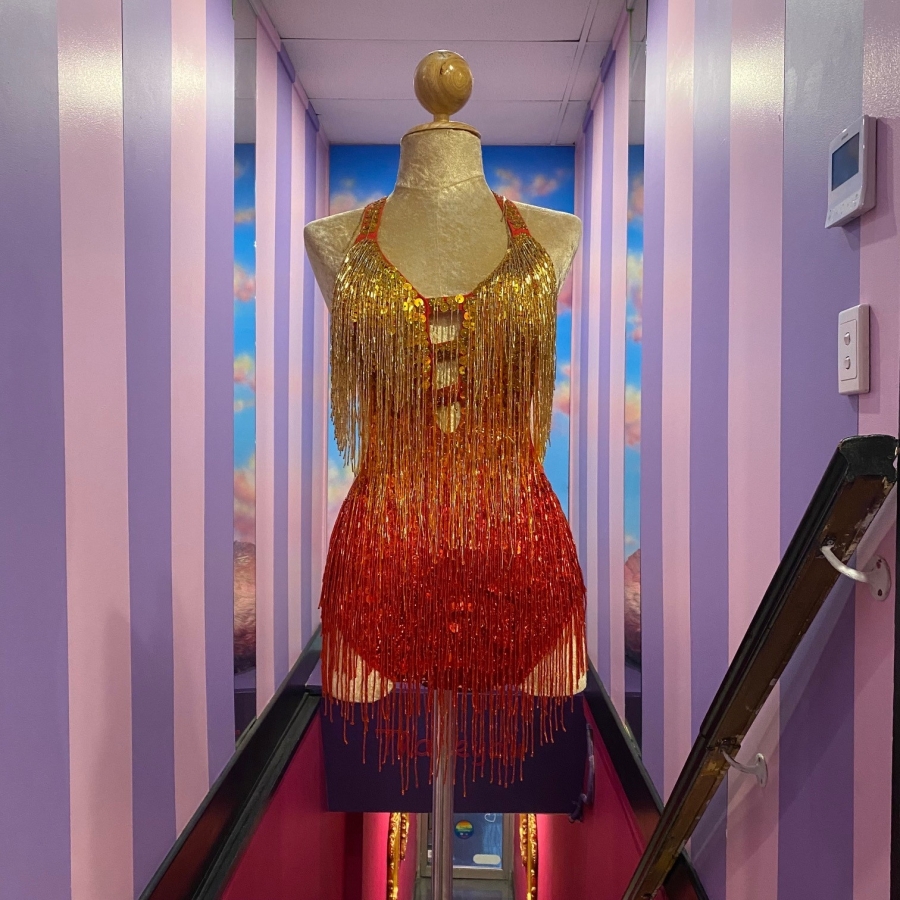
Case Study: The "Fire and Ice" Dance Number
The choreography involves rapid shimmying, sharp chest isolations, and a sequence where the dancer brushes against a beaded curtain.
Our protocol will simulate one "take" of the most demanding 8-bar sequence. We will repeat this cycle 10 times to simulate 10 takes.
Test Preparation:
- Mount the Prototype: Secure the bra onto a mannequin or dress form that mimics the performer's bust size. As recommended for working with spandex, the garment should be stretched to its approximate "as-worn" dimensions. This ensures the test is realistic.
- Establish a Baseline: Mark a 10cm x 10cm test area on one of the cups. Photograph this area in high resolution. Carefully count the number of each type of embellishment (e.g., 150 bugle beads, 200 rhinestones) within this marked zone. Place a clean collection tray beneath the mannequin.
The Test Cycle (Simulating One Take):
- Vibratory Stress (30 seconds): Manually shake the mannequin vigorously to simulate a fast shimmy. The goal is to mimic the high-frequency, low-amplitude motion that tests thread tension and adhesive shear strength.
- Impact Stress (5 repetitions): Lift the mannequin torso 30cm and drop it onto a padded surface. This simulates the sharp jolt of a landing, testing the inertia of the beads against their anchors.
- Abrasive Stress (15 seconds): Rub a standardized swatch of fabric (e.g., coarse denim or a sample of the beaded curtain) across the test area with moderate, consistent pressure. This tests for snagging and frictional wear.
Data Collection:
- After each full cycle, collect any fallen embellishments from the tray.
- Record the number and type of lost items.
- Briefly inspect the test area for any embellishments that are loose but have not yet fallen. Note these as "at-risk."
After 10 cycles, you will have a data set showing the rate of shedding over time. Does it fail early? Does it show gradual degradation? This quantitative data is the first step in your analysis.
Part 3: Failure Analysis and Diagnosis
Your test is complete. You found that after 10 cycles, 23 rhinestones and 45 bugle beads were shed. More importantly, you observed a catastrophic failure where an entire line of bugle beads unraveled in cycle 7. Now, we diagnose the "why." This is where we consult best practices for secure embellishment. The resources provided detail the professional techniques that prevent these exact failures.
Beading and Sequins on Spandex - Spandex Simplified
This guide is essential for understanding the unique challenges of embellishing stretch fabrics. It provides the "how-to" for the methods we are about to critique in our failure analysis.
Focus on these key areas: Read the section on Preparing Your Garment. Note the rationale for stretching before embellishing, which is crucial for thread durability. Review the two primary methods for attachment: Gluing Sequins and the various techniques for Sewing Sequins. Pay close attention to the Two Needle Method for creating lines of beads. This is directly relevant to the catastrophic failure we observed.
Let's use this knowledge to analyze our test results.
Diagnosis 1: Adhesive Failure (The 23 lost rhinestones)
The rhinestones popped off cleanly, leaving little residue. Consulting the "Gluing Sequins on Spandex" guide, a likely culprit is an insufficient amount of adhesive. The guide states, "You'll want a 'bead' of adhesive to come up through the middle of the center hole of the sequin, as this is what holds it on." Our failure suggests the application was too sparse. The fix is clear: modify the application technique to ensure proper adhesive coverage and anchoring.
Diagnosis 2: Catastrophic Thread Failure (The line of 45 bugle beads)
This is the most severe failure. An entire line of beads unraveled because of a single thread break. This is a classic sign of an improper sewing technique for high-stress performance wear.
The "Beading on Spandex" resource describes the Two Needle Method, also known as couching. One thread strings the beads, while a second, separate thread tacks down the beaded strand to the fabric every few beads.

Our failure indicates the beads were likely strung on a single thread without being tacked down. When one point in that thread broke under abrasive stress, the tension was released for the entire line. The fix is to rebuild the prototype using the two-needle/couching method, which compartmentalizes the risk. A break in the main strand will only loosen a few beads, not the entire line.
The following resource provides even more detail on the specific stitches that create robust, lasting embellishments.
How to Stitch Beads on Fabric: Secure Techniques for Lasting Embellish – MaggieFrames
This article details the specific stitching patterns and reinforcement methods that directly address the failures identified in our shed test.
Focus on these reinforcement strategies: In the section "Reinforced Stitching Patterns for High-Stress Areas," review the descriptions of Backstitch Magic for single beads and the Two-Needle Method for lines. Read the section on Troubleshooting Durability, especially the use of "Bar Tacking" and "Box X Stitch" for securing stress points. Finally, look at the FAQ entry for preventing bead loss, which summarizes the core principles.
This resource confirms our diagnosis. For high-stress areas, methods like the two-needle technique are non-negotiable. Furthermore, for any individually sewn beads, using a secure backstitch and double-knotting, as described, would prevent the sporadic, individual bead loss we might have also observed.
Conclusion
In this lesson, we have transformed the seemingly simple idea of a "shed test" into a rigorous, quantitative engineering protocol. By applying principles from your background in experimental design, you can now create a test that accurately simulates the demands of a Bollywood production, yields measurable data, and allows for precise diagnosis of failures.
Key Takeaways:
- A professional shed test is a designed experiment with defined objectives, response variables (like Shed Rate), and factors (movement, environment, duration).
- The test protocol should be derived directly from the choreography's stress vectors: vibration, impact, and abrasion.
- Failure analysis is the critical final step. By comparing observed failures to best-practice construction techniques found in professional guides, you can identify the root cause—be it poor adhesive application, single-thread stringing, or lack of fabric reinforcement.
- This systematic process allows you to iterate on your design, moving from a fragile prototype to a robust, "camera-ready" garment that can withstand the rigors of a multi-take shoot.
Next Lesson Preview
You have now performed a stress test and analyzed the results. The next logical step is to formalize this process. In our upcoming lesson, "Document test results and design modifications in a systematic way," you will learn how to build a personal technical design library. This will enable you to capture the knowledge gained from each prototype and test, ensuring that every project builds upon the successes and lessons of the last, accelerating your path to mastery.