Introduction
In the previous lesson, we successfully installed Docker Desktop and verified that your system is ready by confirming communication between the Docker client and the daemon. With your development environment set up, we can now move from preparation to action.
This lesson marks your first practical step into the world of containerization. We will focus on the most fundamental Docker command: docker run. You will learn how to use it to pull a public image from a registry and run it as a container on your machine. By the end of this session, you'll understand what happens behind the scenes during this process and will have run several different types of containers, including one with a Python environment.
Your First Container: hello-world
The traditional first step in any new programming environment is a "Hello, World!" application. Docker is no different. We'll begin by running the hello-world image, which is a small, purpose-built image designed to test that your Docker installation is working correctly.
Open your terminal and execute the following command:
docker run hello-world
You should see a message that begins with "Hello from Docker!". This message confirms that you have successfully run a container. But what actually happened?
The video below provides an excellent step-by-step explanation of the entire process, from your command to the final output. It neatly connects the concepts of the client, daemon, and registry that we discussed earlier.
What Are Containers? Docker Basics Explained for Absolute Beginners | Step-by-Step Tutorial
This tutorial segment breaks down the docker run hello-world command and explains the interaction between the different Docker components.
Watch the section from installing and testing Docker. Pay close attention to the sequence of events described in the output text itself: The Docker client contacted the Docker daemon. The daemon couldn't find the hello-world image locally. The daemon pulled the image from the Docker Hub registry. The daemon created a new container from that image. The daemon streamed the container's output to your client.
This simple command encapsulates the core workflow of Docker: running a container from an image. The image is the blueprint (the code and dependencies), and the container is the running instance of that blueprint.
The Lifecycle of a Container
You might have noticed that the hello-world container ran, printed its message, and then stopped. This is the default behavior. A container's purpose is to run a specific command or process. Once that process finishes, the container exits.
Let's explore this with another simple image called busybox, which is a minimal Linux environment.
A Docker Tutorial for Beginners
This section of the tutorial provides a great hands-on explanation of the docker run command and the ephemeral nature of containers.
Follow the instructions under the sub-heading Docker Run. You will run three commands: docker pull busybox (although docker run would do this automatically) docker run busybox docker run busybox echo "hello from busybox" Notice that the second command produces no output. As the text explains, the container started, ran its default (empty) command, and immediately exited. The third command, however, tells the container to run echo "hello from busybox", and you see that output before it exits.
This demonstrates a key concept: a container lives only as long as the command it is executing. The hello-world container's command was simply to print a message and exit.
Running an Interactive Container
So far, our containers have executed a single, non-interactive command. But what if you want to explore the environment inside a container, much like logging into a remote server with SSH? For this, we can run a container in interactive mode.
Let's launch a container using the official ubuntu image and start a bash shell inside it.
docker run -it ubuntu /bin/bash
Here's what this command does:
docker run: The familiar command to run a container.-it: A combination of two flags.-i(interactive) keeps the input stream open, and-t(tty) allocates a pseudo-terminal. Together, they give you an interactive shell inside the container. We'll cover flags in more detail later, but for now, just know that-itis your key to an interactive session.ubuntu: The name of the image to use./bin/bash: The command to run inside the container. Instead of running the image's default command, we are explicitly telling it to start a Bash shell.
After running the command, your terminal prompt will change. You are now inside the Ubuntu container.
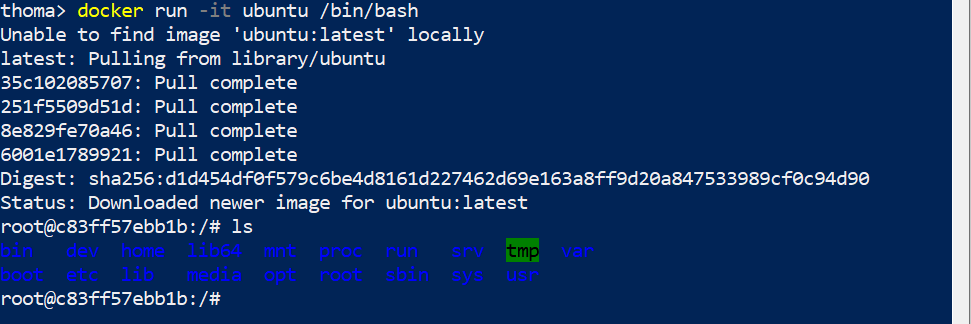
Try running a few commands like ls /, uname -a, or cat /etc/os-release. You'll see that you are in a self-contained Ubuntu environment, isolated from your host machine's file system. To leave the container and return to your host terminal, simply type exit and press Enter.
Running a Python Container
Given your background, let's apply this to a Python environment. The official python image on Docker Hub comes with Python pre-installed.
First, let's run a simple, one-off command. We'll use the python:alpine image. The :alpine part is a tag, which specifies a particular version of the image—in this case, a lightweight one based on Alpine Linux. We will dive deep into tags in the next lesson.
The --rm flag is also added here. It's a convenient housekeeping flag that automatically removes the container's filesystem after it exits. This is useful for short-lived containers to prevent your disk from filling up with stopped containers.
docker run --rm python:alpine python -c "import sys; print(f'Hello from Python {sys.version} running in a container!')"
This command will pull the python:alpine image if you don't have it, start a container, execute the Python code passed with the -c flag, print the output to your terminal, and then automatically clean up the container.
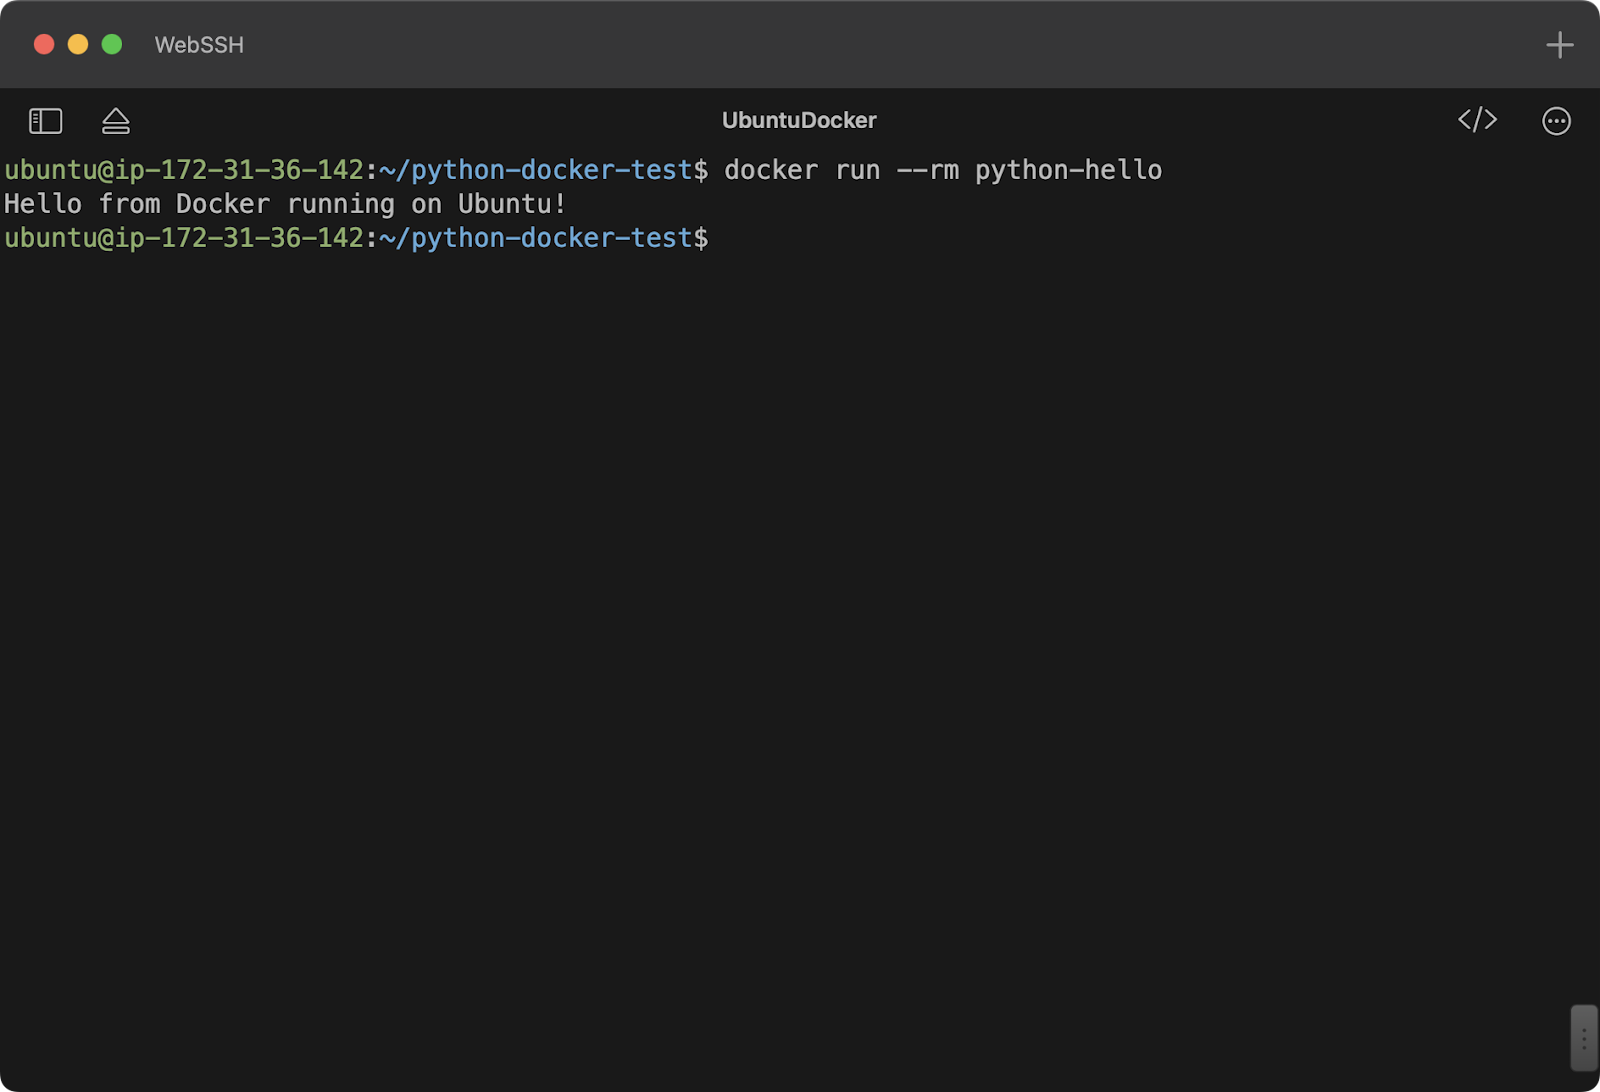
More powerfully, you can start an interactive Python REPL inside a container. This gives you a sandboxed Python environment you can use for quick experiments without affecting your host system's Python installation.
docker run -it --rm python:alpine python
This command will drop you directly into a Python shell running within the container. You can write and execute Python code as you normally would. When you're done, use exit() or Ctrl+D to leave the REPL, which will also stop and remove the container.
Conclusion
In this lesson, you've made the leap from theory to practice, using docker run to bring images to life as running containers. You have seen how a single command can download, create, and run a fully isolated environment.
Key Takeaways:
docker run [IMAGE_NAME]is the primary command for creating and starting a container.- If the specified image is not found locally, Docker automatically pulls it from Docker Hub.
- A container runs a command and exits when that command completes.
- The
-itflags allow you to start an interactive shell inside a container, giving you command-line access. - The
--rmflag is a useful practice for tidying up temporary containers after they exit. - You can run pre-built environments, like Ubuntu or Python, with a single command.
You've now run a container and observed its output. In our next lesson, we will focus on the blueprints themselves: the images. You'll learn how to find different versions of images using tags, manage the images you've downloaded, and understand their layered structure.