Hello! Welcome to the next lesson in our journey to build an autonomous content creation system.
In our last session, we built a crucial quality gate: an LLM-based evaluator to ensure our generated content meets our standards for clarity, coherence, and brand voice. We taught our agent to be its own editor for style. Now, we're going to teach it to be a fact-checker.
This brings us to today's learning outcome: Implement a claim extraction and verification pipeline that checks generated content against trusted data sources.
Thought-leadership content is built on credibility. An LLM's tendency to "hallucinate"—to generate plausible but false information—is the single biggest threat to that credibility. A robust verification pipeline is not just a feature; it's a foundational guardrail for creating trustworthy content. We will design a system that can programmatically identify factual claims within its own generated text, seek out evidence from reliable sources, and verify the accuracy of each claim before it ever reaches an audience.
The Anatomy of an Automated Fact-Checker
Fact-checking a piece of text isn't a single action but a sequence of distinct tasks. We can model our pipeline on a logical, multi-step process that mirrors how a human researcher would work.
A very effective way to structure this is by thinking in terms of specialized agents or nodes, each with one job.
Building a Trustworthy AI: Automated Fact-Checking with Google's ...
This article from Google Cloud, 'Building a Trustworthy AI', outlines a clear, three-agent approach to automated fact-checking. While it uses a specific toolkit, the conceptual breakdown is universal and provides an excellent blueprint for our pipeline.
Please read the introduction that describes the three agents, and the short concluding section 'Why This Matters: Grounding AI for Reliable Results'. Focus on the distinct roles of each agent: Claim Extraction Agent: The editor that identifies verifiable statements. Evidence Search Agent: The researcher that finds supporting information. Fact-Check Agent: The judge that compares the claim to the evidence.
As the article highlights, this process of grounding the LLM's output in external, verifiable data is what transforms it from a creative text generator into a reliable assistant. We will implement these three logical steps within our LangGraph workflow.
Step 1: Claim Extraction
Our first task is to parse the generated article and extract a list of all statements that present themselves as facts. These are sentences that contain numbers, statistics, product names, or specific assertions that can be proven true or false.

To do this programmatically, we'll use a technique we've touched on before: instructing an LLM to return a structured JSON output. We define the "shape" of the data we want, and the LLM acts as a powerful, flexible parser.
Use LLMs To Extract Data From Text (Expert Mode)
This video from Greg Kamradt on using LLMs for data extraction provides an excellent demonstration of this technique. While it uses a Python library called Kor, the underlying principle of defining a schema and providing examples is directly applicable to our TypeScript implementation.
Watch the following segments to understand how to guide an LLM to extract structured data: Basic Schema (01:20 - 03:42): See how a schema with descriptions and examples is used to extract a list of names, intelligently ignoring irrelevant data. Multiple Fields (03:42 - 05:02): Understand how to extract related pieces of information into a single object. Real-World Example (07:53 - 11:43): Pay close attention to this section. It shows how to extract a list of technologies from a job description, which is very similar to our goal of extracting claims from an article.
Implementing the extractClaimsNode in TypeScript
Let's translate this concept into code for our project. We'll start by defining the TypeScript interfaces for our structured output.
// in a types/verification.ts file

export interface VerifiableClaim {
  claim: string; // The specific, verifiable statement
}

export interface ClaimVerificationResult extends VerifiableClaim {
  status: 'Supported' | 'Contradicted' | 'Unsubstantiated';
  evidence: string; // Summary of evidence found
  reasoning?: string; // Explanation for Contradicted/Unsubstantiated
}
Now, we can write the prompt and the function for our extractClaimsNode. This node will take the generated article from the agent's state and populate a new field, claims_to_verify.
// in your nodes.ts file
import { OpenAI } from 'openai';
import { AgentState } from './state';
import { VerifiableClaim } from './types/verification';

const openai = new OpenAI({ apiKey: process.env.OPENAI_API_KEY });

export async function extractClaimsNode(state: AgentState): Promise<Partial<AgentState>> {
  console.log("--- EXTRACTING CLAIMS ---");
  if (!state.article) {
    throw new Error("Article not found in state for claim extraction.");
  }

  const system_message = `
    You are a meticulous editor tasked with identifying verifiable claims in a technical article.
    Analyze the user-provided text and extract all specific, factual statements that can be independently verified.
    Ignore subjective opinions, marketing fluff, and general statements. Focus on data, statistics, technical specifications, and concrete events.

    Respond with ONLY a valid JSON object with a single key "claims", which is an array of objects. Each object should have a single key "claim" containing the extracted statement.

    Example Input: "Our new 'Quantum' processor is 50% faster and uses the Foxtrot architecture. We think it's the best on the market."
    Example Output:
    {
      "claims": [
        { "claim": "The 'Quantum' processor is 50% faster." },
        { "claim": "The 'Quantum' processor uses the Foxtrot architecture." }
      ]
    }
  `;

  const response = await openai.chat.completions.create({
    model: "gpt-4o-mini",
    messages: [
      { role: "system", content: system_message },
      { role: "user", content: state.article }
    ],
    response_format: { type: "json_object" },
  });

  try {
    const result = JSON.parse(response.choices[0].message.content || '{}');
    const claimsToVerify: VerifiableClaim[] = result.claims || [];
    console.log(`Extracted ${claimsToVerify.length} claims to verify.`);
    return { claims_to_verify: claimsToVerify };
  } catch (e) {
    console.error("Failed to parse claims from LLM response:", e);
    return { claims_to_verify: [] };
  }
}
Steps 2 & 3: Evidence Gathering and Verification
With a structured list of claims, we now move to the research phase. For each claim, we need to find evidence and then make a judgment. This is a perfect use case for a pattern called Corrective-RAG (CRAG), a form of "active" retrieval where the agent reasons about the information it finds.
The CRAG workflow is simple but powerful:
- Retrieve: Look for evidence in your primary, trusted data sources (in our case, the tech articles we collected in Module 2).
- Grade: Assess if the retrieved information is relevant to the claim.
- Act:
- If relevant, proceed to verification.
- If not relevant or insufficient, trigger a corrective action: a web search to find external evidence.
- Verify: Compare the original claim against all the gathered evidence to determine if it's supported.
Self-reflective RAG with LangGraph: Self-RAG and CRAG
This video from LangChain provides an excellent overview of 'active RAG' and the CRAG method. It demonstrates how to build this logic into a LangGraph state machine, which is exactly what we need to do.
Please watch these key segments. The code is in Python, but focus on the architecture: CRAG Method (02:32 - 04:31): Understand the core flow: retrieve, grade, and conditionally web search. Designing the Workflow (06:26 - 08:12): See how this flow is mapped to a graph with nodes and conditional edges. Implementing Nodes (08:12 - 10:37): Notice how each step (retrieve, grade, generate) is a function that modifies the graph's state. Conditional Edge (10:37 - 11:11): This is the key decision-making logic. A function checks the grading result from the state and directs the graph to either perform a web search or move on.
To implement the "grading" and "verifying" steps, we'll once again use the LLM-as-a-Judge pattern, but with prompts specifically designed for factual assessment.
The LangChain Self-RAG tutorial provides the direct code implementation for the graders we need. It's the practical blueprint for our verification logic.
Please read these three sections carefully. They provide the prompts and logic for our core verification components. Retrieval Grader: This is our relevance check. It answers the question: 'Is this retrieved document about the claim I'm checking?' Hallucination Grader: This is our final verifier. It answers: 'Is the claim supported by this set of evidence?' grade_generation_v_documents_and_question function: Look at how this function in the 'Nodes' section orchestrates the hallucination check and makes a final decision. This is the logic we will adapt for our verifyClaimsNode.
Integrating the Verification Pipeline in LangGraph
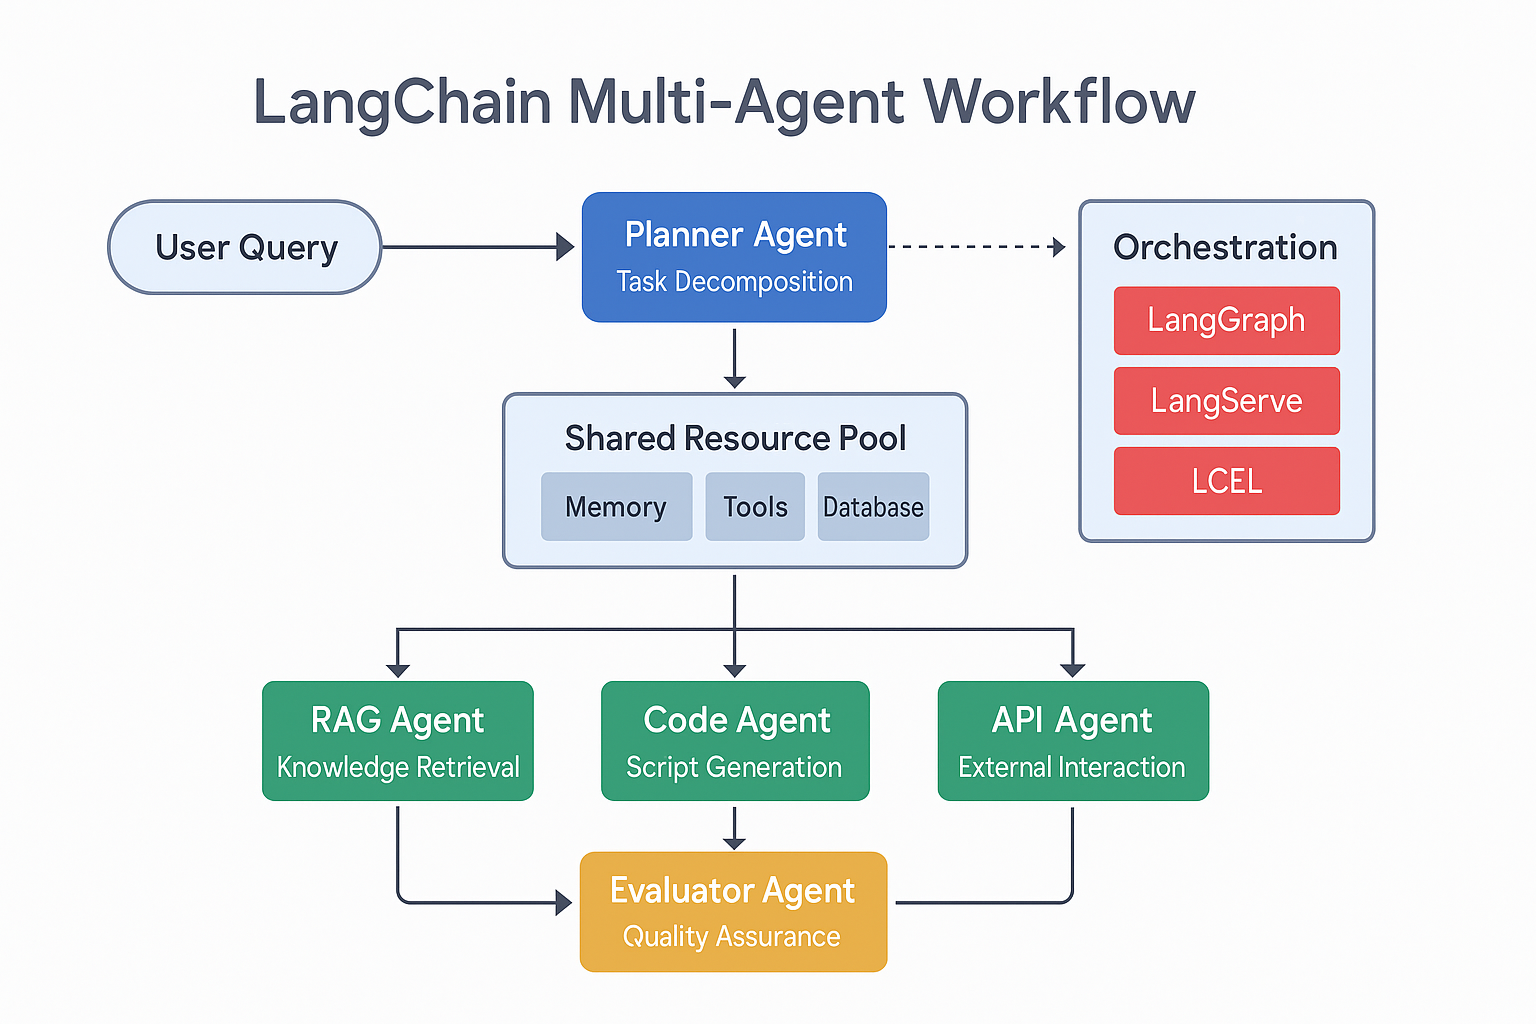
We now have the building blocks for a complete verification pipeline. We can implement this as a verifyClaimsNode that runs after the extractClaimsNode. This new node will orchestrate the entire CRAG process for each claim.
Here is a conceptual outline for the verifyClaimsNode. It's more complex because it contains an inner loop.
// in your nodes.ts file
// Assume we have a `webSearchTool` and a `vectorstore` retriever available

export async function verifyClaimsNode(state: AgentState): Promise<Partial<AgentState>> {
  console.log("--- VERIFYING CLAIMS ---");
  if (!state.claims_to_verify || state.claims_to_verify.length === 0) {
    console.log("No claims to verify.");
    return { verified_claims: [] };
  }

  const verificationResults: ClaimVerificationResult[] = [];

  for (const claim of state.claims_to_verify) {
    // This is a simplified representation of the logic.
    // In a real implementation, each of these would be an async LLM call with specific prompts from the Self-RAG tutorial.

    // 1. Retrieve from internal sources
    const internalDocs = await retriever.invoke(claim.claim);

    // 2. Grade relevance of internal docs
    const isRelevant = await gradeRelevance(claim.claim, internalDocs); // LLM call

    let evidence = internalDocs;
    if (!isRelevant) {
      console.log(`Internal docs not relevant for "${claim.claim}". Performing web search.`);
      // 3. Corrective action: web search
      const webResults = await webSearchTool.invoke(claim.claim);
      evidence.push(...webResults);
    }

    // 4. Verify claim against all gathered evidence
    const verification = await verifyWithEvidence(claim.claim, evidence); // LLM call using Hallucination Grader prompt

    verificationResults.push({
      claim: claim.claim,
      status: verification.status, // e.g., 'Supported'
      evidence: verification.evidenceSummary,
      reasoning: verification.reasoning
    });
  }

  console.log("Verification complete.");
  return { verified_claims: verificationResults };
}
This node would be added to your StateGraph. A conditional edge following it would then inspect state.verified_claims to decide the next step. If all claims are 'Supported', the graph proceeds to the final human approval step. If any are 'Contradicted' or 'Unsubstantiated', it can route to a new reviseArticleNode or simply flag the article for manual review, passing along the detailed verification results.
Conclusion
You have now designed a sophisticated automated fact-checking pipeline. By separating the process into distinct stages—extraction, evidence gathering, and verification—and by using corrective patterns like CRAG, you are building a powerful guardrail against factual errors. This moves your system from just generating fluent text to generating trustworthy, credible content.
Key Takeaways:
- Fact-checking is a multi-step process: Break it down into Extract, Search, and Verify.
- Structured Extraction is Key: Use an LLM with a JSON schema to turn unstructured text into a clean list of verifiable claims.
- CRAG provides a robust verification pattern: Retrieve from trusted sources, grade the relevance of what you find, and use a web search as a fallback.
- Graders are specialized LLM prompts: Use
Retrieval Gradersto check for relevance andHallucination Gradersto check for factual support. - This pipeline is a critical guardrail: The results of this verification process will determine the next steps in your LangGraph workflow.
Preview of the next lesson:
We've designed the pipeline and can now get a verdict on each claim. But what do we do with that verdict? In our next lesson, we will focus on the final part of this learning outcome: "Integrate the verification pipeline as a guardrail to flag or revise inaccurate content." We'll implement the conditional logic and nodes that act on the output of our fact-checker, making our agent capable of self-correction.