Welcome to the beginning of your journey into the .NET ecosystem. This first lesson is designed to get your development environment fully operational. We will focus on installing the necessary tools and using the .NET Command-Line Interface (CLI) to create and run your first simple application. Mastering this initial setup is the foundational step that will enable all the hands-on work we'll do in the upcoming lessons, from exploring C# syntax to building full-stack applications.
Given your background with Java, Spring Boot, and the MERN stack, you are already familiar with the concept of a development toolkit and a command-line interface for managing projects. We'll see that the .NET SDK and the dotnet CLI serve a very similar purpose to the JDK and tools like Maven, Gradle, or npm.
1. The .NET Development Toolkit
Before writing any code, we need to install the core components of the .NET platform. This involves two main pieces of software:
- The .NET SDK (Software Development Kit): This is the essential package for developers. It includes the .NET runtime (which runs the compiled code), the compiler (which turns your C# code into runnable instructions), and the .NET CLI (the command-line tool for managing projects). This is analogous to the Java Development Kit (JDK) you've used.
- Visual Studio Code (VS Code): A lightweight but powerful source code editor. While you can use any editor, VS Code has excellent support for C# and .NET through extensions, and its cross-platform nature makes it a popular choice.
The following guide provides a comprehensive walkthrough for installing these tools on Windows, macOS, or Linux. It also covers installing the C# Dev Kit, a crucial VS Code extension that provides features like code completion (IntelliSense), debugging, and project management.
Setting Up Your Machine for .NET Development - Dometrain
Please read the introduction and the first two steps of this guide from Dometrain. This will walk you through the installation process.
Start at the beginning and read through the "System Requirements". Then, proceed to Step 1 to download and install the SDK for your operating system. Pay attention to the commands for verifying the installation, dotnet --version and dotnet --info. Next, follow the instructions in Step 2 to install VS Code and the C# Dev Kit extension.
As an alternative or supplement, you can watch the first part of this video from the official .NET team, which demonstrates the same setup process visually.
Installing and Getting Started with .NET in VS Code [Pt 2] | .NET for Beginners
This video provides a quick visual walkthrough of installing the .NET SDK and setting up VS Code with the C# Dev Kit extension.
Watch the segment from the beginning until the installation is complete.
After completing these steps, you should have both the .NET SDK and VS Code with the C# Dev Kit installed and ready to go. You can confirm this by opening a new terminal or command prompt and running dotnet --version. You should see a version number printed, indicating that the CLI is correctly installed and accessible in your system's PATH.
2. Creating Your First Project with the .NET CLI
The .NET Command-Line Interface, or CLI, is invoked using the dotnet command. It's your primary tool for scripting and directly managing .NET projects, much like you might use npm or yarn in a React project.
The dotnet new command is used to create new projects, files, and resources from templates. .NET comes with many built-in templates for different types of applications, such as console apps, web APIs, and class libraries. You can get a list of all available templates by running dotnet new --list.
To see the options available for a specific command, you can use the -h or --help flag.

Now, let's use the CLI to create a classic "Hello, World!" console application. This is the simplest type of .NET application and serves as a great starting point.
Setting Up Your Machine for .NET Development - Dometrain
This section of the Dometrain guide will show you how to use the dotnet CLI to create and run your first application.
Follow the instructions in this section. Open your terminal, navigate to a directory where you want to store your projects, and run the commands as shown.
Let's break down what just happened:
dotnet new console -o HelloWorld: This command tells the CLI to:- Use the
consoletemplate to create a new project. - Use the
-o(or--output) flag to place the new project in a directory namedHelloWorld. If the directory doesn't exist, it will be created.
- Use the
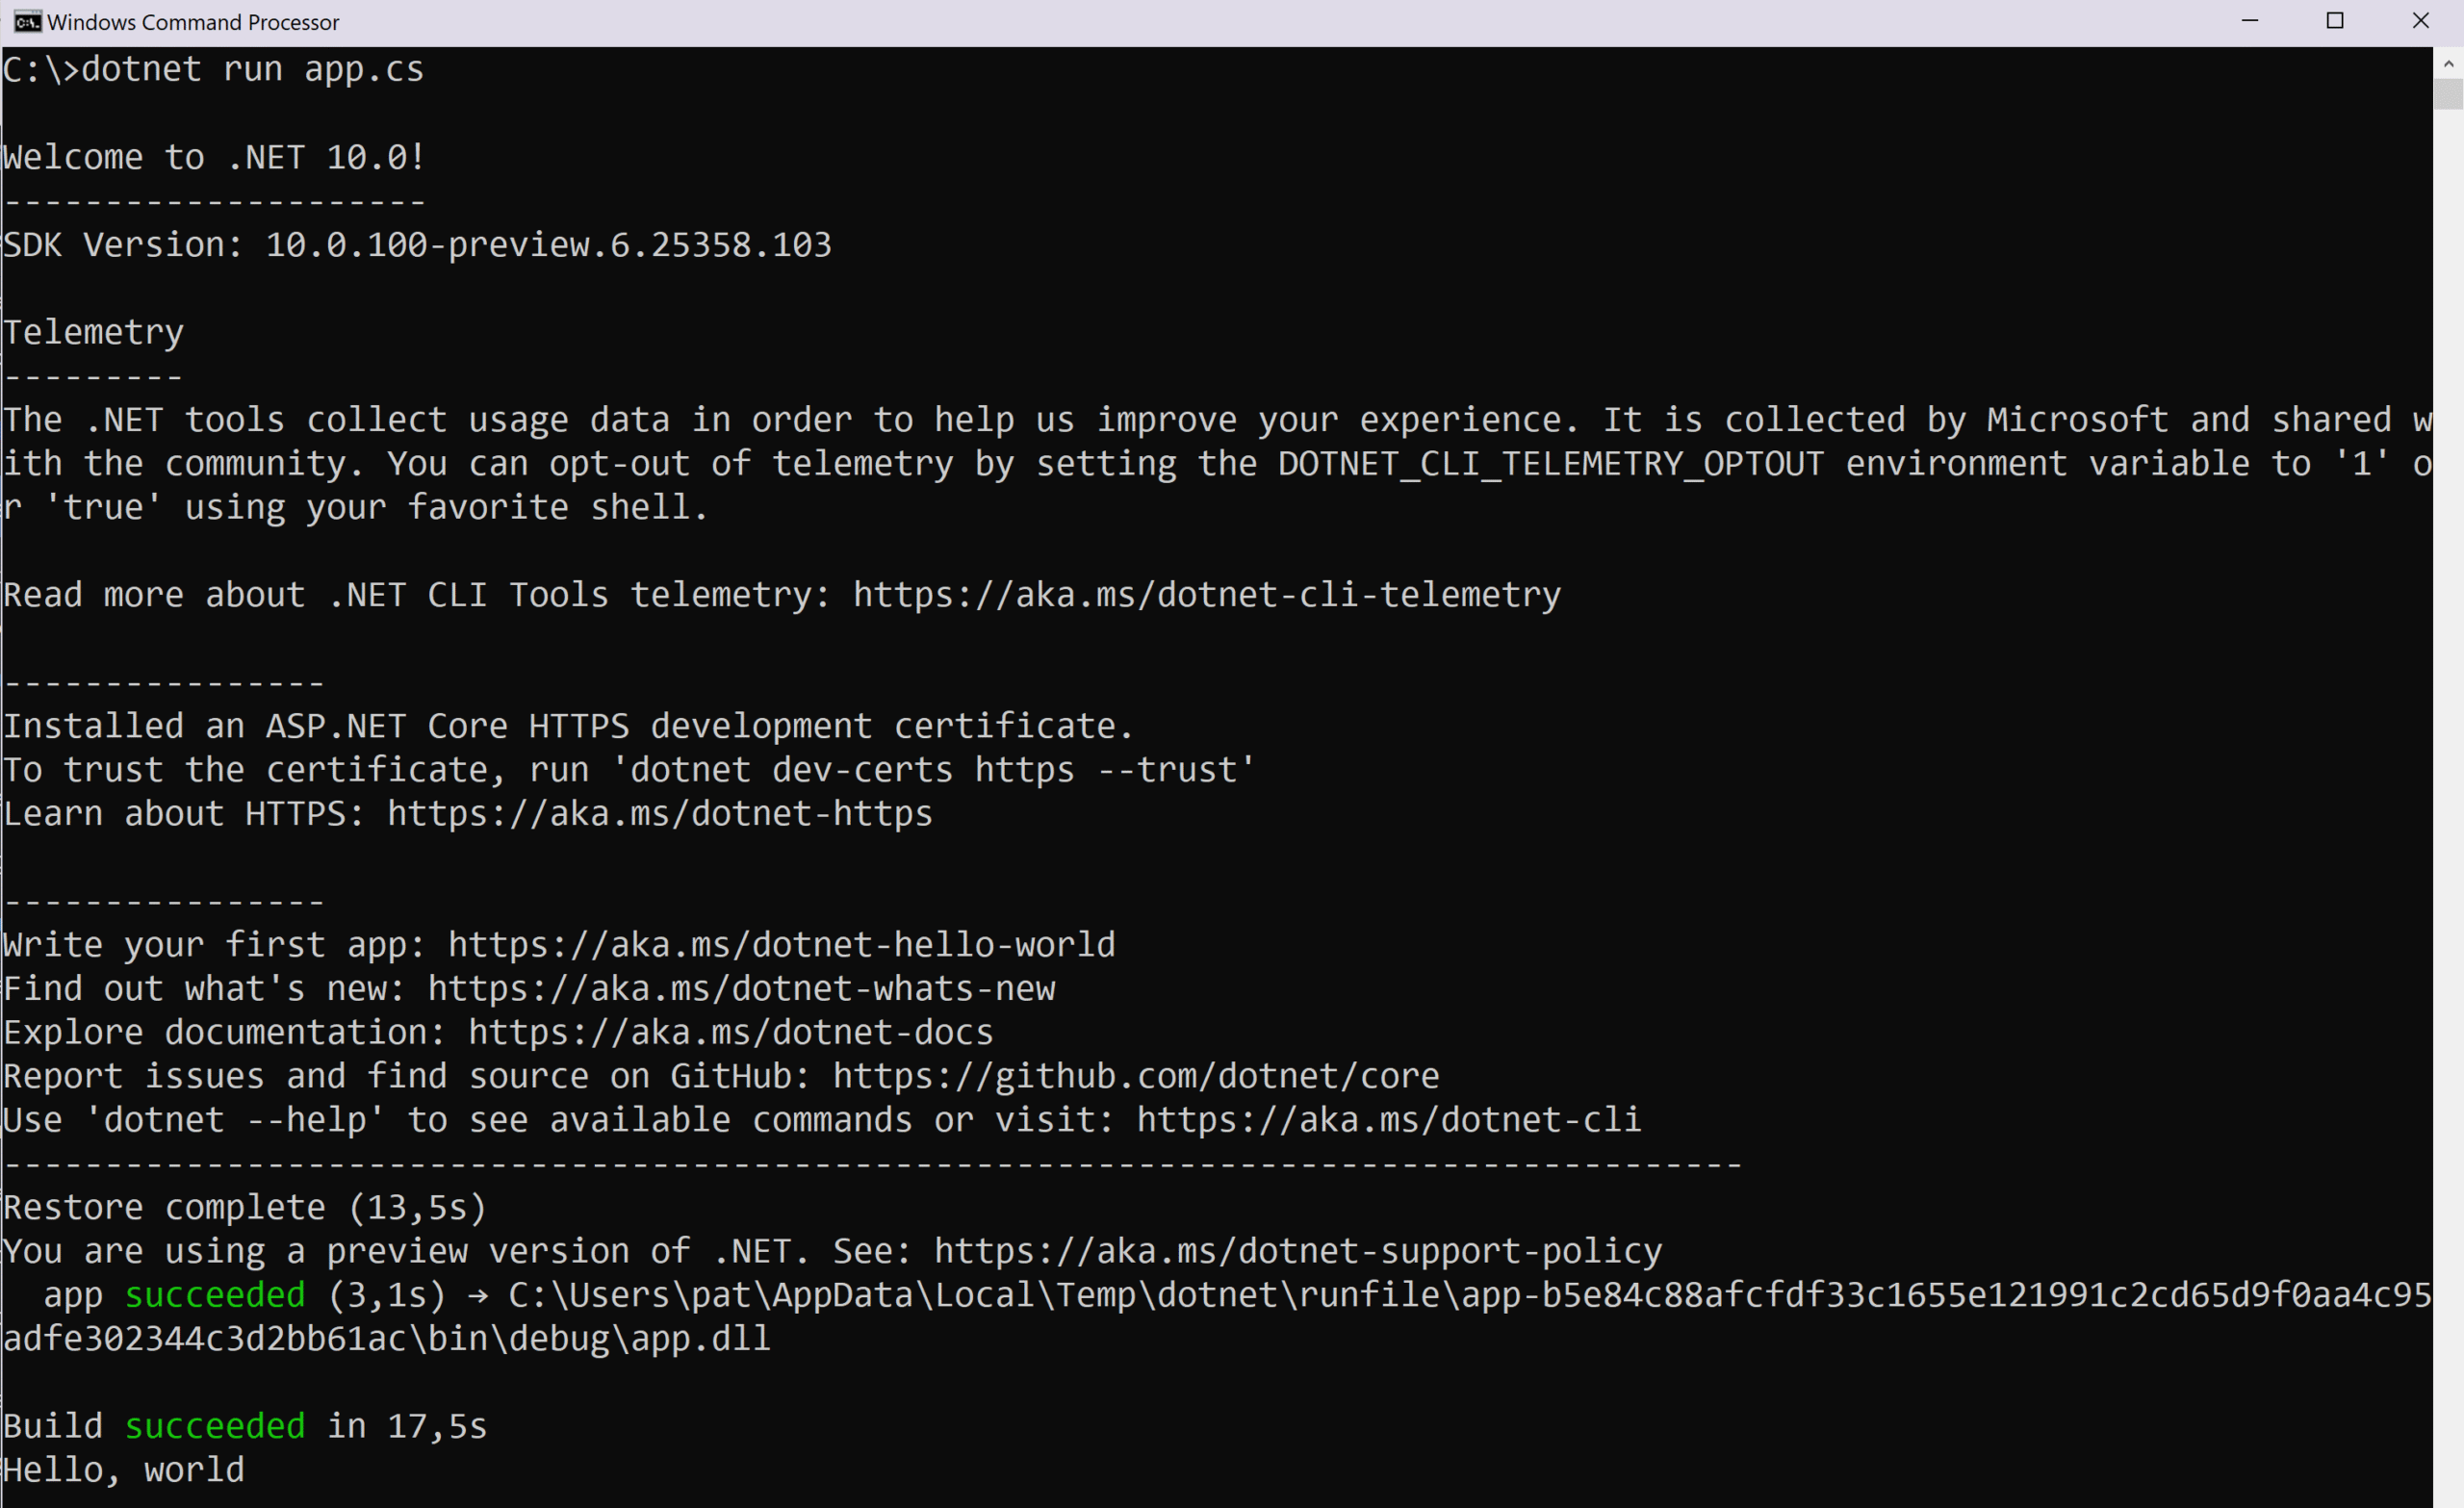
cd HelloWorld: You navigated into the newly created project directory.dotnet run: This is a convenient command that performs two actions in one step:- It builds your project, compiling the C# code in
Program.csinto an executable. This is equivalent to runningdotnet build. - It then runs the compiled application.
- It builds your project, compiling the C# code in
You should see "Hello, World!" printed to your console.
Inside the HelloWorld folder, you'll find two key files:
Program.cs: This C# source file contains the entry point of your application. We'll examine its contents in detail in the next lesson.HelloWorld.csproj: This is an XML-based project file. It defines the project's properties, such as the target .NET version and any external dependencies (known as NuGet packages). This file is analogous topom.xmlin a Maven project orpackage.jsonin a Node.js project.
For another look at this process, the following video demonstrates creating and running a console application purely from the command line.
Intro To The .NET CLI - How To Use It, Why We Need It, And More
This video by Tim Corey provides a more in-depth look at the .NET CLI. We'll focus on the sections for creating and running a project. Note that the video also discusses solution files (.sln), which are used to group multiple projects together. We will cover solutions in a later module, so you can disregard that part for now.
Watch the segment demonstrating project creation with dotnet new console. Then, skip ahead to see how to build and run the application from the command line, from build and run.
3. Exploring the Project in VS Code
While the CLI is powerful for scripting and automation, you'll spend most of your time writing code in an editor. Let's open the project you just created in VS Code.
Setting Up Your Machine for .NET Development - Dometrain
Now that you've created and run the project from the command line, let's see how it looks inside the editor.
Follow the instructions in this section to open your HelloWorld folder in VS Code. The C# Dev Kit extension you installed earlier will automatically recognize the project.
Once the project is open, VS Code will activate its C# features. You'll have syntax highlighting in the Program.cs file, and you can explore the file structure in the Explorer sidebar. The guide also briefly touches on debugging by setting a breakpoint, which is a crucial skill you'll use throughout your development process.
Conclusion
In this foundational lesson, you have successfully configured your machine for .NET development. You now have a working toolchain and hands-on experience with the most fundamental workflow: creating and running an application using the .NET CLI.
Here are the key takeaways:
- The .NET SDK is the core toolkit for developers, containing the compiler, runtime, and CLI.
- Visual Studio Code with the C# Dev Kit extension provides a rich editing and debugging experience.
- The
dotnetCLI is the command-line entry point for managing .NET projects. dotnet new <TEMPLATE> -o <AppName>creates a new project from a template.dotnet runcompiles and executes your application.
With your environment now set up, you are ready to start writing code. In the next lesson, we will dive into the C# language itself. We will leverage your knowledge of Java to quickly understand the essential syntax of C#, focusing on the key differences and unique features that C# offers.