Hello! Welcome back to your graphic design course.
In our last lesson, you learned how to select, move, and scale objects, giving you precise control over individual elements. As your designs become more complex with multiple shapes, text boxes, and images, keeping everything tidy is essential. A messy file is difficult to navigate, edit, and share.
This lesson is all about mastering organization. We will move from controlling individual objects to structuring your entire project. By the end of this lesson, you will be able to organize layers, groups, and pages in a Figma file, a skill that is fundamental to working efficiently and professionally.
The Big Picture: A Hierarchy for Your Designs
Think of a well-organized Figma file like a tidy filing cabinet. Everything has its place, making it easy to find what you need. Figma's organizational structure has several levels, from the broadest to the most specific:
- Team: The highest level, where you can collaborate with others (we'll explore this later).
- Project: Like a folder in your cabinet, used to store related design files.
- File: The individual design document you work in. This is where your canvas lives.
- Page: Separate canvases within a single file. Think of them as dividers or tabs inside a project folder.
- Section/Frame/Group: Containers on the canvas to organize your layers.
- Layer: Any individual object you create (a shape, text, image, etc.).
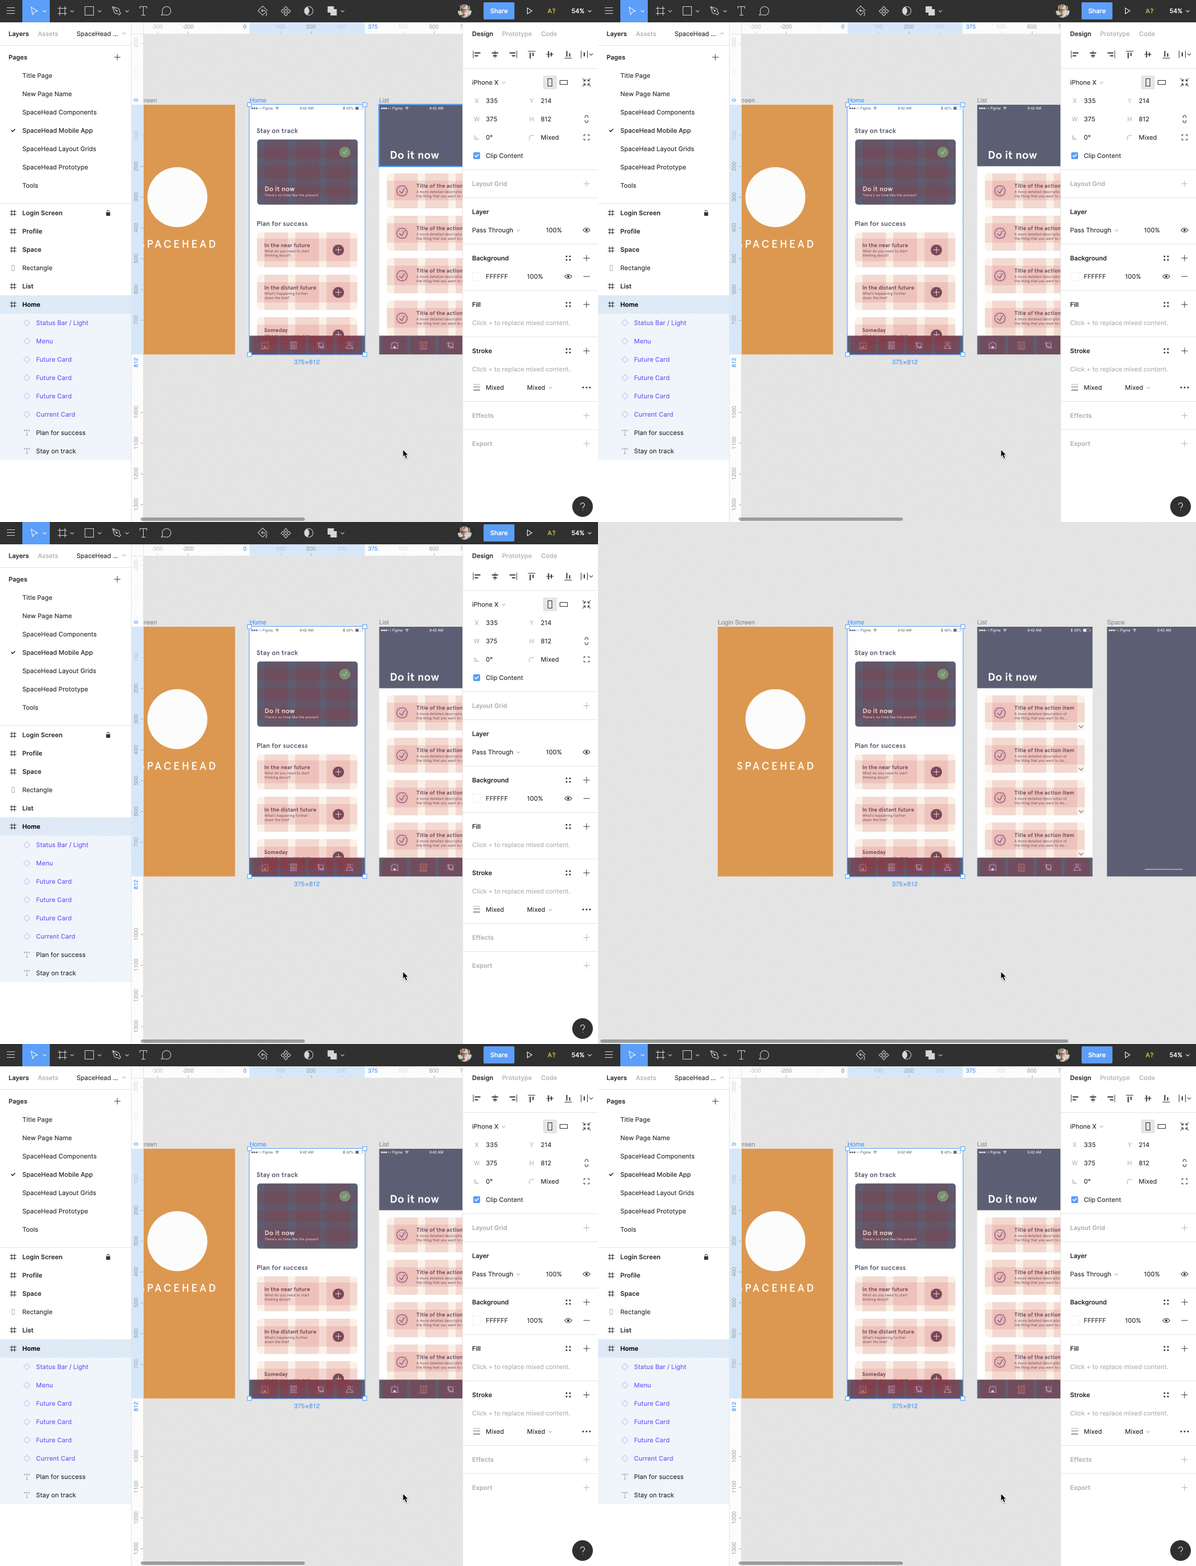
Your main workspace for organization will be the Layers Panel on the left side of the Figma interface. A clean Layers Panel is the sign of a disciplined designer.
Part 1: Organizing on the Canvas (Layers, Groups, Sections)
Let's start at the most detailed level: organizing the elements on your canvas.
Layers
Every object you create—a rectangle, a piece of text, an imported image—exists on its own layer. You can see all your layers listed in the Layers Panel. A crucial first step in organization is naming your layers. Instead of having "Rectangle 5" and "Rectangle 6," name them "Header Background" and "Footer Background." This takes a little extra time but saves a lot of confusion later.
To rename a layer, simply double-click its name in the Layers Panel.
Groups vs. Frames
In previous lessons, you've used Frames as your main artboards. But what happens when you have multiple objects that belong together, like an icon made of several shapes or a logo with text? You can combine them using a Group or a Frame. Knowing when to use which is important.
- Groups (
Ctrl/Cmd + G): Use groups for simple, temporary combinations. Their main purpose is to move and scale multiple objects together as a single unit. They don't have their own properties like a background color or layout rules. - Frames (
ForA): Use frames when you need a more powerful container. A frame can have its own dimensions, background color, stroke, effects (like shadows), and advanced properties like Auto Layout and constraints, which we will cover later.
Sections
Sections are a newer feature designed to organize your canvas itself. Think of them as labeled containers for your frames. They are perfect for visually grouping different parts of your project on the canvas, such as "Wireframes," "V1," and "Ready for Dev."
This short video from the Figma team provides an excellent explanation of when to use sections, groups, and frames.
Figma Design for beginners: Advocate Sidebar — Sections, groups, and frames
Watch this video, 'Figma Design for beginners: Advocate Sidebar', to understand the distinct roles of sections, groups, and frames.
Watch the entire video. Pay close attention to the summary at the end: Sections for organization, Frames as containers for content, and Groups as simple collections of layers.
Test your understanding!
You've just created a logo by combining a circle, a star, and a text layer. You want to be able to move and resize them all together as one object. You don't need to add a background color or any other special properties to the container itself. Should you use a Group or a Frame?
Show answer
A Group is the perfect choice here. Its sole purpose is to bundle layers so they can be manipulated as a single unit. A Frame would be overkill since you don't need its extra container-specific properties.
Part 2: Organizing Your File with Pages
As your project grows, putting everything on one single canvas becomes chaotic. This is where Pages come in. Pages are separate canvases within the same Figma file, accessible from the top of the Layers Panel.
Using pages effectively is key to professional file management. Here are some common ways designers organize their pages:
- By Process: A page for brainstorming (
Messy Zone), one forWireframes, one forHigh-Fidelity Designs, and one forArchivedold versions. - By Feature: For a large website, you might have a page for the
Homepage, another for theCheckout Flow, and one for theUser Profile. - For Assets: A dedicated page for all your
ComponentsorIcons. This is a very common practice.
Let's watch a video that explains the strategic difference between using a new Page and a new File, and offers some great tips for page organization.
Figma Tutorial: project organization that saves you hours of work
This video, 'Figma Tutorial: project organization that saves you hours of work', provides excellent professional advice on structuring your projects.
Watch from 00:54 to 03:38. Focus on the explanation of when to use a new File versus a new Page, and the examples of how to structure your pages for a project.
Now that you understand the strategy behind using pages, let's look at the practical steps for managing them. The official Figma documentation is the best place for this.
This Figma help article, 'Create and manage pages', will walk you through the mechanics of working with pages.
Read the sections 'View pages', 'Create pages', 'Manage pages', and 'Move layers between pages'. Pay special attention to the note on the free 'Starter' plan, which limits you to three pages per file. This is an important constraint to be aware of.
Part 3: Practical Exercise
Time to apply these organizational skills! We'll tidy up the button exercise from our last lesson.
- Open your "My First Design File" in Figma. You should have the three buttons (small, medium, large) you created on "Page 1".
- Group the Elements: For each of the three buttons, select its rectangle and text layer. Press
Ctrl + G(orCmd + Gon Mac) to group them. - Rename the Layers: In the Layers Panel, you will now see three "Group" layers. Double-click each one and rename them descriptively:
Button - LargeButton - MediumButton - Small
- Create a Section:
- Select the Section tool from the toolbar (it's under the Frame tool icon, or press
Shift + S). - Click and drag a box around your three button groups.
- Name the section
Button Examplesin the Layers Panel.
- Select the Section tool from the toolbar (it's under the Frame tool icon, or press
- Create and Name Pages:
- In the Pages section at the top of the Layers panel, click the
+icon to add a new page. Name itComponents. - Add another new page and name it
Archived Work. - Double-click on the original "Page 1" and rename it
Design Sandbox.
- In the Pages section at the top of the Layers panel, click the
- Move Objects Between Pages:
- Go back to your
Design Sandboxpage. - Select the
Button Examplessection you created. - Right-click on it, choose Move to page, and select the
Componentspage.
- Go back to your
- Explore: Click through your pages. You should now have a clean
Design Sandboxpage, aComponentspage with your organized buttons, and an emptyArchived Workpage ready for future use.
You have now successfully structured a Figma file like a pro!
Conclusion
Congratulations! You've learned how to bring order to chaos. A well-organized file is not just easier for you to work with; it's essential for collaborating with other designers, developers, and clients.
Here are the key takeaways from this lesson:
- Name your layers! This is the simplest and most effective organizational habit.
- Use Groups (
Ctrl/Cmd + G) to bundle layers that you want to move or scale together. - Use Sections to label and organize different areas on your canvas.
- Use Pages to separate major parts of your project, like different design phases or features. Remember the 3-page limit on the free plan.
- The Layers Panel is your command center for file organization.
In our next module, we'll shift our focus from the "how-to" of using Figma to the "why" of graphic design. You're now comfortable with the tools, so it's time to learn the principles that make a design effective. Our first lesson will cover the five basic elements of design: line, shape, form, texture, and space.