Welcome to the fourth lesson in our journey through Solana's fundamentals. In our last session, we explored the inner workings of the Solana runtime, covering how validators, slots, and epochs orchestrate the network, and how transaction economics are handled through compute units and fees. You now have a solid theoretical model of a transaction's journey from submission to finalization.
Today, we transition from theory to practice. The goal of this lesson is to equip you with the fundamental skill of on-chain analysis: dissecting a live Solana transaction using a block explorer. As a security researcher, this is your equivalent of reading machine code or network packets. It allows you to see what a program actually does, unfiltered by front-end interfaces. We will break down a transaction into its core components—instructions, accounts, and signers—and understand how they work together to modify the state of the blockchain.
1. The Anatomy of a Transaction
Before we dive into a block explorer, let's establish a clear mental model of a transaction's structure. At its core, a Solana transaction is a packet of data, signed by one or more keypairs, that instructs the runtime to perform a series of operations.

As the diagram shows, a transaction consists of two main parts:
- An array of Signatures: These are cryptographic proofs that the transaction was authorized by the owners of specific accounts. The number of required signatures is one of the factors that determines the base fee of the transaction, as we learned in the previous lesson.
- A Transaction Message: This is the core payload containing the "what" and "how" of the transaction. It includes:
- Header: Metadata specifying the number of required signatures and which accounts are read-only or writable.
- Array of Account Addresses: A list of every account that will be touched by any instruction within the transaction. This is a key feature of Solana's Sealevel runtime, as it allows the validator to know in advance which transactions can be executed in parallel.
- Recent Blockhash: A hash of a recent block, which serves to prevent transaction replay and ensures the transaction is not arbitrarily old.
- Array of Instructions: The list of operations to be executed sequentially.
Each instruction is a self-contained operation that calls a specific on-chain program. It specifies the program to call (program_id), the accounts it will interact with, and a data buffer that contains the actual instruction-specific parameters.
This structure might remind you of function calls in a low-level programming environment. Each instruction is a call, the program_id is the address of the function library, the keys are pointers to the memory (accounts) it operates on, and the data is the set of arguments.
2. Tools of the Trade: Block Explorers
A block explorer is a web-based tool that connects to a Solana RPC node, fetches the raw transaction data we just described, and presents it in a human-readable format. While there are many explorers, each with different features, they all serve this fundamental purpose.
To get a feel for the different UIs and the kind of information they provide, let's watch a brief overview.
How to Use Solscan & Solana Explorers (Tutorial)
This video by Seb Montgomery offers a quick tour of several popular Solana explorers, including the well-known Solscan.
Please watch the following segments: Start with the basic introduction to explorers and a simple address search. Next, watch the walkthrough of a simple transaction, paying attention to the key fields identified: signature, block, timestamp, signer, and fee. Finally, watch the quick overview of other explorers like Solana Beach and Solana.fm to appreciate the variety in presentation.
As you can see, explorers provide a window into the blockchain's activity. For a security researcher, however, a simple overview is not enough. You need to go deeper. Some explorers are built specifically for this kind of detailed analysis.
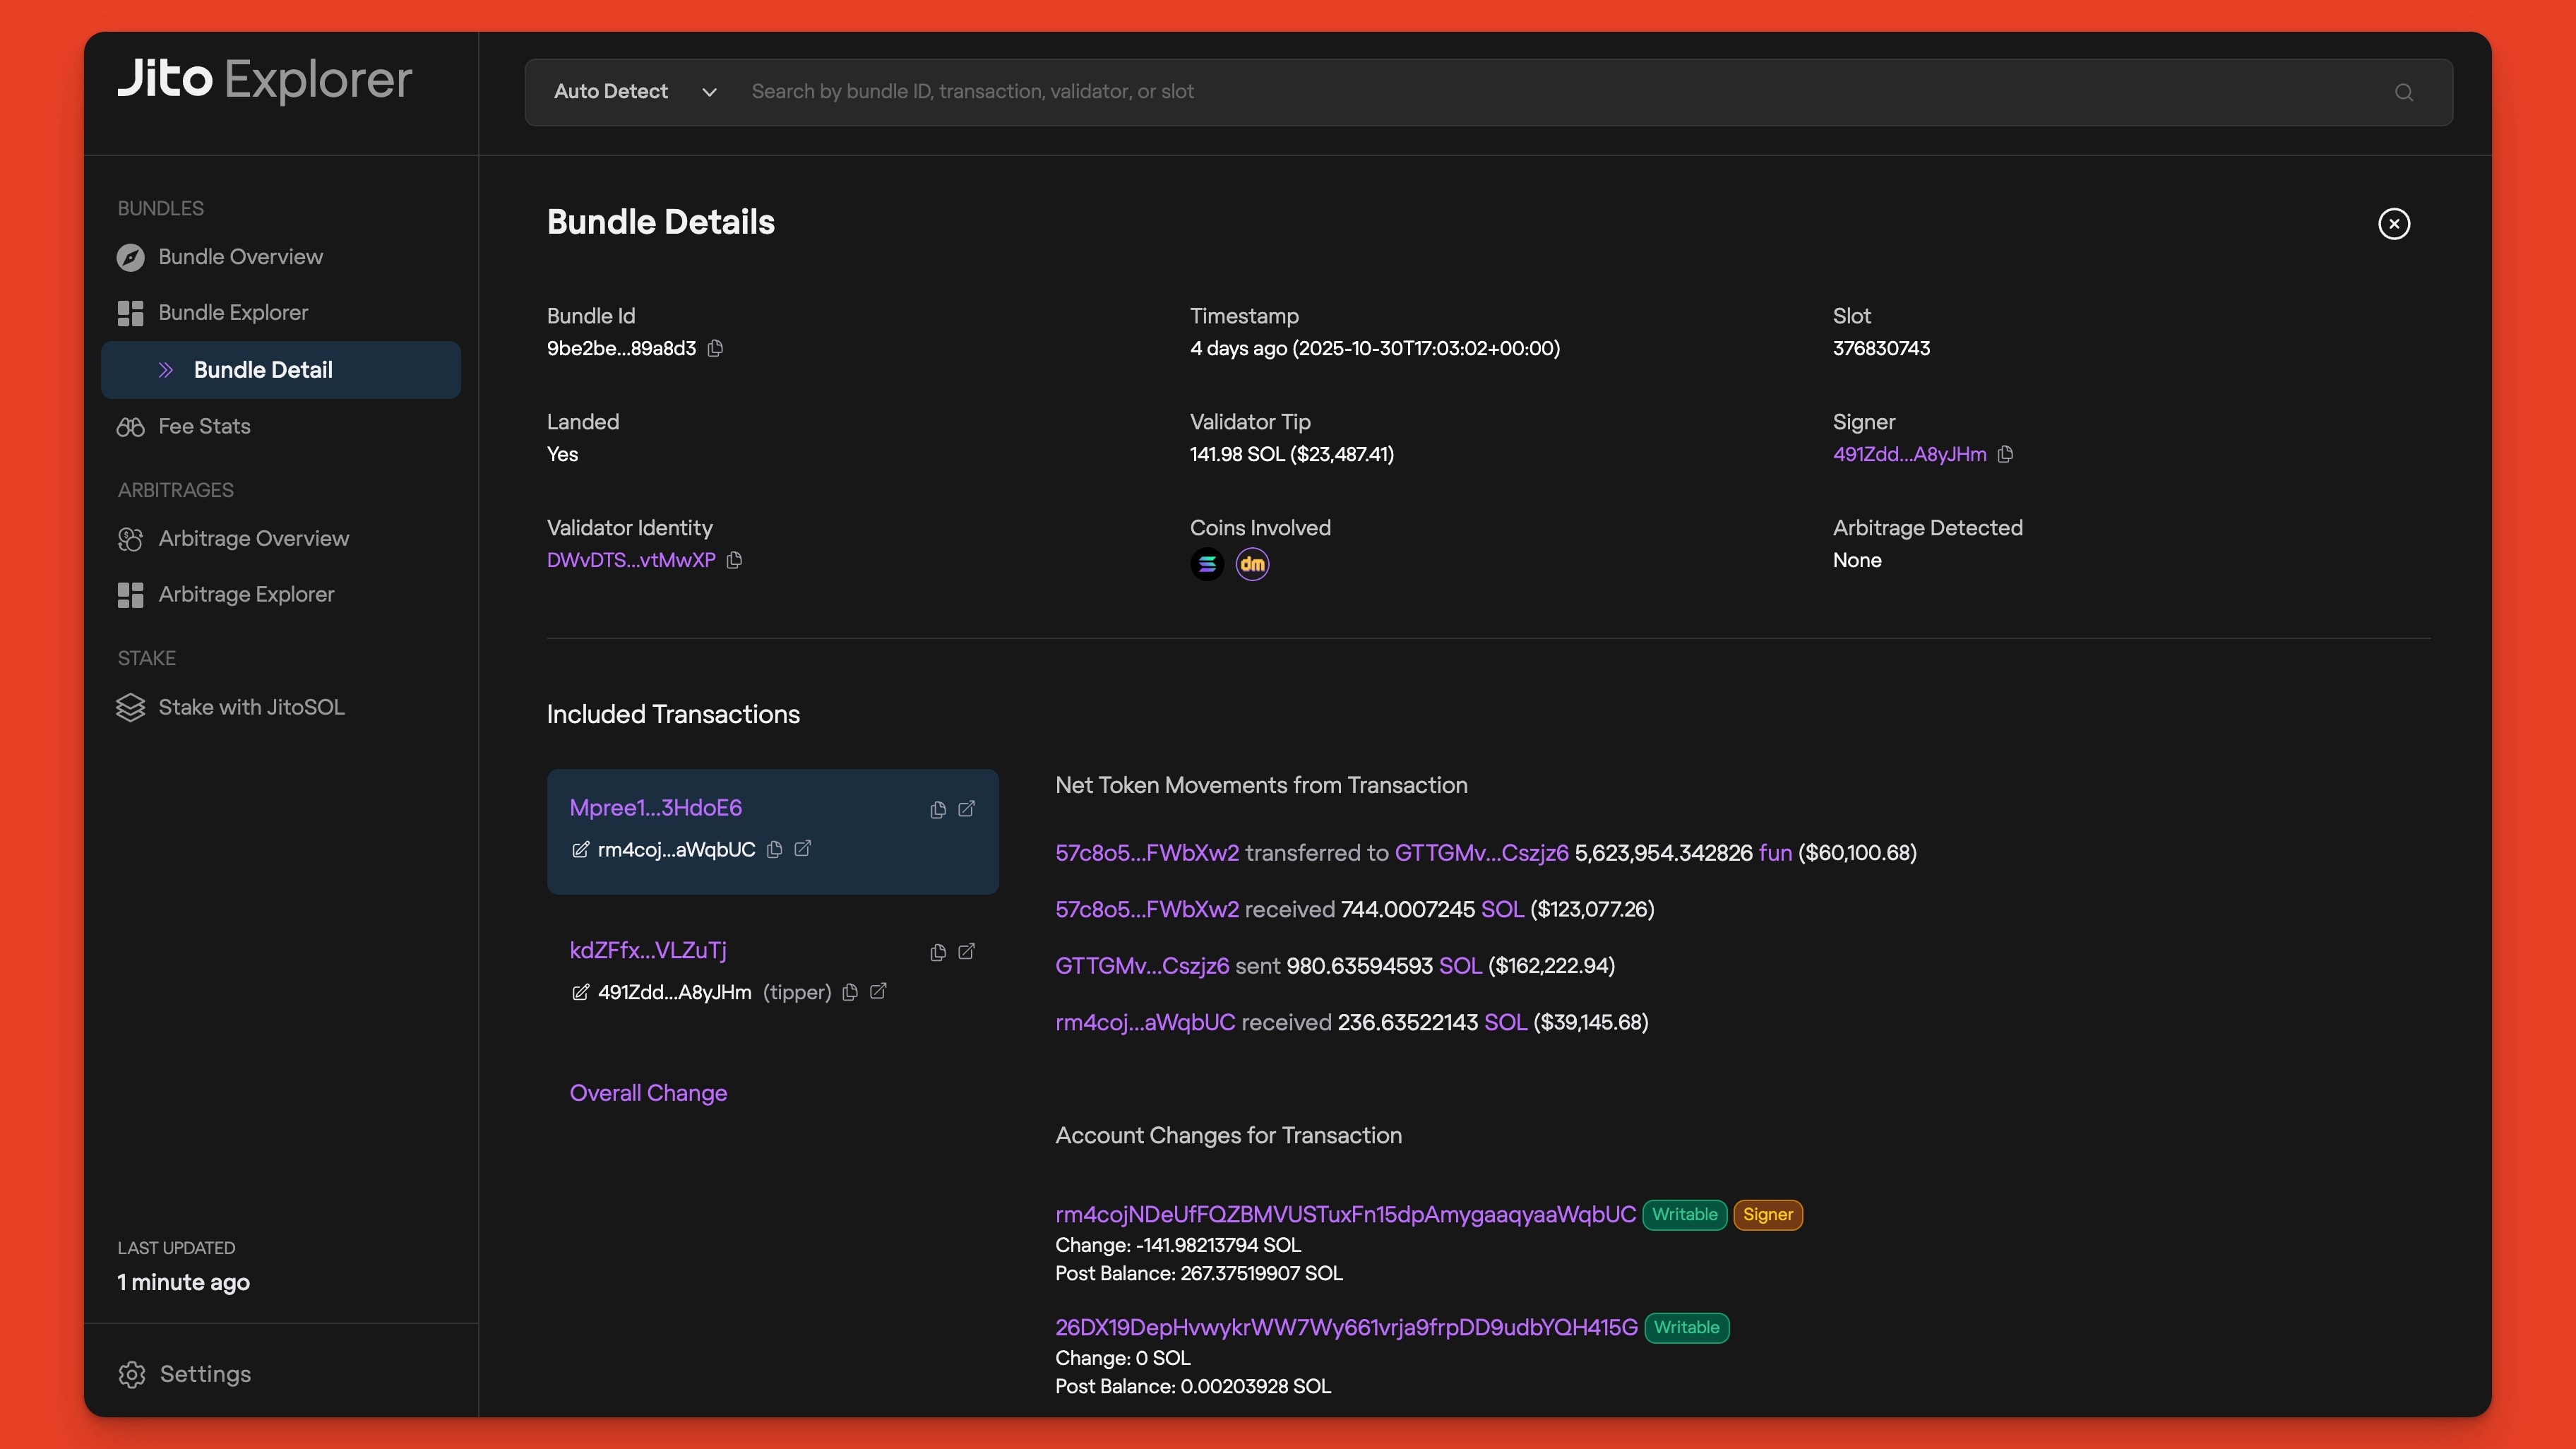
While tools like Solscan are great general-purpose explorers, tools like Phalcon or Jito are designed for deeper dives. We will use a combination of these approaches in our analysis.
3. Hands-On Analysis: Deconstructing a Transaction
Now for the main event. We will dissect a real transaction from the Solana testnet. This transaction mints a new SPL Token, which is a multi-step process involving five separate instructions. Our goal is to reverse-engineer it using both its raw data and the help of a block explorer.
The resource below contains a link to the transaction on Solscan and a JSON dump of the raw transaction data. It then provides a detailed, instruction-by-instruction breakdown. We will use this as our guide.
This article by Alex Miller provides a masterclass in dissecting a complex transaction. We will walk through it together.
First, open the article and locate the example transaction. Open the Solscan link in a new tab to have it handy. Your primary reference will be the large JSON object provided in the article. Our mission is to understand what each of the five instructions in that JSON object does.
Let's begin.
Instruction #1: Create the Mint Account
First, look at instruction 1/5 in the JSON. Try to answer these questions before reading the explanation:
- Which program is being called? The
programIdis00, which is theSystem Program. This is Solana's core program responsible for creating accounts and transferring SOL. - What are the accounts? There are two public keys listed. Both are marked as
isSigner: trueandisWritable: true. One will pay for the transaction (the funder), and the other is the new account being created. - What's in the data? The data buffer contains the parameters for the
CreateAccountinstruction: the number of lamports to assign to the new account (for rent), the amount of space to allocate for its data, and the public key of the program that will own the new account.
Now, read the detailed breakdown in the article to see how this raw data translates into a concrete action.
In the article, find and read the section titled — Instruction #1/5 —.
Focus on the explanation of how the data buffer is decoded into lamports, space, and owner. Pay attention to the concept of rent and how the new account is assigned an owner.
Instruction #2: Initialize the Mint Account
Now we have an empty account owned by the Token Program. The next step is to tell the Token Program to initialize it as a new token mint.
Look at instruction 2/5 in the JSON.
- Program: The
programIdnow points to theToken Programitself. - Accounts: We see the address of the account created in instruction #1, and a new address:
SysvarRent1111.... This is a special system account that provides data about rent, which some programs need to reference. - Data: The first byte is
0, indicating the function index. In theToken Program, this corresponds toInitializeMint. The rest of the data specifies the token's properties, like its decimal precision and who has the authority to mint more of it.
Now, read the explanation.
Read the section — Instruction #2/5 —.
Focus on how the data buffer is interpreted as the function index, the number of decimals, and the mint_authority address.
Instructions #3 & #4: Create and Initialize the Token Account
A user cannot hold tokens directly in their main SOL wallet. They need a separate Token Account for each type of token they own. Instructions 3 and 4 repeat the pattern of the first two instructions, but this time they are creating and initializing an account that will hold the newly minted tokens.
- Instruction #3: Another call to
System Program'sCreateAccount. Notice thespacerequired (165bytes) is different from the mint account (82bytes), because a token account stores different information. - Instruction #4: A call to
Token Program'sInitializeAccountfunction (index1). This instruction associates the new empty account with the mint from instruction #1 and assigns ownership of the token account to your main wallet address.
Let's read the breakdown for these two steps.
Read the sections — Instruction #3/5 — and — Instruction #4/5 —.
In instruction #3, notice that we are creating another account. In instruction #4, understand the roles of the three main accounts passed in: the new token account, the mint account, and the owner (your SOL wallet).
Instruction #5: Mint the Tokens!
All the setup is done. We have a mint account and a token account ready to receive the tokens. The final instruction performs the actual minting.
Look at instruction 5/5 in the JSON.
- Program:
Token Program. - Function: The first byte of
datais7, which is the index for theMintTofunction. The rest of the data is theamountof tokens to mint. - Accounts: The instruction needs three accounts: the mint account itself, the destination token account, and the
mint_authority(your main wallet), which must sign the transaction to authorize the mint.
Read the final piece of the analysis.
Read sections — Instruction #5/5 — and — signers —.
In instruction #5, see how the data specifies the amount and the accounts are the mint, the account to mint tokens to, and the signing minting authority. Finally, the signers section confirms that the three unique accounts marked isSigner: true in the instructions are the ones that provided signatures for the overall transaction.
By manually walking through the raw JSON, you've reconstructed the entire lifecycle of a token mint. This is the level of detail required to spot anomalies and potential vulnerabilities.
4. A More Efficient Workflow
Manually parsing JSON is a powerful exercise, but for day-to-day analysis, you'll want more efficient tools. Let's see how a security-focused explorer like Phalcon presents the same information.
Solana Simplified 03: Understand Solana Transactions in 5 Minutes - BlockSec Blog
This article from BlockSec demonstrates their Phalcon Explorer.
Read the section on the Invocation Flow. Notice how it cleanly displays the sequence of instructions, including the Cross-Program Invocations (CPIs). Then, look at the screenshot showing the Accounts tab. This is the same information we painstakingly extracted from the JSON, but presented clearly and concisely.
This side-by-side view of a raw data deep-dive and an advanced tooling overview should make it clear: understanding the fundamentals allows you to use the advanced tools to their full potential, because you know what you're looking at.
Conclusion
In this lesson, we bridged the gap between the theory of Solana transactions and the practice of on-chain analysis. You learned how to dissect a transaction into its constituent parts: the message, instructions, accounts, and signers. By manually deconstructing a five-instruction token mint transaction, you've gained a deep appreciation for what's happening under the hood of a block explorer.
Key takeaways from today:
- A Solana transaction is a list of instructions packaged in a message and authorized by signatures.
- Every instruction calls a specific program and operates on a predefined set of accounts, which are declared upfront as read-only or writable, and signer or non-signer.
- Block explorers are indispensable tools, but true analysis requires understanding the underlying raw data structure.
- Specialized explorers like Phalcon can significantly accelerate analysis by providing structured views of complex interactions like invocation flows and fund transfers.
In our analysis, we encountered the SysvarRent account. This is one of several special "Sysvar" accounts that provide on-chain data to programs. In our next lesson, we will explore these Sysvars in detail, learning what they are, what information they provide, and how programs use them.