Hello! Welcome to the final lesson of our first module, "Foundations: Clarity and Structure."
Over the past five lessons, we have built a powerful toolkit. We started at the sentence level by trimming unnecessary words and sharpening vague phrases. Then, we moved to paragraphs, learning how to build them around a single topic sentence and connect them with smooth transitions. Most recently, we learned how to spot and fix jarring shifts in topic and tone to ensure your writing is coherent and consistent.
Today, we put it all together. Your goal is to write a 300-word piece explaining a simple concept with deliberate clarity and flow. This task is the culmination of this entire module, challenging you to apply every skill you've practiced. Mastering this is a crucial step toward your goal of articulating complex ideas—whether philosophical or scientific—in a way that is both clear and engaging.
Part 1: The Explainer's Mindset
Before you write, it's helpful to adopt the right mindset. Your goal isn't just to write about a topic; it's to make someone else understand it. One of the best models for this comes from a source that should appeal to your interests in physics and mathematics: The Feynman Technique.
Richard Feynman, a Nobel Prize-winning physicist, was legendary for his ability to explain incredibly complex ideas in simple, intuitive terms. He believed that if you couldn't explain something to a beginner, you didn't truly understand it yourself. This directly connects to your goal of using writing as a "medium of thought."
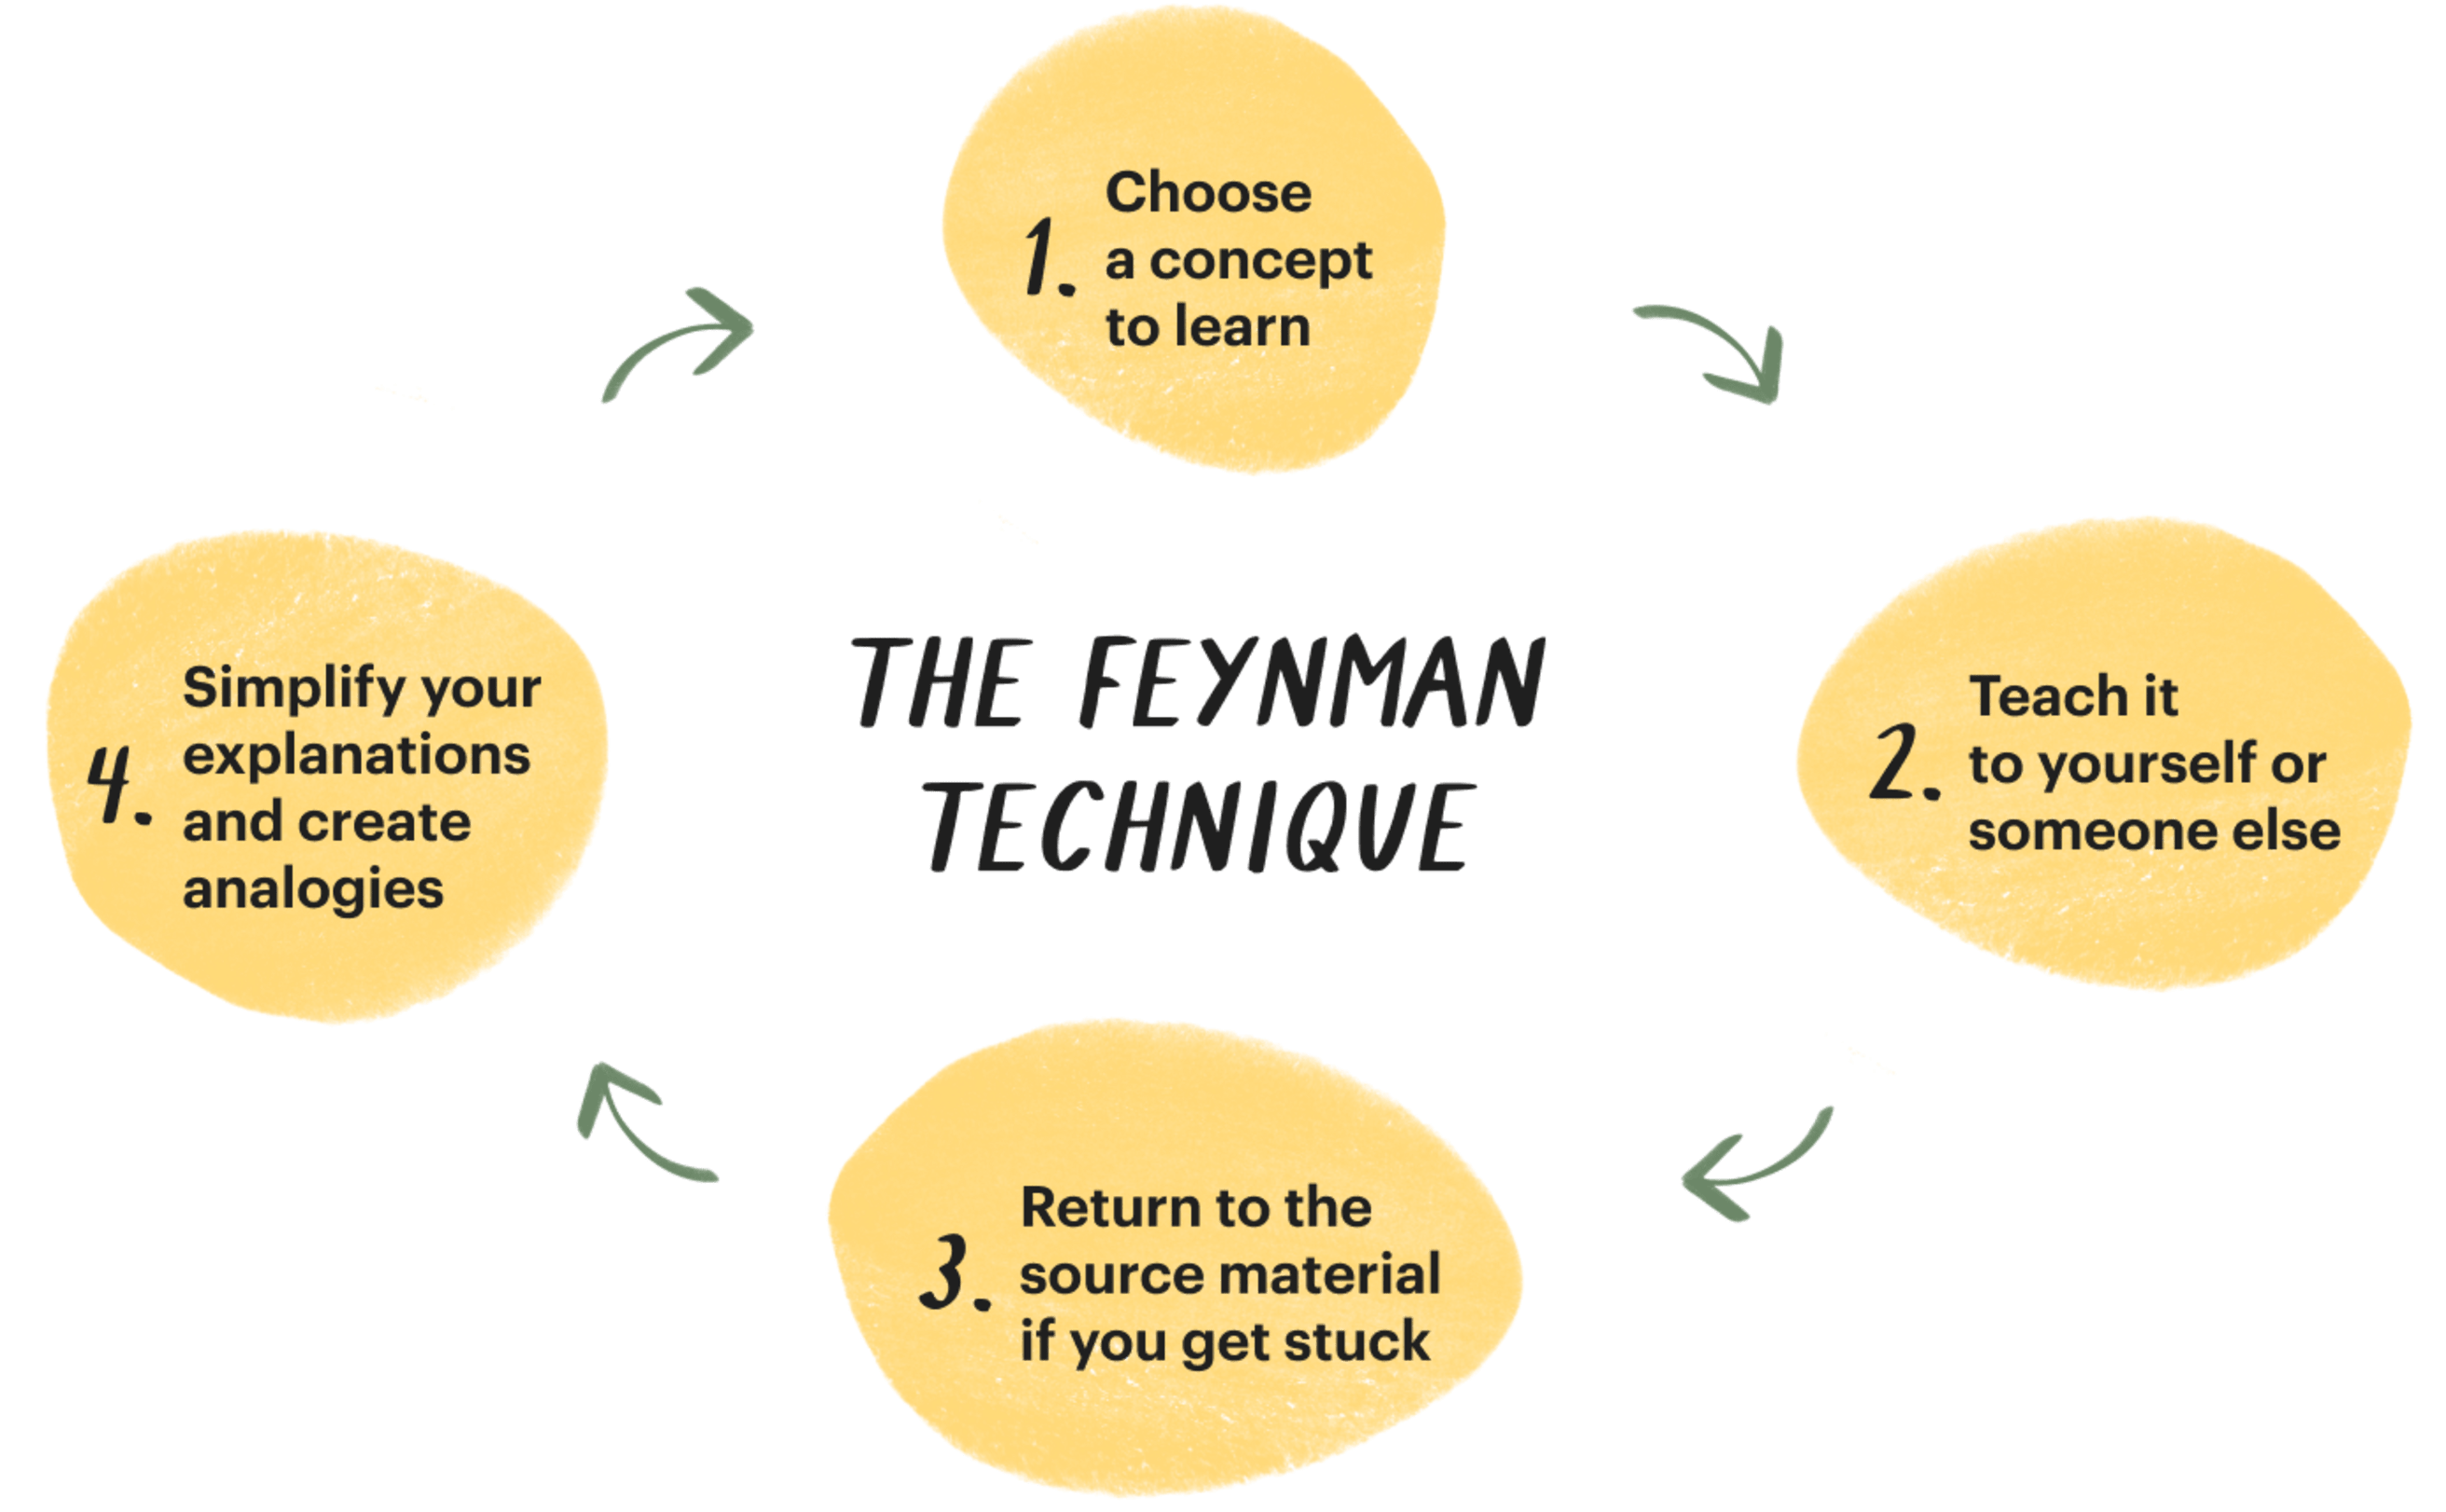
Let's look at the steps of this technique.
The Feynman Technique: How to Learn Anything Quickly
The article 'The Feynman Technique: How to Learn Anything Quickly' breaks down this powerful method. It provides a clear, actionable framework for thinking through a concept before and during the writing process.
Please read the sections titled 'The 4 Steps of the Feynman Technique,' '2. Explain it to yourself or teach it to someone else,' and '4. Simplify your explanations and create your own analogies.' Pay close attention to how the act of writing or teaching is used as a tool for discovery and simplification, not just presentation.
The core idea to take away is this: pretend you are teaching your chosen concept to someone unfamiliar with it. This simple constraint forces you to abandon jargon, find clear language, and use analogies—all hallmarks of excellent explanatory writing.
Part 2: Structuring Your Explanation
Now that you have a mental approach, you need a practical structure for your 300-word piece. This is where the idea of a "mini-essay" becomes very useful. It provides a simple, robust container for your explanation.

This visual gives you a target word count for each section. To fill those sections effectively, we can turn to a video that outlines the fundamental components of a short essay.
The video 'How to Write a Mini-Essay' by Odysseas provides a great overview of the classic three-part structure that will work perfectly for today's task.
Please watch the section from 08:22 to 17:43. This segment covers the 'intro-body-conclusion' structure in detail. Focus on: The Intro (Hook): How to grab the reader's attention and state your premise clearly. The Body: How to flesh out your idea and guide the reader through your thought process. The Conclusion: How to wrap up your explanation and leave a lasting impression.
As you structure your piece, remember the principles of flow we've discussed. Ensure each paragraph focuses on one coherent aspect of your explanation, and use the "old-to-new" principle to create cohesive links between your sentences. Your mini-essay should feel like a smooth, guided tour of the concept.
Part 3: Your Writing Task (30 minutes)
It's time to put theory into practice. Follow these steps to complete the assignment.
Step 1: Choose Your Concept
Select a simple concept from a field you know well. Choosing something you're comfortable with will allow you to focus on the explanation rather than the content. Here are some ideas to get you started:
- Physics: Inertia, Gravity, Potential Energy
- Mathematics: The Pythagorean theorem, What a function is, Prime numbers
- Computer Science: What a variable is, The concept of a loop
- Chess: The castling move, The concept of a "fork"
Step 2: Pre-writing (Apply Feynman)
On a separate sheet of paper or document, try to explain your chosen concept in the simplest terms possible, as if to a friend who has never heard of it. Don't worry about grammar or structure yet. Try to come up with one simple analogy. This is your raw material.
Step 3: Draft Your 300-Word Piece
Using your pre-writing notes, draft your explanation using the intro-body-conclusion structure.
- Introduction (~50 words): Start with a hook (a question, a surprising statement) and then clearly state the concept you will be explaining.
- Body (~200 words): Dedicate 2-3 short paragraphs to explaining the core components of the idea. Use your analogy here. Make sure each paragraph has a clear purpose and that they flow logically from one to the next.
- Conclusion (~50 words): Summarize the concept in a new, memorable way. Reiterate why it's important or interesting.
Step 4: Revise for Clarity and Flow
This is where you apply the skills from the entire module. Read your draft aloud to catch awkward phrasing. Then, review it with a critical eye.
As you revise, use the 'STEM STYLE GUIDE' from Stanford as a checklist. It's a fantastic summary of the principles we've been working on.
You don't need to re-read the entire document. Instead, scan through it and use the headings as a revision guide. Ask yourself: 'Choose your words deliberately': Have I used any 'fancy' words where simple ones would do? Are my words specific? 'Eliminate unnecessary words': Can I cut any words without losing meaning? 'Pay attention to sentence length': Do I have a good mix of long and short sentences? 'Use transitions': Do my sentences and paragraphs connect smoothly?
This revision process is what separates a rough draft from a polished piece of writing.
Test your understanding!
Imagine you wrote the following sentence in your draft explaining "inertia":
"There is a tendency for the resistance of any physical object to any change in its state of motion; this is a concept known as inertia."
How could you revise this sentence to be clearer and more concise, applying the principles from the Stanford guide (like avoiding "There is..." and nominalizations like "resistance")?
Show answer
A more direct and active revision would be:
"Inertia is the principle that physical objects resist changes to their state of motion."
Or, even simpler for a beginner:
"Inertia is an object's tendency to keep doing what it's already doing."
This revision is much more direct. It eliminates the "There is..." opening, replaces the noun "resistance" with the verb "resist," and gets to the point much faster.
Conclusion
Congratulations on completing this capstone exercise! You've brought together a whole range of foundational skills to produce a single, coherent piece of writing.
Key Takeaways from today's lesson:
- Explain to Understand: The Feynman Technique shows that the act of explaining a concept simply is one of the best ways to deepen your own understanding.
- Structure is Your Friend: A clear intro-body-conclusion structure provides a reliable scaffold for your ideas, guiding both you and your reader.
- Writing is a Process: Effective writing happens in stages: choosing an idea, generating raw material, drafting a structure, and, crucially, revising for clarity and flow.
You have now completed the first module of this course and have a solid foundation in the mechanics of clear writing. You're ready to move from the "how" to the "what."
In our next lesson, we will begin Module 2: "Thinking Through Writing: Idea and Argument." Our first step will be learning to use freewriting to generate raw ideas on a chosen topic without self-censorship. It will be a fun, liberating exercise designed to help you find interesting things to write about.