Following our last session where we established your platform's core identity with a favicon and social sharing details, we're now ready to take one of the most significant steps in launching a web application. Your platform currently lives at a bubbleapps.io address, which is great for development, but to present a professional and trustworthy service to the public, you need a proper home for it.
Today, we will address the learning outcome: connecting a custom domain to the Bubble application. This means transitioning your multi-tool platform from your-app.bubbleapps.io to a unique address like yourtoolverse.com. This is not just a cosmetic change; it's fundamental to building brand recognition, improving user trust, and boosting your site's search engine performance.
Why a Custom Domain is Essential
Before we dive into the "how," let's solidify the "why." Using a generic bubbleapps.io subdomain immediately signals that a project is in an early or non-professional stage. For your goal of creating a popular multi-tool platform, establishing credibility from day one is crucial.
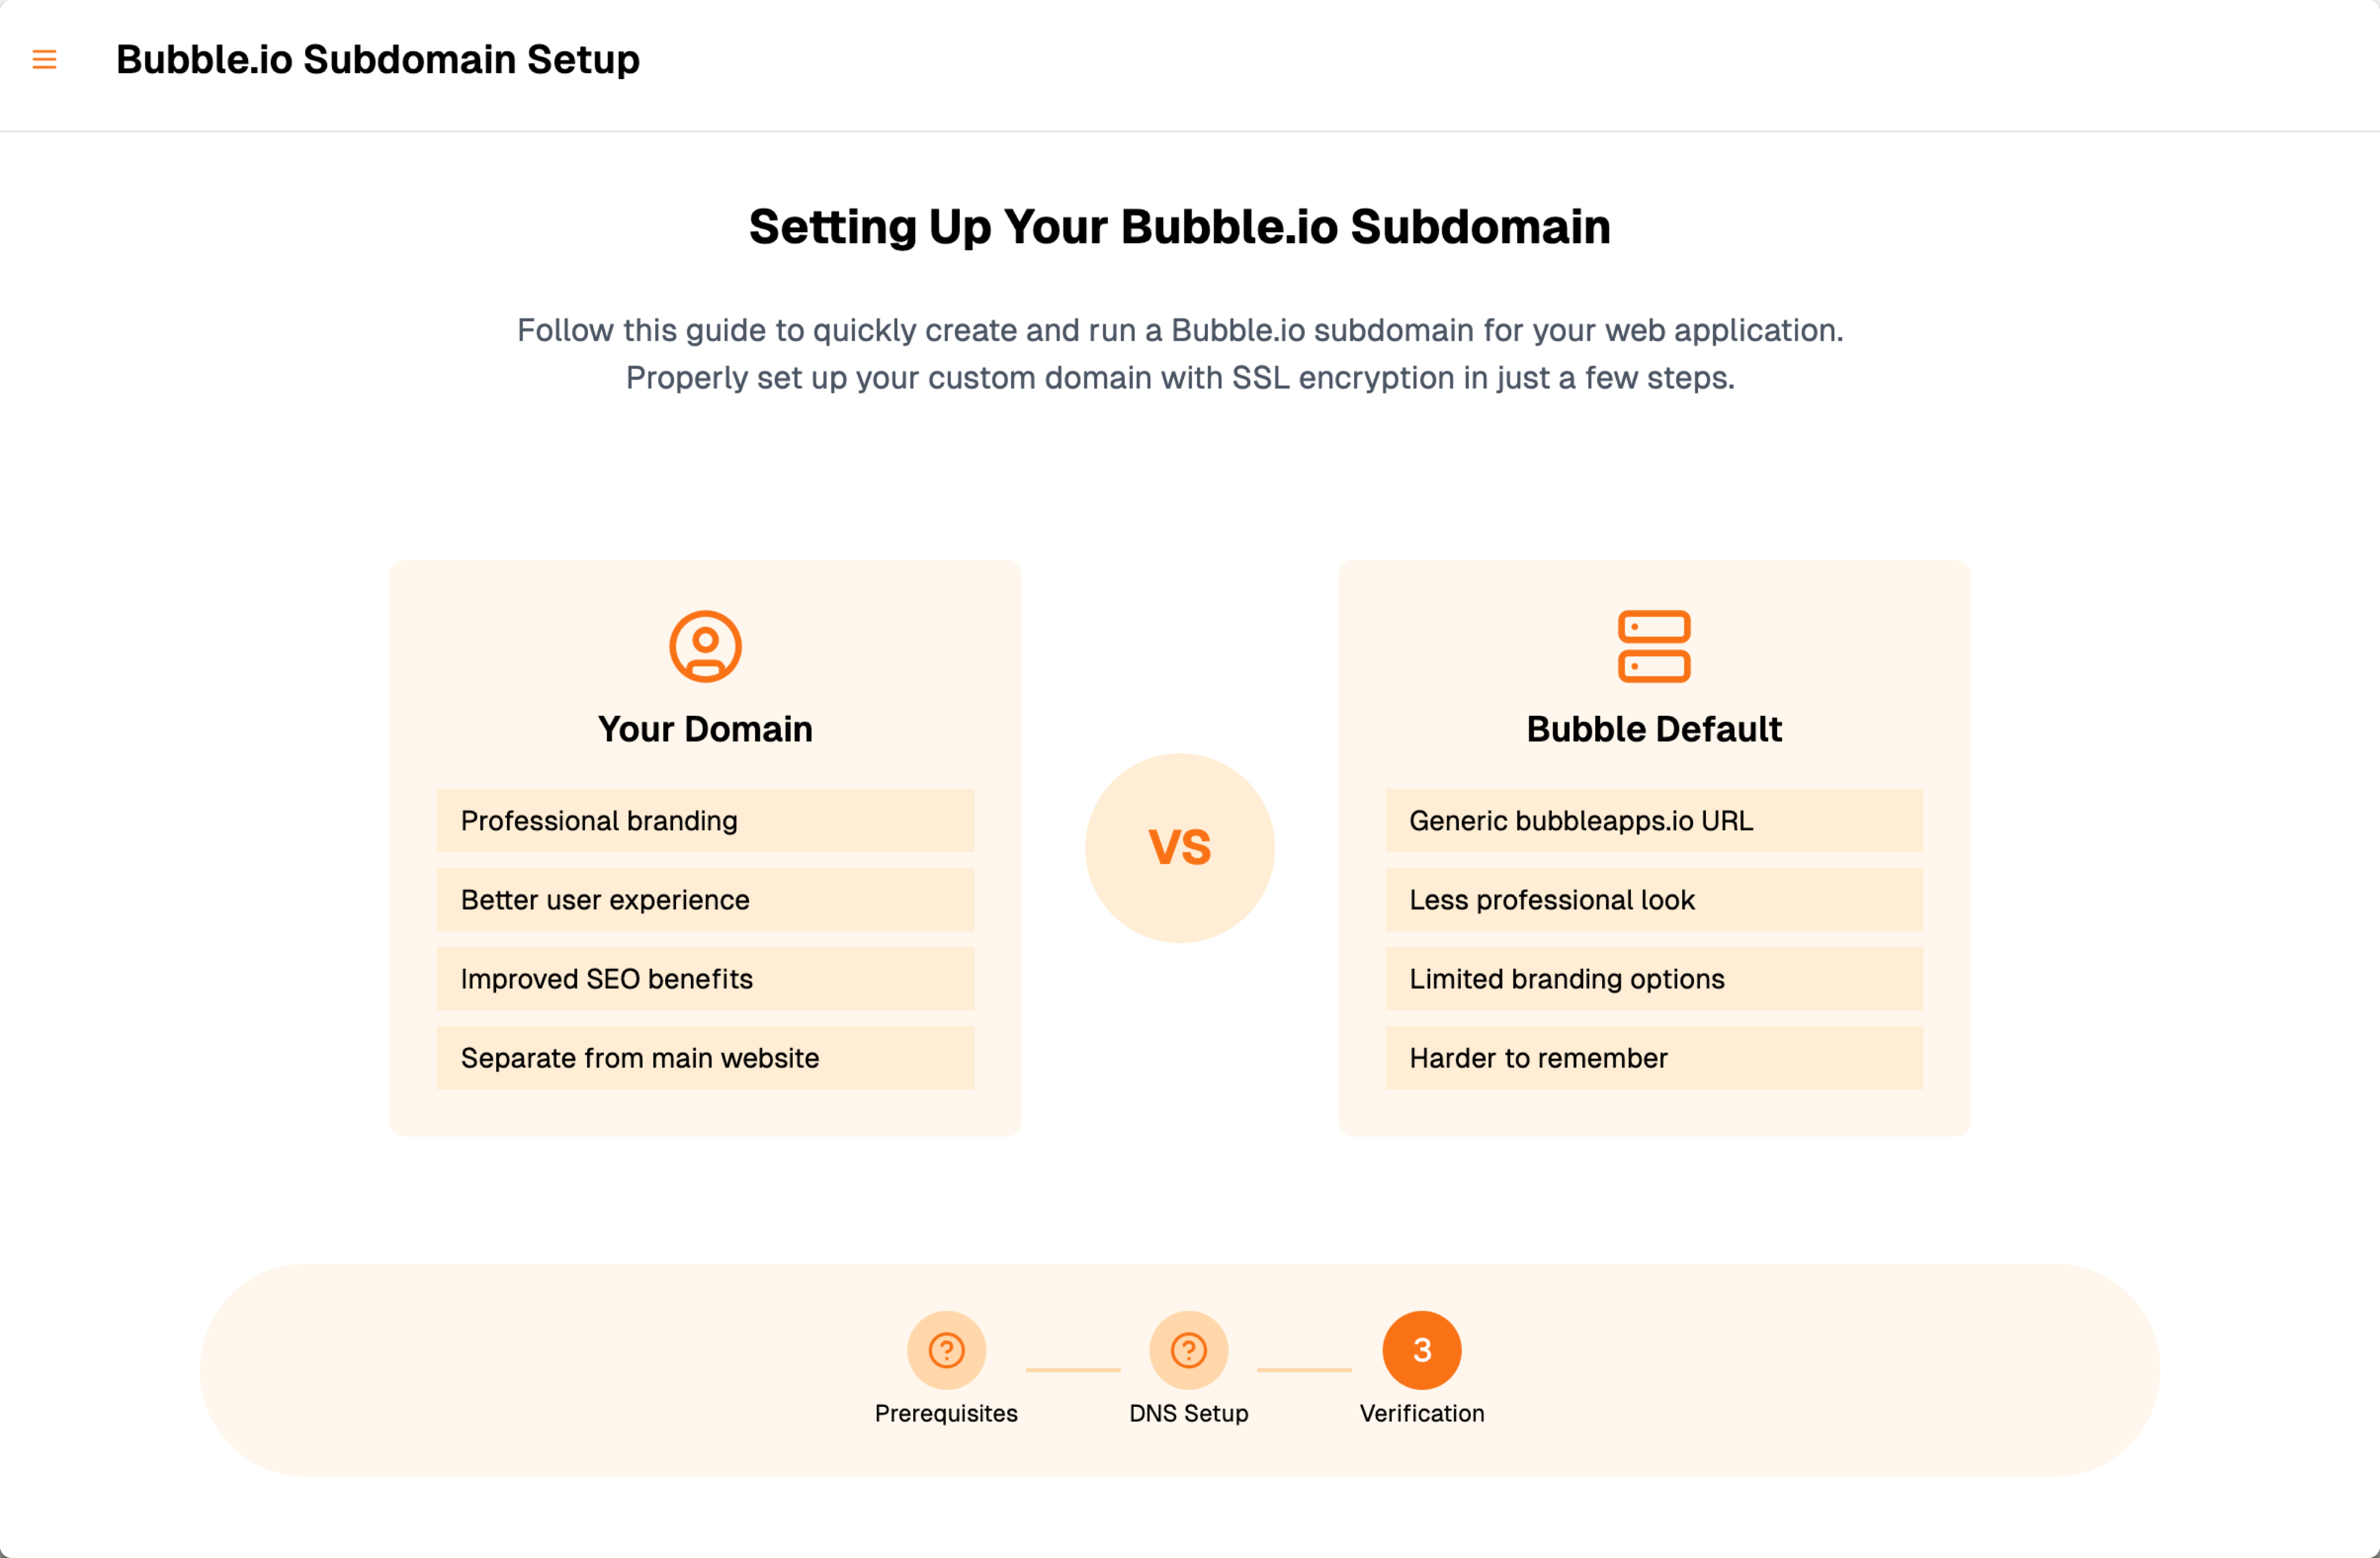
A custom domain offers several key benefits, which are essential for any serious web application.
How to Add a Custom Domain to a Bubble App
This article from the no-code agency Big House clearly outlines the strategic value of a custom domain.
First, read the section Why Add a Custom Domain to understand the immediate benefits related to brand trust and user experience. Then, continue to the next section, How a Custom Domain Impacts Your SEO and Brand Authority, to see how this decision affects your platform's long-term discoverability on search engines like Google.
As you can see, a custom domain is your digital real estate. It's an asset that accrues authority and recognition over time, making it easier for users to find, trust, and share your tools.
The Domain Connection Process
Connecting a domain might sound technical, but it follows a clear, three-step process. Bubble's official documentation provides a great overview.
This official documentation outlines the entire process from start to finish. We will refer back to it throughout this lesson.
Start by reading the introduction, which covers what a custom domain is and lists the three main steps. Pay close attention to the note about example.com versus www.example.com; Bubble handles the redirection automatically, which simplifies things.
Let's break down these three steps.
Step 1: Purchase a Domain
First, you need to own the domain name you want to use. You purchase domains from companies called domain registrars. Given your experience with web design, you may already be familiar with some of them.
A critical point to remember is that you only need to purchase the domain itself, not a hosting plan. Bubble provides the hosting for your application. Registrars often try to bundle hosting with domain purchases, so make sure you are only paying for the domain registration.
This section of the documentation provides more detail on registering a domain.
Read this section to understand the role of a registrar. It also provides a list of common registrars like GoDaddy, Namecheap, and Google Domains.
Important Prerequisite: To connect a custom domain, your Bubble app must be on a paid plan (e.g., the Personal plan or higher). You also need to have deployed your app to its live version at least once, which you can do from the top-right corner of the Bubble editor.
Step 2: Add the Domain in Bubble
Once you have your domain, the next step is to tell Bubble that you intend to use it. This is done within your app's settings.
- Navigate to the Settings tab in your Bubble editor.
- Go to the Domain / email sub-tab.
- Enter your full domain name (e.g.,
yourtoolverse.com) into the input box. - Click "Set up this domain."
After you click the button, Bubble will generate the specific DNS records you'll need for the final step. These records are essentially a set of IP addresses that will point your domain name to Bubble's servers.
Step 3: Configure Your DNS Records
This is the most hands-on part of the process, where you connect your domain to your Bubble app. DNS stands for Domain Name System, and it acts as the internet's phonebook, translating human-readable domain names into computer-readable IP addresses.
You will need to log in to your domain registrar's website (where you bought your domain) and find the DNS management section. There, you will add the A records that Bubble provided you. An A record maps a domain name to one or more IP addresses. Bubble provides multiple IPs for redundancy and load balancing, ensuring your app stays online and performs well.
The process varies slightly between registrars, but the core task is the same. Bubble has an excellent official video tutorial that walks through this step-by-step for the three most popular registrars.
How to Setup Custom Domains | Bubble Tutorial
This official Bubble tutorial provides a clear, visual guide to the entire process. It's perfect for following along as you set up your own domain.
First, watch the introduction from the beginning to get a quick recap of the process inside Bubble. Then, jump to the section that matches your domain registrar: GoDaddy: Watch from this timestamp. Google Domains: Watch from this timestamp. Namecheap: Watch from this timestamp. Focus on how you need to delete any pre-existing records and add the four A records provided by Bubble: two for the root domain (often represented by @) and two for the www subdomain.
Verification and DNS Propagation
After you've saved the new A records in your registrar's dashboard, there's one final step: waiting.
The changes you made need to spread across the internet's network of DNS servers. This process is called DNS propagation, and it's not instantaneous. It can take anywhere from a few minutes to 24 hours (or in rare cases, up to 48 hours).
During this time, your domain might not work, or it might show a "page not found" error. This is completely normal.
You can monitor the status back in Bubble by clicking the "Check my settings" button in the Settings > Domain / email tab. Once Bubble detects that your A records are correctly pointing to its servers, it will confirm the setup is complete.
This part of the documentation explains what propagation is and how to verify your setup.
Read the section on propagation to understand why you need to wait. Then, review the section on checking the settings, which shows what the success message looks like in Bubble.
A great benefit is that Bubble automatically provisions an SSL/TLS certificate for your custom domain. This enables https encryption, which is crucial for security, user trust, and SEO. You'll see a padlock icon in the browser's address bar, assuring users that their connection is secure.
Conclusion
In this lesson, you've learned how to connect a custom domain, transforming your project into a professional web application with its own unique address. This is a milestone in the deployment process, directly supporting your goal of building a reputable and widely-used platform.
Here are the key takeaways:
- Why it Matters: A custom domain is crucial for brand identity, user trust, and long-term SEO authority.
- The 3-Step Process: The process involves (1) purchasing a domain from a registrar, (2) adding it in your Bubble settings to get the required A records, and (3) configuring those records in your registrar's DNS management panel.
- DNS Propagation: Changes to DNS records are not instant. It can take up to 24-48 hours for your new domain to be fully active across the internet.
- SSL is Automatic: Bubble handles the security by automatically providing and renewing an SSL certificate for your domain.
Now that your platform has a professional domain name, our next step will be to ensure that every page on your site presents itself effectively to search engines and on social media. In the next lesson, we will set up dynamic SEO meta tags, allowing the title and description to change based on which tool a user is viewing.